
Demystifying the Single Plug Electrical Outlet
When homeowners and apprentices search for a single plug electrical outlet, they are typically referring to a single-receptacle device. Unlike the standard duplex receptacle found in most living rooms (which features two plug-in points on a single yoke), a single-receptacle outlet has only one set of slots. These are predominantly used for dedicated circuits powering high-draw or critical appliances like sump pumps, refrigerators, microwaves, and heavy-duty workshop equipment.
Installing or upgrading a single plug electrical outlet requires a different material approach than a standard room outlet. Because these devices are often tied to dedicated 15-amp or 20-amp circuits, the margin for error regarding wire gauge, terminal torque, and enclosure sizing is significantly reduced. This comprehensive 2026 tool and material guide will walk you through the exact equipment needed to execute a safe, code-compliant installation.
The 2026 Essential Toolkit for Single Receptacles
According to safety guidelines published by the Occupational Safety and Health Administration (OSHA), using properly rated and insulated tools is non-negotiable when working on residential and commercial branch circuits. Here is the precise toolkit required for this job.
Wire Strippers and Preparation Tools
Single receptacles require flawless wire termination. Damaging the copper conductor during stripping creates a weak point that can lead to thermal runaway under heavy continuous loads.
- Klein Tools 11063 Wire Stripper: Handles 8-22 AWG solid and stranded wire. Its precision-machined stripping holes ensure you never nick the copper on your 12 AWG or 14 AWG branch circuit wires.
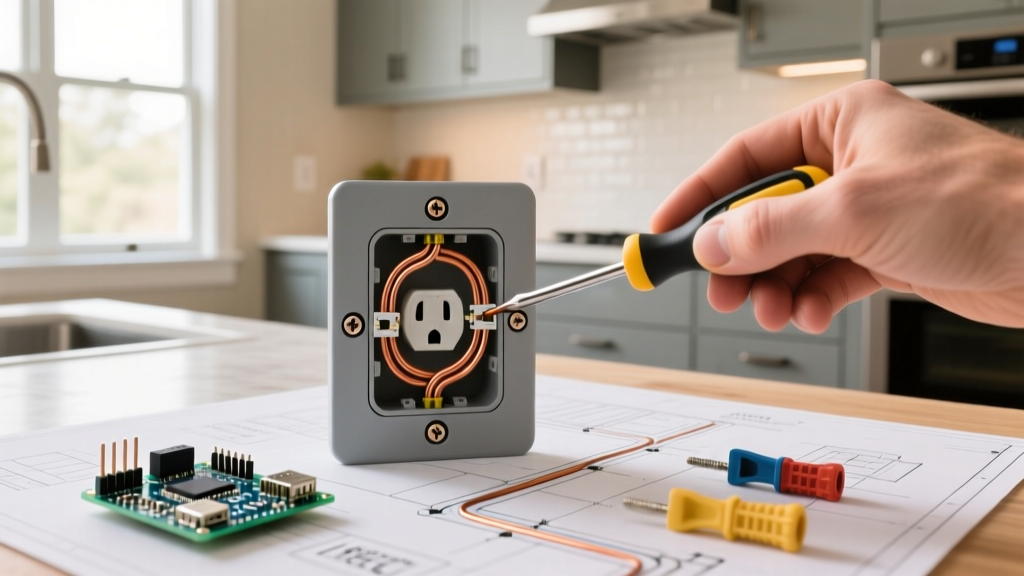
- Klein Tools 32308 Multi-Bit Stubby Screwdriver: The short shaft provides excellent leverage in tight single-gang electrical boxes without risking the tool slipping and damaging the drywall or your knuckles.
Insulated Hand Tools and Testers
Even when working on a de-energized circuit, you must verify the absence of voltage using redundant testing methods.
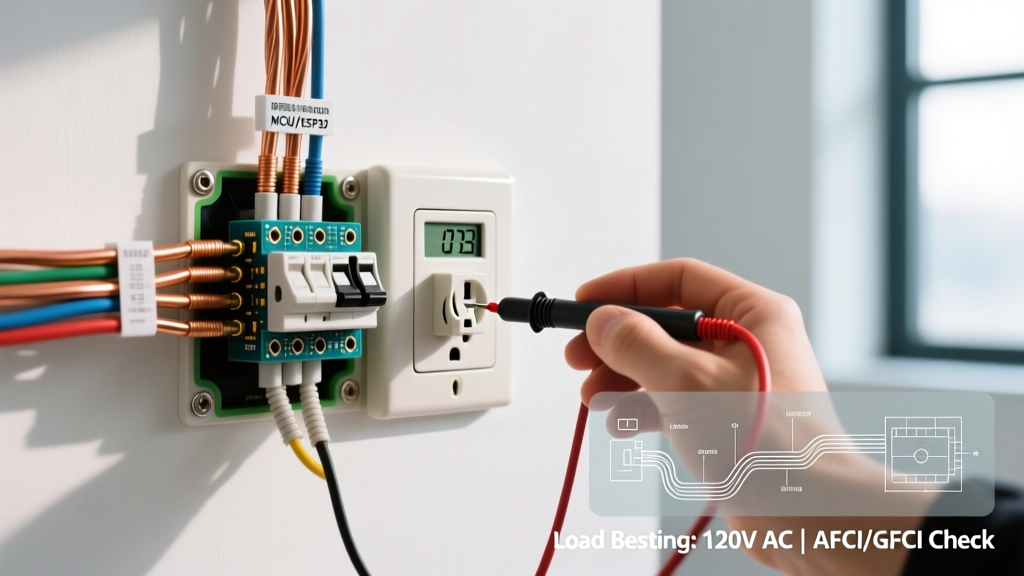
- Fluke 1AC-II VoltAlert Non-Contact Voltage Tester: Your first line of defense. Always test a known live source before and after testing your target outlet to verify the tester is functioning.
- Wiha 320P Insulated Screwdriver Set (1000V Rated):strong> Essential for terminal tightening. The slim profile of the Wiha insulated tips allows deep access into recessed terminal screws on heavy-duty 20A single receptacles.
- CDI 401SM Torque Screwdriver: While often reserved for commercial panels, modern best practices and recent NEC cycles heavily emphasize adhering to manufacturer torque specifications (typically 14 in-lbs for standard brass terminal screws) to prevent loose connections and arcing.
Material Matrix: Selecting the Correct Single Outlet
Choosing the right single plug electrical outlet depends entirely on the amperage of the dedicated circuit and the NEMA configuration of the appliance plug. Below is a comparison matrix of the most common single-receptacle materials used in 2026.
| Receptacle Type | NEMA Config | Amperage / Voltage | Common Use Case | Model Example & Price |
|---|---|---|---|---|
| Standard Single | 5-15R | 15A / 125V | Dedicated sump pumps, gas ranges | Leviton 5262-SW (~$4.50) |
| Heavy Duty Single | 5-20R | 20A / 125V | Window AC units, shop vacuums | Hubbell HBL5362 (~$11.00) |
| Twist-Lock Single | L6-20R | 20A / 250V | Welders, commercial machinery | Hubbell HBL2620R (~$28.00) |
| Smart Single | 5-15R (Smart) | 15A / 125V | Energy monitoring for workshops | Leviton D215S (~$45.00) |
Note: Never install a 15A single receptacle on a 20A circuit. While NEC code allows 15A duplex receptacles on a 20A circuit, a single-receptacle on a dedicated 20A circuit MUST be rated for 20A.
Enclosure Requirements and Box Fill Calculations
A common failure mode in DIY single plug electrical outlet installations is cramming thick 12 AWG wire into an undersized electrical box. You must adhere to National Fire Protection Association (NFPA) 70 (the NEC), specifically Article 314.16 regarding box fill calculations.
Calculating Your Box Fill
Every item inside the box takes up a specific volume based on the largest wire connected to it. For a standard 20A single receptacle wired with 12 AWG copper:
- The Wires: Each 12 AWG wire entering and terminating in the box counts as 2.25 cubic inches. (e.g., 1 Hot, 1 Neutral, 1 Ground = 6.75 cu in).
- The Device Yoke: The single receptacle itself counts as two wire entries based on the largest wire connected to it. (2 x 2.25 = 4.5 cubic inches).
- Internal Clamps: Count as one wire entry (2.25 cubic inches).
Total Minimum Box Volume Required: 13.5 cubic inches. Therefore, a standard 14-cubic-inch single-gang 'old work' box is the absolute minimum you should use for a 20A single plug outlet. For 15A circuits using 14 AWG wire, the multiplier drops to 2.0 cubic inches, allowing for smaller enclosures.
Step-by-Step Wiring and Torque Protocols
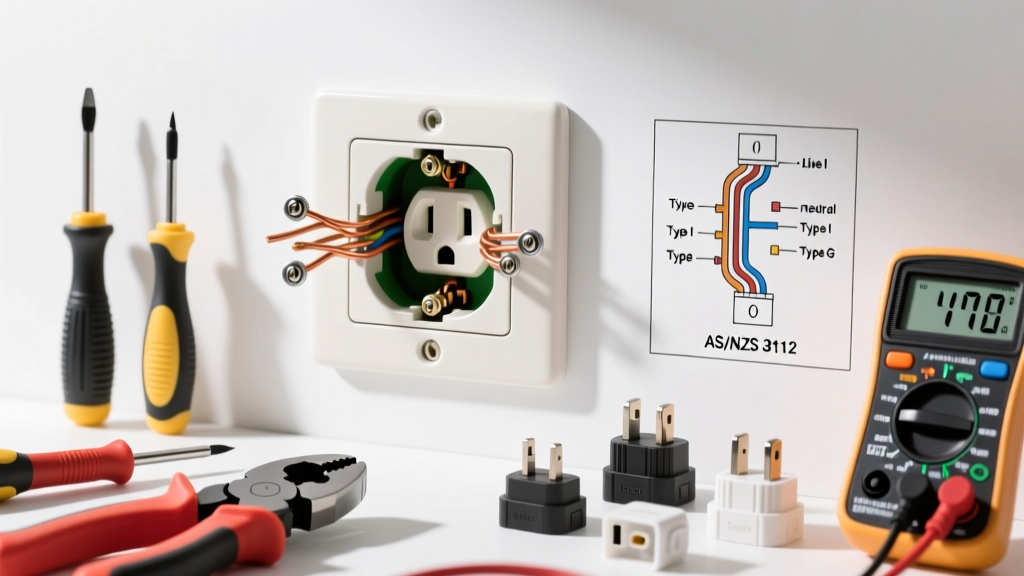
Once you have verified the power is off at the breaker and confirmed zero voltage with your Fluke tester, follow this precise wiring sequence to ensure a robust connection.
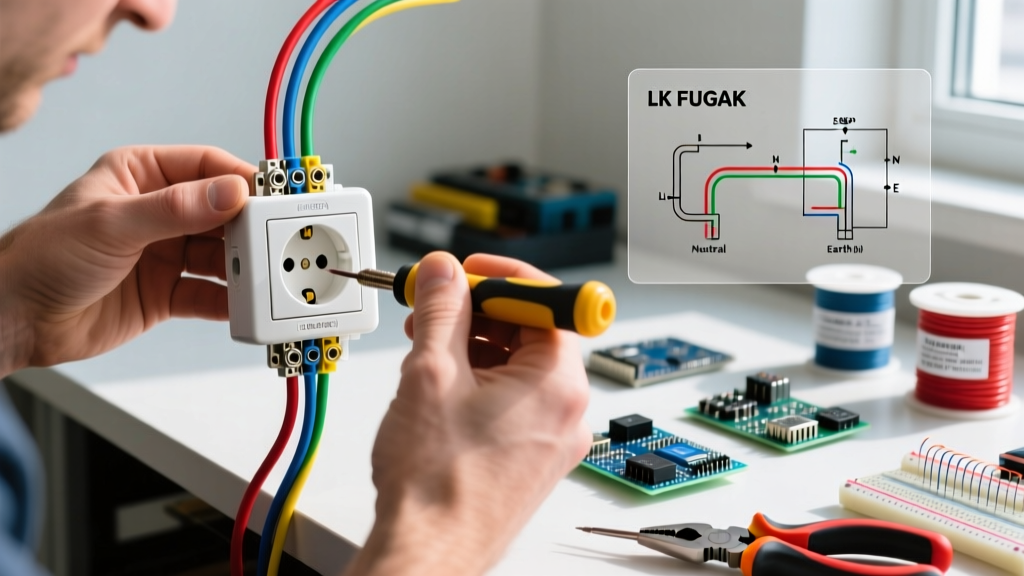
- Strip the Insulation: Use your Klein 11063 strippers to remove exactly 3/4 inch of insulation from the hot (black) and neutral (white) wires. Do not score the copper.
- Form the Hook: Using the needle-nose pliers integrated into your wire strippers, bend the exposed copper into a tight 'J' hook. The diameter of the hook should perfectly match the terminal screw.
- Directional Wrapping: Loop the wire around the terminal screw clockwise. This ensures that as you tighten the screw (also clockwise), the loop pulls tighter rather than splaying outward.
- Seat the Wire: Ensure no bare copper is exposed outside the terminal washer, and no insulation is trapped beneath the washer. The insulation should butt right up against the metal washer.
- Apply Torque: Tighten the terminal screw. If using a torque screwdriver, set it to the manufacturer's specification (usually 14 in-lbs). If doing it by hand, tighten until snug, then give it an additional quarter-turn. Do not overtighten, which can strip the brass threads.
- Grounding: Attach the bare copper ground wire to the green grounding screw. For metal boxes, you must also run a grounding pigtail from the box to the receptacle's ground terminal.
Edge Cases: Dedicated Circuits and Code Compliance
Single plug electrical outlets are almost exclusively installed at the end of a dedicated branch circuit. However, edge cases arise when homeowners attempt to daisy-chain a single receptacle to power additional downstream outlets.
Expert Warning: If your single receptacle is acting as a pass-through for downstream devices, you must use wire nuts to pigtail the hot and neutral wires. Never use the terminal screws on a single receptacle to splice the feed-through wires. If the receptacle is removed for maintenance, you will break the downstream circuit, and the device yoke will be forced to carry the full electrical load of the downstream devices, creating a severe fire hazard.
Furthermore, as of the 2026 electrical code updates, GFCI (Ground Fault Circuit Interrupter) protection is required for single plug outlets in specific areas, including unfinished basements, garages, and within 6 feet of a wet bar sink. If you are installing a single receptacle for a sump pump or a freezer in a garage, consider using a GFCI single receptacle (like the Leviton 8599-W) or ensure the circuit breaker in your main panel is a GFCI type to prevent nuisance tripping from the appliance's startup surge.
Final Safety Verification
Before snapping the device into the wall plate, gently fold the wires into the back of the box using a zigzag pattern—never jam them straight back, which can pinch the insulation against the metal box edges. Once the 6-32 mounting screws are secured, turn the breaker back on and use a standard 3-prong receptacle tester to verify correct wiring. A solid green light pattern confirms your single plug electrical outlet is safely energized, properly grounded, and ready to handle your dedicated appliance load. For further reading on residential electrical safety standards, consult the Underwriters Laboratories (UL) Electrical Safety guidelines.