
Understanding Why an Electrical Wall Outlet Is Not Working
Encountering an electrical wall outlet not working is one of the most common residential electrical issues, yet it requires a systematic diagnostic approach to resolve safely. A dead receptacle is rarely an isolated failure; it is often a symptom of an upstream fault, a degraded termination, or a tripped protective device. According to the U.S. Consumer Product Safety Commission (CPSC), faulty electrical outlets and aging wiring are leading contributors to residential electrical fires. This inspection and testing guide provides a professional-grade framework for diagnosing dead 120V/15A and 20A branch circuit receptacles.
CRITICAL SAFETY WARNING: Never assume a dead outlet is completely de-energized. A miswired circuit or a shared-neutral (multi-wire branch circuit) can leave lethal voltage present even when the breaker appears off. Always verify the absence of voltage with a calibrated tester before removing the receptacle yoke from the junction box.
Essential Diagnostic Tools for Outlet Testing
Professional electricians do not rely on guesswork. To properly troubleshoot a dead outlet, you need a tiered testing toolkit. Below is a comparison of the primary diagnostic instruments used in 2026 for residential and light commercial inspections.
| Tool Category | Recommended Model | Avg. Cost | Primary Diagnostic Use |
|---|---|---|---|
| GFCI Receptacle Tester | Klein Tools RT250 | $35 - $45 | Verifying wiring sequence and tripping upstream GFCIs. |
| Non-Contact Voltage Tester (NCVT) | Milwaukee 2202-20 | $25 - $35 | Initial presence/absence of voltage detection at the slots. |
| True-RMS Digital Multimeter | Fluke 117 Electricians DMM | $210 - $230 | Precise voltage measurement, continuity, and ground fault detection. |
| Torque Screwdriver | Klein Tools 32500TS1 | $80 - $100 | Ensuring terminations meet NEC 110.14(D) torque specifications. |
The 4-Step Inspection Protocol
When an electrical wall outlet is not working, follow this sequential flowchart to isolate the fault without unnecessary demolition or panel work.
Step 1: The Upstream GFCI Cascade Check
Modern National Electrical Code (NEC) requirements mandate Ground Fault Circuit Interrupter (GFCI) protection in kitchens, bathrooms, garages, and outdoor areas. Receptacles are frequently daisy-chained. A standard bedroom or hallway outlet may be wired to the 'LOAD' terminals of a bathroom or garage GFCI.
- Action: Locate all GFCI receptacles in adjacent rooms, garages, and exterior walls.
- Test: Press the 'TEST' button on each GFCI, then press 'RESET'. If the dead outlet suddenly powers on, you have identified an upstream GFCI trip caused by a transient ground fault or moisture intrusion.
Step 2: Breaker Panel Verification
Circuit breakers do not always visually trip to the 'OFF' position. Many thermal-magnetic breakers (like standard Square D Homeline or Eaton BR models) trip to a 'middle' or 'flag' position.
- Action: Open the main service panel. Firmly push the suspect breaker handle fully to 'OFF', then snap it back to 'ON'.
- Edge Case: If the breaker immediately snaps back to the middle/tripped position or refuses to reset, you have a hard short circuit or a dead ground fault on the branch circuit. Stop testing and call a licensed electrician.
Step 3: Visual and Physical Receptacle Inspection
Turn off the circuit breaker and verify the absence of voltage using your NCVT. Remove the faceplate and unscrew the receptacle yoke from the junction box. Pull the device out gently to inspect the physical terminations.
- Backstabbed Connections: Look at the rear of the receptacle. If the wires are inserted into the push-in 'backstab' holes rather than wrapped around the side screw terminals, you have likely found the failure point. Backstabbed connections rely on a small internal spring brass clip. Over years of thermal expansion and contraction (from plugging in high-draw appliances like vacuums or space heaters), these clips lose tension, leading to high resistance, arcing, and eventual open circuits.
- Thermal Damage: Inspect the plastic yoke for brown scorch marks or melted areas near the terminals. If present, the receptacle must be replaced immediately.
Step 4: Advanced Multimeter Testing Procedures
If the physical connections look secure and the breaker is confirmed ON, use a True-RMS Digital Multimeter (such as the Fluke 117) to measure the exact voltage potentials. Set the dial to AC Voltage (V~).
| Test Points | Expected Reading (120V System) | Diagnostic Meaning if Abnormal |
|---|---|---|
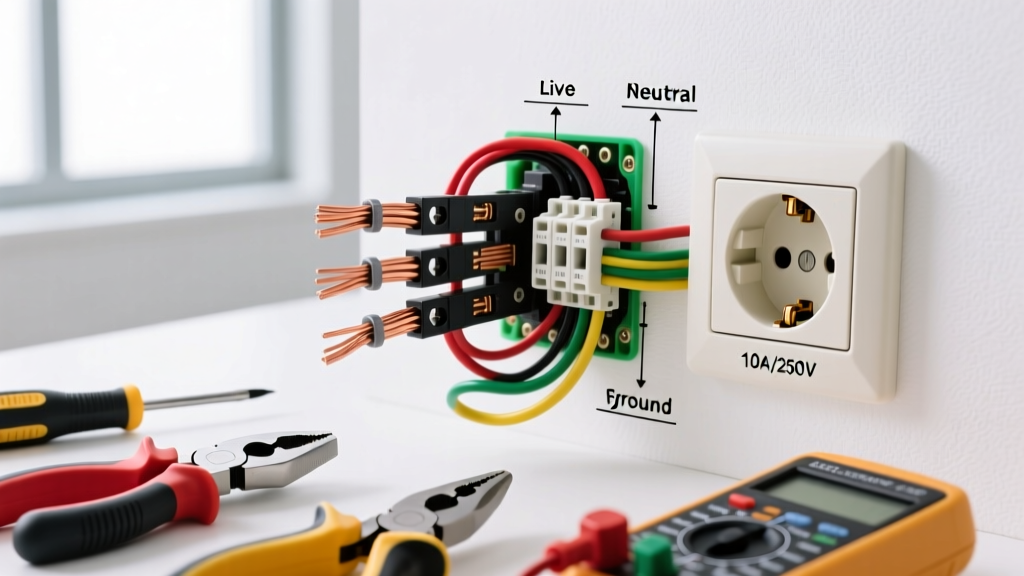
| Hot (Brass) to Neutral (Silver) | 115V - 125V | 0V indicates an open hot or open neutral. Low voltage (<100V) indicates a high-resistance connection or shared neutral overload. |
| Hot (Brass) to Ground (Green) | 115V - 125V | 0V indicates an open hot or missing equipment ground. 120V Hot-Neutral but 0V Hot-Ground means the ground wire is severed or disconnected. |
| Neutral (Silver) to Ground (Green) | 0V - 2V | Readings above 2V indicate a loose neutral connection upstream, shared-neutral imbalance, or a bootleg ground (neutral bonded to ground at the receptacle). |
Common Hidden Failure Modes & Edge Cases
When the basic tests fail to reveal the issue, experienced troubleshooters look for these specific, less obvious failure modes:
- Aluminum Wiring Oxidation: If your home was built between 1965 and 1973, it may have aluminum branch circuit wiring. Aluminum oxidizes rapidly and expands more than copper under heat, causing terminations to loosen and fail. Standard copper-rated receptacles cannot be used. You must verify the use of CO/ALR rated receptacles (like the Leviton 1759-ALR) and ensure pigtailing was done with purple AlumiConn connectors or Ideal 65 Purple wire nuts.
- Daisy-Chain Wire Nut Failures: Often, the dead outlet is the last device on a daisy chain, and the actual failure is a loose wire nut in the previous working junction box. If Outlet A works, but Outlet B (downstream) does not, open Outlet A and check the wire nuts connecting the pass-through wires.
- Switched Receptacle Confusion: In living rooms and bedrooms, the NEC allows a switched receptacle to satisfy lighting requirements. Half of the duplex receptacle may be controlled by a wall switch. Ensure the brass fin (the small metal tab connecting the two hot screws) has not been broken off by a previous homeowner, which would isolate the bottom half of the outlet to a wall switch.
Upgrading and Repair Standards
If your inspection reveals a failed receptacle, replacement is mandatory. Do not attempt to repair melted or arced components. When installing the new device, adhere to the latest National Electrical Code (NFPA 70) standards.
Pro-Tip for 2026 Installations: Upgrade standard residential 15A receptacles to 'Commercial Spec Grade' or 'Hospital Grade' models (e.g., Leviton 5352-W or Hubbell HBL5362). While a builder-grade receptacle costs about $1.50 and features thin internal contacts that degrade in 5-7 years, a commercial spec-grade receptacle costs $6.00 - $10.00 and features massive brass contact surfaces and heavy-duty steel yokes that will easily outlast a 20-year mortgage.
Furthermore, NEC Article 110.14(D) requires that all lug terminations be tightened to the manufacturer's specified torque. Using a calibrated torque screwdriver set to the receptacle manufacturer's spec (typically 14 to 16 inch-pounds for standard 15A/20A devices) prevents the loosening that causes future 'dead outlet' callbacks.
Frequently Asked Questions (FAQ)
Why does my outlet have power according to my tester, but my lamp won't turn on?
This is a classic symptom of an 'Open Neutral' or a high-resistance backstabbed connection. A digital multimeter or solenoid tester draws almost zero current, so it will read 120V across a degraded connection. However, the moment you plug in a lamp (a load), the high resistance causes the voltage to drop to near zero, preventing the device from operating. Always test under load or check for loose neutrals.
Can a bad outlet cause other outlets to stop working?
Yes. Standard residential wiring uses a 'daisy-chain' or parallel topology. The power enters the first outlet, and jumper wires (pigtails or pass-throughs) carry the power to the next outlet. If a wire nut fails, a backstabbed connection melts open, or a wire is severed at the first outlet in the chain, all subsequent downstream outlets will lose power.
Is it safe to use a 3-prong to 2-prong cheater adapter on a dead ground outlet?
No. While Fluke and other testing authorities warn against it, many homeowners use cheater adapters. These do not provide a real ground path. If a surge or internal appliance fault occurs, the metal chassis of your appliance can become energized at 120V, posing a severe shock hazard. The proper fix is to run a new equipment grounding conductor or install a GFCI receptacle labeled 'No Equipment Ground' as permitted by NEC 406.4(D)(2).