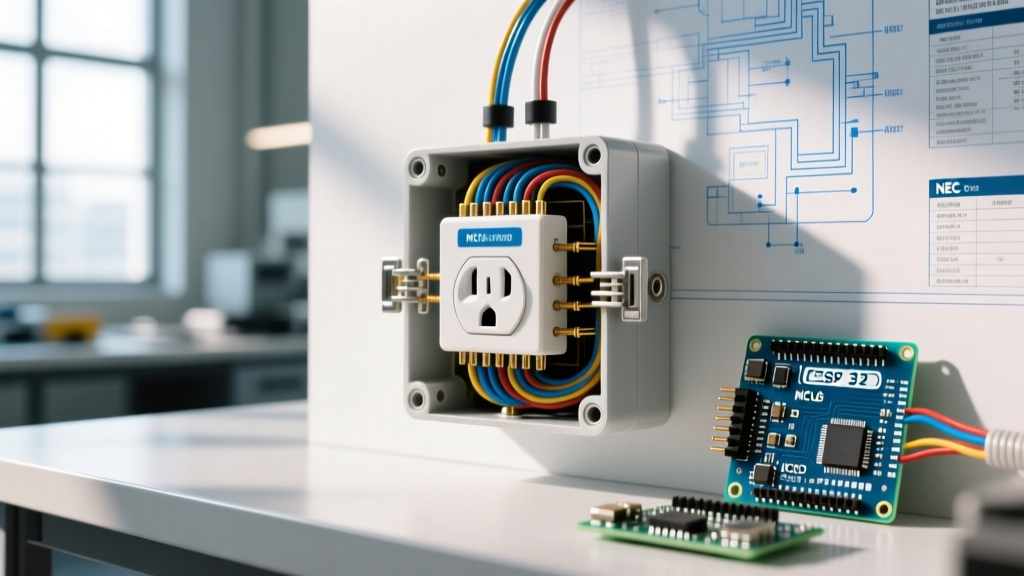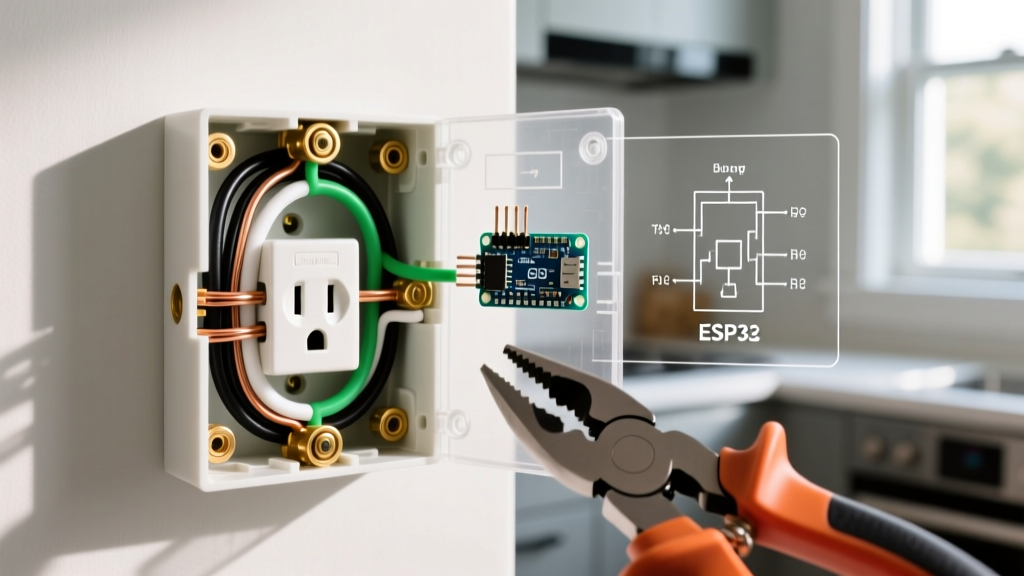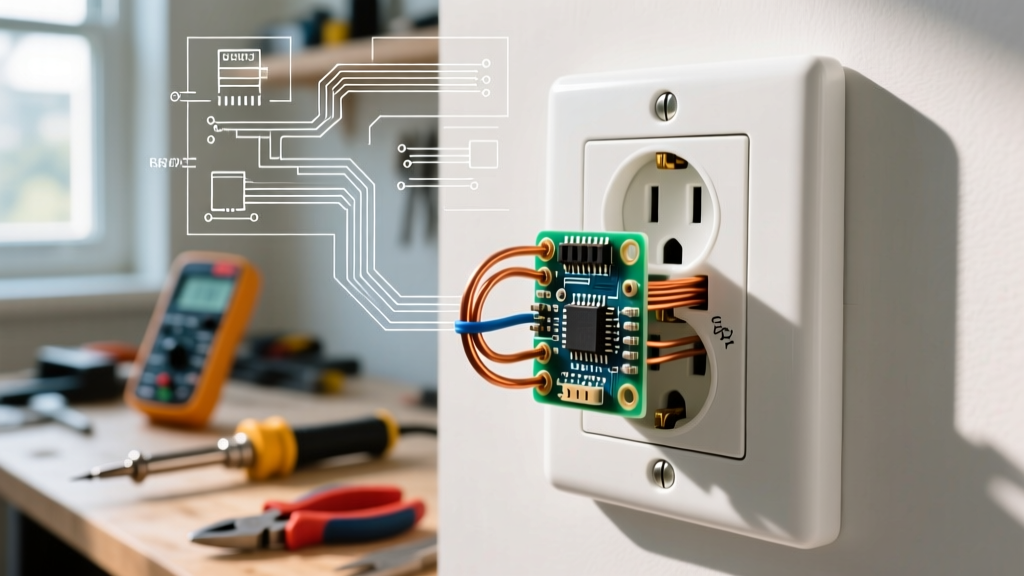

The Anatomy of a Tripped Outlet: Why It Happens
A tripped outlet is one of the most common residential electrical issues, yet it often causes unnecessary panic. When you ask, how to reset electrical outlet circuits, you are usually dealing with a Ground Fault Circuit Interrupter (GFCI) or an Arc Fault Circuit Interrupter (AFCI). These devices are designed to monitor electrical current imbalances and cut power in milliseconds to prevent electrocution or electrical fires.
According to the National Fire Protection Association (NFPA), the National Electrical Code (NEC) mandates GFCI protection in all wet or damp locations, including kitchens, bathrooms, garages, and outdoor areas. However, these internal trip mechanisms degrade over time. If your outlet refuses to reset, it is not just a nuisance—it is a critical safety indicator that the device has reached the end of its operational lifespan and requires an upgrade.
Receptacle Protection Types Compared
| Outlet Type | Primary Protection | Reset Mechanism | Average 2026 Cost |
|---|---|---|---|
| Standard Duplex | None (Relies on panel breaker) | N/A | $2.00 - $5.00 |
| GFCI Receptacle | Ground Fault (Shock prevention) | Push-button on face | $18.00 - $28.00 |
| AFCI Receptacle | Arc Fault (Fire prevention) | Push-button on face | $25.00 - $35.00 |
| Dual-Function (AFCI/GFCI) | Both Arc and Ground Fault | Push-button on face | $38.00 - $50.00 |
| Smart GFCI | Ground Fault + App Alerts | Push-button + App Reset | $45.00 - $65.00 |
Step-by-Step: How to Reset Electrical Outlet Safely
Before assuming the outlet is dead and ripping it out of the wall, follow this precise diagnostic sequence to verify if a simple reset will restore power.
- Identify the Outlet Type: Look for the 'TEST' and 'RESET' buttons in the center of the receptacle. If it is a standard outlet with no buttons, the trip occurred at the main breaker panel or an upstream GFCI.
- Press the Reset Button Firmly: Use your thumb to press the 'RESET' button (usually red) until you hear and feel a distinct mechanical click. If the button immediately pops back out, proceed to the diagnostics section below.
- Test the Circuit: Plug in a known-working device, such as a lamp or a receptacle tester. Do not use high-draw appliances for testing.
- Check Upstream Devices: If the outlet has no buttons or won't reset, check other GFCI outlets in the same room or adjacent bathrooms. GFCIs are often wired in series (daisy-chained); a tripped GFCI upstream will kill power to standard outlets downstream.
Safety Warning: Never force a reset button with a tool or tape it down. The Consumer Product Safety Commission (CPSC) warns that bypassing a tripped GFCI removes the critical shock protection designed to save lives in wet environments.
When Resetting Fails: Diagnosing a Dead Receptacle
If you know how to reset electrical outlet circuits but the button refuses to stay engaged, the internal solenoid or sensing circuit has failed. Here are the specific failure modes you will encounter in the field:
1. End-of-Life Internal Failure
GFCI receptacles manufactured after 2006 include an internal self-test mechanism. If the device detects a failure in its own sensing circuitry, it will permanently lock out the reset button to prevent a false sense of security. Most GFCIs last 10 to 15 years. If yours is older, replacement is mandatory.
2. Line and Load Reversal
A common DIY mistake is wiring the 'LINE' (incoming power) and 'LOAD' (downstream power) terminals backward. If reversed, the outlet may provide power initially, but the internal trip mechanism will malfunction and refuse to reset. The LOAD terminals on modern devices are covered with yellow warning tape for this exact reason.
3. Neutral Fault or Loose Connection
GFCIs require a pristine neutral connection to calculate the current differential between the hot and neutral wires. If the neutral wire is backstabbed (pushed into the quick-wire holes) and has loosened due to thermal expansion, the GFCI will sense an imbalance and trip permanently. Always use the side terminal screws or a torque screwdriver for pigtail connections.
The Upgrade Path: Replacing Your Outlet in 2026
When an outlet fails to reset, it is an opportunity to upgrade your home's electrical infrastructure. The 2026 market offers significant improvements over legacy receptacles, particularly regarding tamper resistance and smart diagnostics.
Top Upgrade Recommendations
- Best Overall GFCI: Leviton SmartLockPro (Model R52-09864-0W1). Priced around $22, it features a slim profile for easier box packing, built-in self-testing every 3 seconds, and a red LED indicator that illuminates when the device has tripped or lost power.
- Best Heavy-Duty Option: Legrand Pass & Seymour (Model 2095). At roughly $28, this 20-Amp tamper-resistant GFCI utilizes superior internal contacts and is ideal for kitchen countertops where high-draw appliances like air fryers and microwaves are used simultaneously.
- Best Smart Upgrade: Leviton Decora Smart GFCI. Costing between $45 and $60, this Wi-Fi-enabled outlet sends push notifications to your smartphone when it trips, allowing you to diagnose nuisance trips without crawling under a sink or going outside.
DIY Replacement Walkthrough: Swapping a Dead GFCI
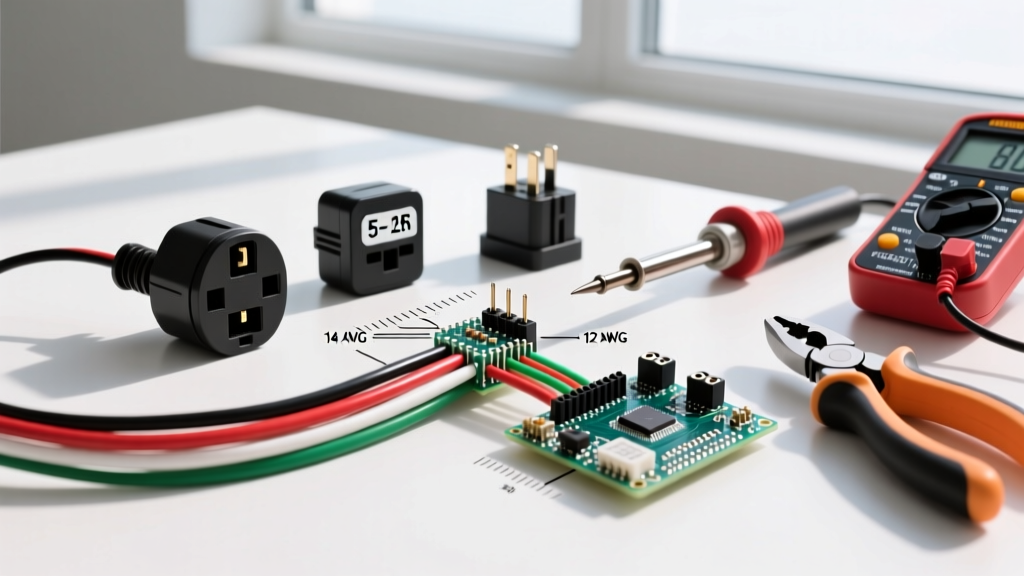
Replacing a failed GFCI takes approximately 15 to 20 minutes. You will need a non-contact voltage tester (NCVT), a Phillips screwdriver, wire strippers, and ideally a torque screwdriver.
- Kill the Power: Turn off the corresponding breaker at the main panel. Verify the power is dead using an NCVT and a plug-in tester. Never skip this step.
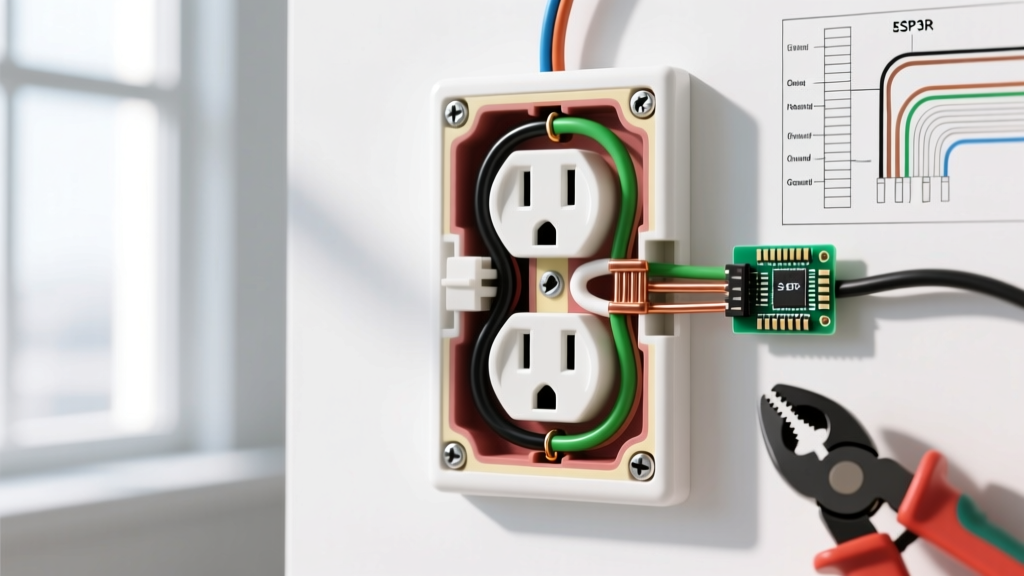
- Extract and Inspect: Remove the faceplate and unscrew the receptacle. Pull it out gently. Take a photo of the wiring before disconnecting anything. Note which wires are connected to the brass (Hot) and silver (Neutral) LINE screws, and which are on the LOAD screws.
- Prepare the Wires: If the old wires were backstabbed, cut off the damaged ends, strip them to 5/8 inch using the gauge on your wire strippers, and form a tight J-hook. Ensure you are working with 14 AWG wire for 15-Amp circuits or 12 AWG for 20-Amp circuits.
- Terminate with Precision: Hook the bare copper ground to the green screw, the white neutral to the silver LINE screw, and the black hot to the brass LINE screw. According to OSHA electrical safety guidelines and modern NEC standards, terminal screws should be torqued to the manufacturer's specification—typically 14 in-lbs for Leviton and Legrand devices. This prevents loose connections that cause arcing and heat buildup.
- Mount and Test: Carefully fold the wires into the back of the electrical box, ensuring the ground wire does not touch the hot terminal. Screw the device to the box, attach the faceplate, restore power, and press the TEST button, followed by the RESET button to verify proper operation.
Frequently Asked Questions
Can I replace a failed GFCI with a standard outlet?
No. If a GFCI was originally installed, it is legally required by the NEC for that specific location (e.g., bathrooms, garages, outdoors). Replacing it with a standard $3 receptacle is a code violation and creates a severe shock hazard. The only exception is if the circuit is protected by a GFCI breaker in the main panel, but upgrading the receptacle is still the safest route.
Why does my outdoor GFCI keep tripping when it rains?
Outdoor receptacles are highly susceptible to moisture ingress. If the weatherproof cover is cracked, missing, or lacks a foam gasket, water will seep into the box and trigger the GFCI. Upgrade to an 'in-use' weatherproof cover (often called a bubble cover) that allows you to close the lid while a cord is plugged in. Ensure the caulking around the siding is intact.
What if the reset button works, but the outlet has no power?
This almost always indicates a Line/Load reversal or a broken pigtail wire inside the wall. Use a multimeter to test for 120V between the hot and neutral terminals. If you have voltage at the terminals but no power at the plug slots, the internal brass contacts inside the receptacle have snapped or burned out, requiring immediate replacement.