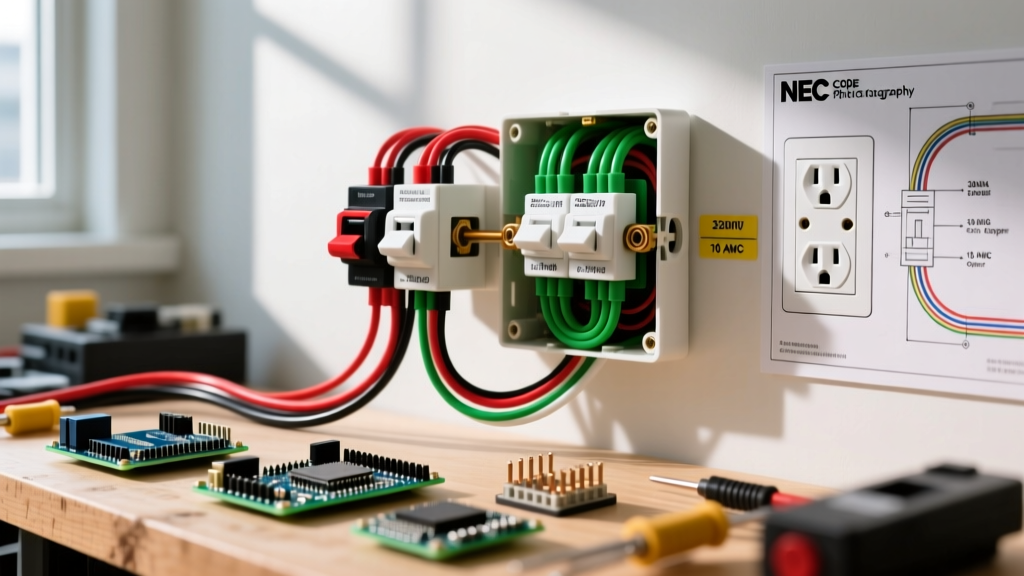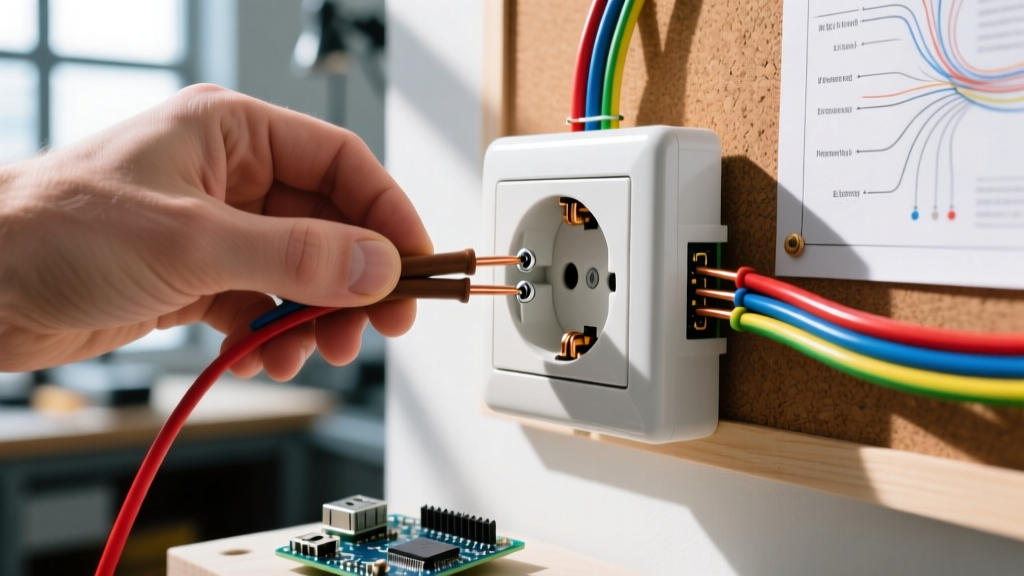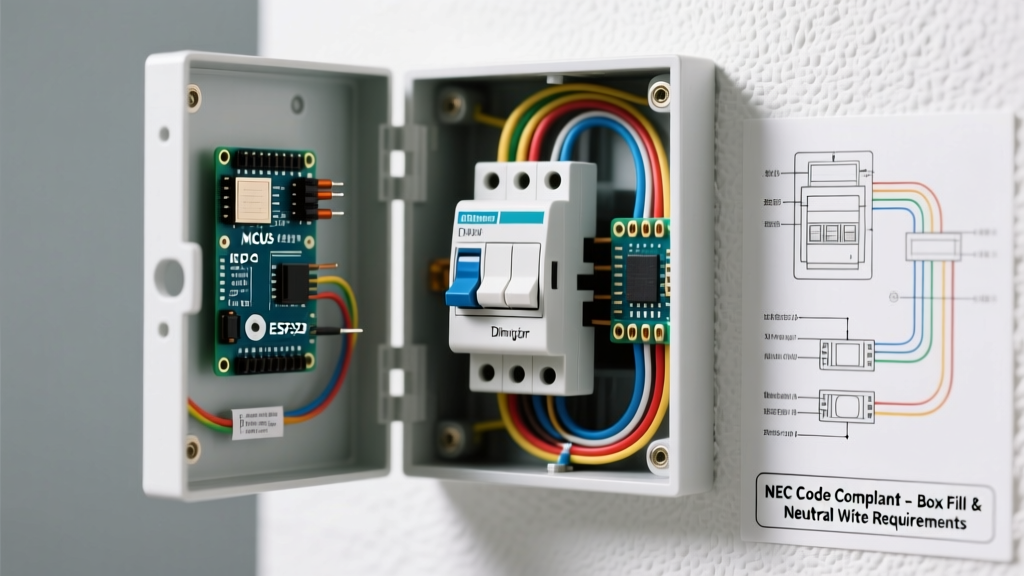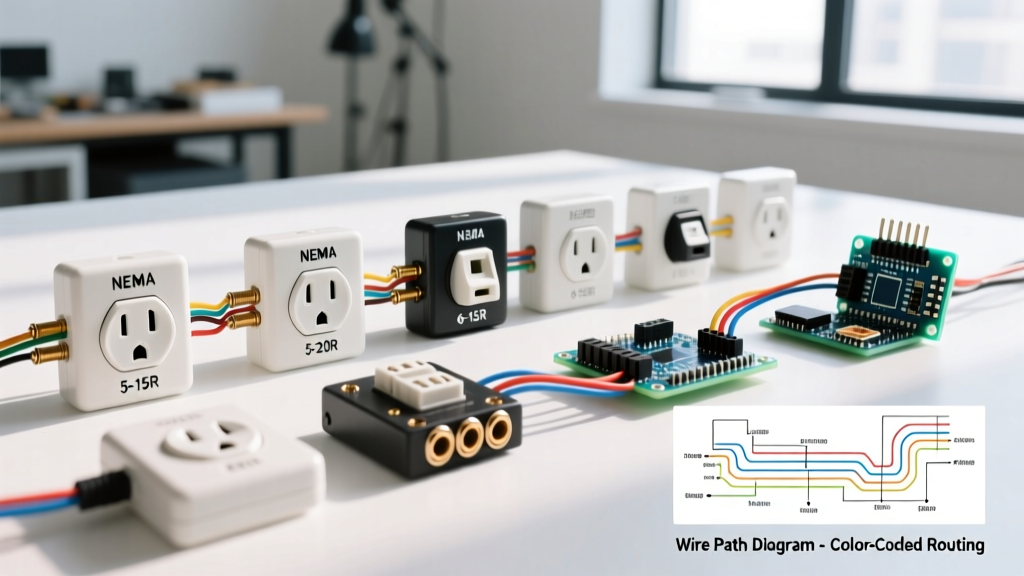

Homeowners and DIYers frequently snap a quick photo on their phone before heading to the hardware store, realizing too late that guessing the wrong receptacle leads to wasted time and potential code violations. Searching for a clear picture of electrical outlet configurations online is the fastest way to bridge the gap between a confusing wall plate and the correct SKU on the shelf. In 2026, with the widespread adoption of Level 2 EV chargers, smart home AFCI/GFCI combos, and strict National Electrical Code (NEC) tamper-resistant mandates, visual identification is no longer optional—it is a critical safety step.
This upgrade and replacement guide breaks down the physical anatomy of every major residential receptacle. By matching your physical wall plate to the visual descriptors below, you will know exactly which NEMA configuration you have, what wire gauge it requires, and which premium 2026 replacement models to buy.
The Legacy Ungrounded: NEMA 1-15R (2-Prong)
If your visual inspection reveals two parallel vertical slots with no third hole for a grounding pin, you are looking at a NEMA 1-15R. These are remnants of pre-1960s wiring and are strictly limited to 125 volts and 15 amps.
⚠️ Safety Warning: Never use a "cheater plug" (3-prong to 2-prong adapter) as a permanent solution. According to the U.S. Consumer Product Safety Commission (CPSC), ungrounded outlets pose a severe shock hazard and leave sensitive electronics vulnerable to power surges.
The 2026 Upgrade Path
Under NEC Article 406.4(D)(2), if you are replacing a 2-prong outlet and no equipment grounding conductor exists in the box, you have two legal options:
- Option A: Replace it with a GFCI receptacle (e.g., Leviton SmartlockPro 8599-WMP, approx. $18.00) and label it "No Equipment Ground."
- Option B: Run a new 14 AWG or 12 AWG grounding wire back to the panel to support a standard grounded 5-15R receptacle.
The Residential Workhorses: NEMA 5-15R & 5-20R
When you picture a standard electrical outlet in a modern home, you are likely picturing one of these two NEMA configurations. Both operate at 125 volts, but their amperage and physical blade acceptances differ significantly.
NEMA 5-15R (Standard 15-Amp Grounded)
Visual Identifier: Two vertical slots (the neutral slot is slightly longer than the hot slot) and a U-shaped grounding hole at the bottom.
Application: General lighting, bedrooms, living rooms, and low-draw appliances.
Best 2026 Replacement: Leviton Decora 5320-WMP (Tamper-Resistant). Priced around $3.50, it features built-in shutters that prevent children from inserting foreign objects, a mandate for all new residential construction.
NEMA 5-20R (20-Amp Grounded)
Visual Identifier: One vertical hot slot, one T-shaped neutral slot, and a U-shaped ground. The T-slot allows it to accept both standard 15A plugs and heavy-duty 20A plugs.
Application: Kitchen small-appliance circuits, bathrooms, and garage workbenches.
Best 2026 Replacement: Hubbell HBL5362 Heavy Duty (approx. $12.00). Hubbell's internal brass contacts provide superior grip tension, preventing the "loose plug" failure mode common in cheap builder-grade receptacles.
High-Voltage & Specialty Configurations
Upgrading a workshop or installing an EV charger requires moving beyond 125V. If your outlet looks drastically different from the standard duplex, consult these high-voltage profiles.
NEMA 6-20R (240V Workshop)
Visual Identifier: Two horizontal slots (one hot slot has a horizontal blade, the other is vertical), plus a U-ground.
Application: Window AC units, heavy-duty power tools, and 240V baseboard heaters. Requires a double-pole 20A breaker and 12 AWG wire.
NEMA 14-50R (EV Charger & Range)
Visual Identifier: A large, four-prong receptacle. Two angled hot slots at the top, an L-shaped neutral at the bottom left, and a U-ground at the bottom right.
Application: Electric ranges, RV hookups, and Level 2 EV chargers (like the Tesla Mobile Connector or ChargePoint Home Flex).
Installation Reality: This is not a simple swap. A 14-50R requires 6 AWG copper wire, a 50A double-pole breaker, and must be torqued to exact manufacturer specifications. The Hubbell HBL9450A (approx. $85.00) is the gold standard for EV charging due to its high-temperature thermoset housing that resists melting under continuous 40A loads.
Visual Identification Matrix: Receptacles at a Glance
Use this quick-reference table to match your physical outlet to the correct replacement specifications and estimated 2026 retail costs.
| Visual Identifier (NEMA) | Voltage / Amps | Physical Prong Configuration | Recommended 2026 Upgrade Model | Avg. Cost |
|---|---|---|---|---|
| 1-15R | 125V / 15A | 2 Parallel Vertical Slots (No Ground) | Leviton 8599-WMP (GFCI) | $18.00 |
| 5-15R | 125V / 15A | 2 Vertical Slots + U-Ground | Leviton 5320-WMP (TR Decora) | $3.50 |
| 5-20R | 125V / 20A | 1 Vertical, 1 T-Slot + U-Ground | Hubbell HBL5362 Heavy Duty | $12.00 |
| 6-20R | 250V / 20A | 2 Horizontal Slots + U-Ground | Leviton 5824-W | $14.50 |
| 14-50R | 125/250V / 50A | 4 Prongs (2 Hot, Neutral, Ground) | Hubbell HBL9450A (EV Rated) | $85.00 |
Decoding the Buttons: GFCI vs. AFCI Receptacles
Modern electrical codes require advanced protection in specific zones. If your outlet has buttons in the center, you must replace it with the exact same technology.
- GFCI (Ground Fault Circuit Interrupter): Features "TEST" and "RESET" buttons. Mandatory within 6 feet of water sources (kitchens, bathrooms, outdoors, garages). It monitors the balance of current between hot and neutral, tripping in milliseconds if it detects a ground fault (leakage to water or a person).
- AFCI (Arc Fault Circuit Interrupter): While primarily handled at the breaker panel, AFCI receptacles exist (e.g., Leviton AFTR1-W, approx. $28.00). They also feature Test/Reset buttons but include an internal microchip that "listens" for the high-frequency signature of arcing (sparking) caused by damaged wires or loose connections, preventing electrical fires.
The Professional 7-Step Replacement Protocol
Once you have used a picture of your electrical outlet to buy the correct NEMA replacement, follow this exact protocol to ensure a safe, code-compliant installation.
- Kill the Power & Verify: Turn off the breaker. Use a non-contact voltage tester (like the Klein NCVT-3) to confirm zero voltage at the receptacle. Never trust a breaker label blindly.
- Extract and Inspect: Remove the faceplate and unscrew the receptacle. Pull it out gently and inspect the wire insulation. If the sheathing is cracked or brittle, you must strip it back to fresh copper.
- Eliminate Backstabbing: If the old outlet was wired using the push-in "backstab" holes on the rear, do not reuse them on the new device. Backstabbed connections are the leading cause of outlet overheating and melting. Always use the side-terminal screws.
- Form the Shepherd's Hook: Strip 3/4 inch of insulation. Use needle-nose pliers to form a tight "J" hook in the copper wire.
- Hook Clockwise: Loop the wire around the terminal screw clockwise. This ensures that tightening the screw pulls the wire loop tighter rather than pushing it out.
- Torque to Specification: The National Electrical Code (NEC) 110.14(D) now mandates that terminals be tightened to the manufacturer's specified torque. Use an insulated torque screwdriver (e.g., Klein Tools 32500) set to the receptacle's rating (typically 12 to 14 in-lbs for standard 15A/20A devices).
- Wrap and Seat: Wrap the sides of the receptacle with electrical tape to cover exposed terminal screws (a pro habit to prevent shorting against metal boxes), then carefully fold the wires in a Z-pattern and secure the device.
Final Thoughts on Visual Identification
Taking the time to match a detailed picture of your electrical outlet to the correct NEMA standard prevents the frustration of returning to the store and eliminates the risk of installing a 20A device on a 15A breaker. For a comprehensive database of wiring device physical dimensions and blade configurations, refer to the National Electrical Manufacturers Association (NEMA) WD-6 standards. When in doubt regarding your home's amperage capacity or grounding status, consult a licensed electrician before initiating high-voltage upgrades.