
Why Your Electrical Outlet Stopped Working (But the Breaker is Fine)
There are few things more frustrating in home electrical troubleshooting than plugging in a device, getting zero power, and walking out to the panel only to find that the circuit breaker is perfectly fine. When an electrical outlet stopped working not breaker tripped, the fault lies somewhere in the physical wiring between the panel and the receptacle face. According to the Consumer Product Safety Commission (CPSC), hidden wiring faults, loose connections, and degraded terminals are leading precursors to residential electrical fires, making this an issue you cannot afford to ignore or put off.
In this guide, we will dissect the five most common wiring scenarios that cause a dead receptacle while the breaker remains untripped. We will provide diagnostic voltage tables, exact repair protocols, and tool recommendations current for 2026 to help you restore power safely.
CRITICAL SAFETY WARNING: Even if the breaker appears untripped, a mislabeled panel, a backfed circuit, or a multi-wire branch circuit (MWBC) could mean the outlet is still live. Always verify zero energy with a non-contact voltage tester (NCVT) and a multimeter before removing the receptacle cover plate. The Electrical Safety Foundation International (ESFI) strongly recommends treating all wires as live until proven otherwise with a calibrated meter.
Scenario 1: The Upstream GFCI Daisy Chain Failure
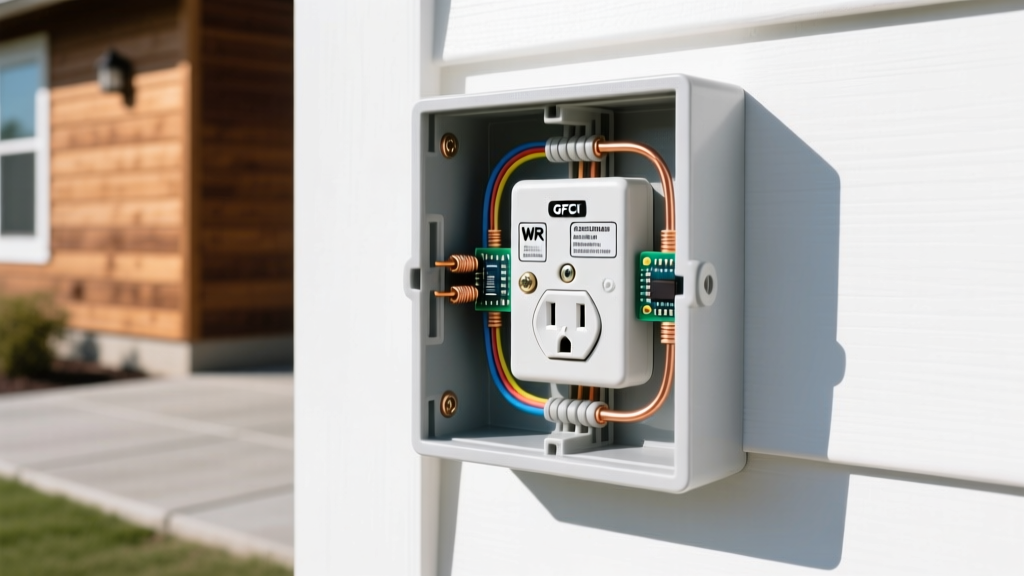
The single most common reason for a dead outlet with an untripped breaker is a tripped Ground Fault Circuit Interrupter (GFCI) located upstream on the same circuit. Modern electrical codes, including the latest NFPA 70 (National Electrical Code), mandate GFCI protection in kitchens, bathrooms, garages, exteriors, and unfinished basements.
Electricians often wire standard 15-amp duplex receptacles (like the ubiquitous Leviton 5320-WMP) to the 'LOAD' terminals of a single upstream GFCI to save money and meet code. If that upstream GFCI trips due to a minor ground leakage or moisture ingress, every standard outlet downstream will instantly lose power, yet the main panel breaker will remain completely unaffected.
How to Diagnose and Fix
- Locate the Upstream GFCI: Check the garage, exterior walls, and bathrooms. Look for the 'TEST' and 'RESET' buttons.
- Reset the Device: Press the RESET button firmly. If it clicks and stays in, test your dead outlet again.
- Edge Case - Nuisance Tripping: If the GFCI immediately trips again upon resetting, you have a genuine ground fault or a failing GFCI internal mechanism. Replace the GFCI with a new 20-amp model (e.g., Leviton GFNL1-W) if it serves a 20A circuit with 12 AWG wire.
Scenario 2: Backstabbed (Push-In) Connection Burnout
If your home was built or renovated between the 1970s and early 2000s, there is a high probability the receptacles were wired using 'backstab' or push-in terminals. These rely on a tiny internal brass spring clip to grip the stripped 14 AWG or 12 AWG solid copper wire.
While fast to install, backstabbed connections are notorious for failing under continuous load. When you run a 1500W space heater or a high-draw vacuum cleaner (drawing roughly 12.5 amps), the terminal heats up. Over years of thermal expansion and contraction, the brass spring loses its mechanical tension. The connection becomes high-resistance, leading to micro-arcing, melting of the plastic receptacle housing, and eventual total disconnection. Because this is a localized series fault, the breaker will not trip unless a dead short to ground occurs.
The Permanent Repair Protocol
- Turn off the breaker controlling the room (verify with a Klein Tools NCVT-3, approx. $28).
- Pull the receptacle from the box. If you see black scorch marks on the back or melted plastic around the push-in holes, the receptacle is destroyed and must be replaced.
- Release the wires using a small flathead screwdriver in the release slots, or simply cut the wires back to fresh copper.
- Strip 3/4 inch of insulation using a wire stripper and connect the wires to the side terminal screws of a new commercial-grade receptacle (e.g., Leviton Pro Grade 5362). Torque the screws to 12-14 inch-pounds to ensure a gas-tight mechanical bond.
Scenario 3: Burnt or Melted Wire Nuts (Pigtail Failures)
Electrical circuits often 'daisy-chain' from outlet to outlet using wire nuts to splice the incoming hot/neutral wires with the outgoing wires and a short 'pigtail' that connects to the receptacle. If the installer failed to strip the wires evenly, or if they used an undersized wire connector, the splice can develop a high-resistance fault.
According to Joule's Law (P = I²R), even a slight increase in resistance at a loose wire nut generates significant heat under load. Over time, the plastic shell of a standard twist-on wire nut (like the Ideal 73B) can melt, the copper oxidizes, and the neutral or hot connection simply drops out. This leaves the outlet dead, but since there is no overcurrent event, the breaker stays on.
Upgrading to Lever-Nut Connectors
In 2026, professional electricians heavily favor push-wire connectors with levers, such as the Wago 221 Series Lever-Nuts (approx. $0.50 to $0.75 each). They provide a transparent housing to verify wire insertion depth, require no twisting, and maintain constant spring pressure on the conductor regardless of thermal cycling. If you find a melted wire nut in your junction box, cut back to bright, unoxidized copper and terminate the splice using Wago 221-413 (3-conductor) or 221-415 (5-conductor) connectors.
Scenario 4: The Broken Tab / Split Recepticle Error
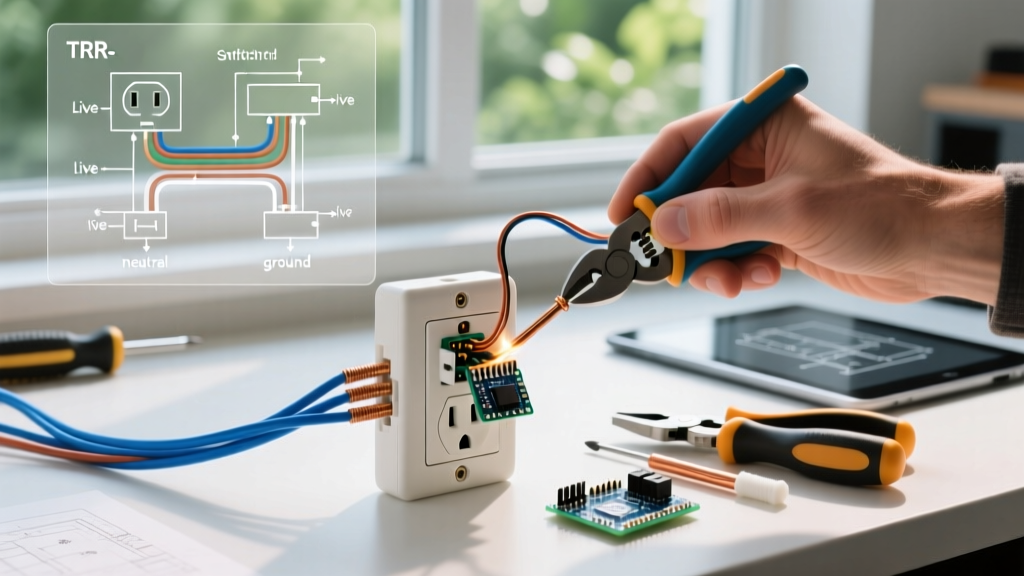
Standard duplex receptacles feature small brass and silver metal tabs connecting the top and bottom halves. This allows both outlets to function from a single circuit. However, in kitchens or living rooms, a previous DIYer or electrician may have snapped off the brass 'hot' tab to create a 'split-wired' receptacle (where the top half is switched by a wall switch, and the bottom half is always hot).
If someone later replaced the receptacle but forgot to break the tab on the new device, or conversely, if they broke the tab but failed to wire a second hot feed to the second terminal, half (or all) of the receptacle will appear dead. Furthermore, if a split receptacle is wired incorrectly on a multi-wire branch circuit (MWBC) without a handle-tied breaker, it can cause severe neutral overloading, though the individual single-pole breaker may not trip immediately.
Diagnostic Matrix: Identifying the Exact Wiring Fault
To accurately diagnose why your electrical outlet stopped working not breaker tripped, you need a True-RMS digital multimeter (such as the Fluke 117, retailing around $195 in 2026). Set the dial to AC Voltage (V~) and test the following combinations at the dead receptacle:
| Symptom / Reading | Hot-to-Neutral | Hot-to-Ground | Neutral-to-Ground | Likely Wiring Fault |
|---|---|---|---|---|
| Completely Dead | 0V | 0V | 0V | Upstream GFCI tripped, or broken hot wire upstream. |
| Open Neutral | 0V | ~120V | ~120V | Loose neutral wire nut, failed backstab neutral, or broken neutral upstream. |
| Fluctuating / Low Voltage | 80V - 110V | ~120V | 10V - 40V | High-resistance connection (burnt pigtail or corroded terminal) on the hot or neutral leg. |
| Reversed Polarity | ~120V | 0V | ~120V | Hot and neutral wires swapped on the receptacle terminals (Dangerous). |
Step-by-Step Troubleshooting Flow for Dead Outlets
Follow this systematic approach to isolate the failure point without tearing your walls apart unnecessarily.
- Map the Circuit: Plug a lamp into the dead outlet. Turn off breakers one by one until the lamp's cable tester (or a plugged-in radio) loses power. This confirms which breaker actually controls the circuit, ruling out panel mislabeling.
- Test Adjacent Outlets: Check the outlets physically closest to the dead one. If the outlet to the left works, but the dead one and the one to the right are both dead, the fault is almost certainly at the working outlet's 'LOAD' side terminals or the wire splice inside that specific box.
- Inspect the Point of Failure: Remove the working adjacent outlet. Look for backstabbed wires. If the wires feeding the dead outlet are pushed into the back of the working receptacle, pull them out, pigtail them using Wago lever-nuts, and connect them securely to the side screws.
- Check the Panel Neutral Bar: If an entire room is dead but the breaker is on, and you have verified hot-to-ground voltage but zero hot-to-neutral voltage at multiple outlets, you may have a loose neutral wire at the main panel's neutral bus bar. Note: Working inside the main panel is highly dangerous and should be performed by a licensed electrician if you are not experienced.
When to Call a Licensed Electrician
While fixing a backstabbed wire or resetting a GFCI is well within the capabilities of a diligent DIYer, certain scenarios require professional intervention. If your multimeter reads fluctuating voltages across multiple circuits, if you smell ozone or burning plastic near the panel, or if your home still utilizes original aluminum branch wiring (common in the late 1960s and 1970s), stop immediately. Aluminum wire requires specialized CO/ALR rated receptacles or Alumiconn pigtailing to prevent catastrophic fires at the termination points. By understanding these common wiring scenarios, you can safely restore power and ensure your home's electrical system remains robust and code-compliant.