
Why Is My Electrical Outlet Not Working? A Systematic Diagnostic Approach
When you plug in a device and nothing happens, the immediate question is: why is my electrical outlet not working? While it is tempting to assume a simple blown fuse or a faulty appliance, a dead receptacle is often a symptom of a deeper wiring fault, a degraded connection, or an upstream safety trip. According to the National Fire Protection Association (NFPA), electrical failures or malfunctions are among the leading causes of home structure fires. Ignoring a dead outlet or repeatedly resetting a tripped breaker without diagnosing the root cause can lead to catastrophic thermal events.
This inspection and testing guide moves beyond basic troubleshooting. We will use professional-grade diagnostic techniques to isolate the exact failure point, whether it is an open neutral, a degraded push-in terminal, or a hidden Ground Fault Circuit Interrupter (GFCI) trip. As of 2026, adherence to strict diagnostic protocols is essential for maintaining compliance with modern National Electrical Code (NEC) safety standards.
Essential Diagnostic Toolkit
To accurately diagnose a dead outlet, you must move past cheap neon voltage testers. You need tools that provide quantitative data and ensure your safety.
- Digital Multimeter (DMM): A True-RMS multimeter like the Fluke 117 (~$210) or the Klein Tools MM400 (~$45). True-RMS is critical for reading accurate voltages on circuits with non-linear loads.
- Non-Contact Voltage Tester (NCVT): The Klein Tools NCVT-2 (~$25) detects both standard 120V and low-voltage 12-48V signals, helping identify phantom voltages.
- Solenoid Voltage Tester: A Wiggy or modern equivalent like the Southwire 40100N (~$35). Unlike high-impedance DMMs, solenoid testers draw actual current, eliminating false 'phantom voltage' readings on open neutrals.
- Insulated Screwdrivers & Torque Driver: Wiha 1000V insulated set (~$35) and a torque screwdriver (e.g., Klein 610-8, ~$110) to meet NEC 110.14(D) terminal tightening requirements.
Phase 1: The Upstream GFCI and AFCI Cascade Check
Before touching a screwdriver, rule out the most common cause of a dead outlet: an upstream safety device trip. Modern homes wire standard receptacles to the 'LOAD' terminals of GFCI or AFCI devices located in seemingly unrelated areas.
Expert Insight: A dead outlet in a living room or garage is frequently protected by a GFCI located in a master bathroom, kitchen, or exterior wall. The Electrical Safety Foundation International (ESFI) emphasizes that GFCI protection is required in all damp or potentially damp locations, and daisy-chaining standard outlets to these devices is standard practice.
Action Step: Identify every GFCI receptacle in the home. Press the 'TEST' button, then the 'RESET' button. If the dead outlet regains power, the issue was a nuisance trip caused by moisture, a failing appliance motor, or cumulative leakage current exceeding the 4-6mA trip threshold.
Phase 2: Live Voltage Diagnostics (The 3-Point Multimeter Test)
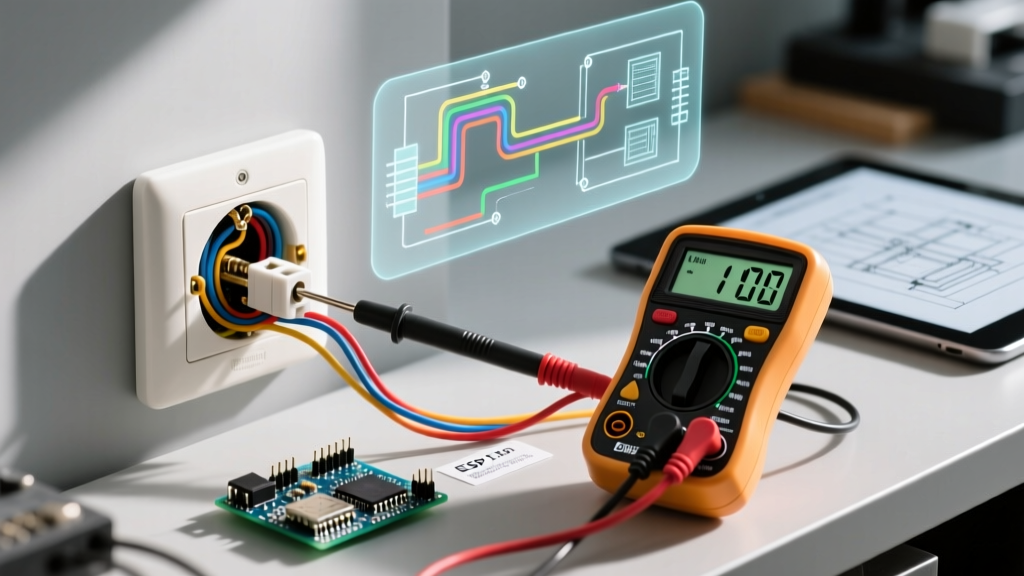
If the breaker is ON and no GFCI has tripped, it is time to test the receptacle under live conditions. Set your multimeter to AC Voltage (V~). Insert the probes into the receptacle slots to perform three distinct measurements. This 3-point matrix will definitively tell you why the outlet is not working.
The 3-Point Diagnostic Matrix
| Hot-to-Neutral (H-N) | Hot-to-Ground (H-G) | Neutral-to-Ground (N-G) | Diagnosis & Failure Mode |
|---|---|---|---|
| 0V | 0V | 0V | Open Hot / Tripped Breaker. No power is reaching the receptacle. Check the panel or upstream wire nut connections. |
| 0V | 120V | 120V | Open Neutral. The hot wire is live, but the return path is broken. Often caused by a backstabbed neutral wire that has arced and failed. |
| 120V | 0V | 0V | Open Ground. The outlet will power devices, but lacks a safety ground path. Dangerous for metal-chassis appliances. |
| 120V | 120V | ~0V to 2V | Normal / Healthy Circuit. If the outlet tests normal here but devices won't power, the receptacle's internal brass contacts are likely worn out and failing to grip the plug prongs. |
| 120V | 120V | 120V | Hot/Neutral Reversed. Extreme shock hazard. The white wire is carrying voltage, and the black wire is acting as the neutral. |
Understanding Phantom Voltage
If your digital multimeter reads 40V to 90V on a Hot-to-Neutral test, do not assume the circuit is partially live. High-impedance DMMs can detect 'phantom voltage' induced by adjacent live wires running in the same Romex cable or conduit. To confirm if the voltage is real, use your solenoid tester. If the solenoid does not pull in and click, the voltage is phantom, and you actually have an Open Hot or Open Neutral condition.
Phase 3: De-Energized Physical Inspection
Once live testing indicates a fault (or if the receptacle feels physically loose), turn OFF the circuit breaker at the main panel. Verify power is dead using your NCVT and multimeter. Remove the receptacle from the junction box to inspect the physical terminations.
The Danger of 'Backstabbed' Push-In Terminals
Look at the back of the receptacle. Are the stripped copper wires shoved into the small push-in holes? These are 'backstabbed' connections. They rely on a tiny spring-steel wedge to hold the 14 AWG or 12 AWG wire. Over years of thermal cycling (heating up under load and cooling down), the metal expands and contracts. This causes the wire to creep outward, creating a high-resistance connection. This high resistance generates intense localized heat, eventually melting the plastic housing or causing an open circuit.
The Fix: Never reuse backstabbed terminals. Cut off the damaged wire ends, strip back to fresh copper, and terminate the wires using the side screw terminals. Wrap the wire clockwise around the screw so that tightening the screw pulls the loop tighter.
NEC Torque Requirements
As of recent NEC updates (and strictly enforced in 2026 inspections), terminals must be tightened to the manufacturer's specified torque. Under-tightened screws cause arcing; over-tightened screws can strip the brass threads or snap the wire. Most standard 15A and 20A receptacles require between 14 in-lbs and 16 in-lbs of torque. Use a calibrated torque screwdriver to ensure a permanent, code-compliant connection.
Advanced Edge Case: Multi-Wire Branch Circuits (MWBC)
If you open the junction box and find two hot wires (one black, one red) connected to the circuit, you are dealing with a Multi-Wire Branch Circuit. MWBCs share a single neutral wire. If a previous DIYer disconnected the shared neutral to replace an outlet, or if the neutral wire nut failed, you will experience severe voltage fluctuations. Devices on one leg might see 40V, while devices on the other leg see 200V, instantly destroying electronics. If you identify an MWBC, ensure the two hot breakers are tied together with an approved handle tie, and verify the shared neutral is securely pigtailed, not daisy-chained through the receptacle itself.
Repair Cost and Time Matrix
Understanding the financial and time investment required for these repairs helps homeowners decide whether to DIY or call a licensed electrician. Note that costs reflect average 2026 material pricing.
| Failure Mode | Required Repair Action | Estimated Material Cost | DIY Time Investment |
|---|---|---|---|
| Upstream GFCI Trip | Locate and reset the upstream GFCI receptacle. | $0 | 10 - 15 Minutes |
| Worn Internal Contacts | Replace standard 15A receptacle (e.g., Leviton T52-0W). | $3 - $5 | 15 - 20 Minutes |
| Backstabbed Open Neutral | Cut, strip, and side-wire to screw terminals. | $1 (Wire nuts/pigtails) | 20 - 30 Minutes |
| Open Hot (Junction Box) | Trace circuit, locate failed wire nut upstream, and reconnect. | $5 | 1 - 3 Hours |
| Melted/Burnt Receptacle | Replace receptacle, inspect box for heat damage, replace damaged Romex if needed. | $15 - $45 | 1 - 2 Hours |
Final Safety Directives
If your multimeter testing reveals an Open Neutral or Open Hot, and you cannot locate the break in the accessible junction boxes, the fault may lie inside the walls or at the main panel bus bar. At this stage, the answer to 'why is my electrical outlet not working' requires invasive tracing tools like a tone generator or thermal imaging camera. Stop DIY troubleshooting and consult a licensed master electrician. Working inside a live main panel or tearing into drywall without proper permits and safety gear violates U.S. Consumer Product Safety Commission (CPSC) safety guidelines and poses a lethal arc-flash risk.
By methodically applying the 3-point multimeter test and eliminating backstabbed connections, you can resolve 95% of dead outlet issues safely, ensuring your home's electrical infrastructure remains robust and code-compliant.