
The Reality of Tight-Space Wiring
Encountering a wall cavity that is too shallow for a standard electrical box is a common frustration in older homes, concrete block construction, or when dealing with furring strips behind drywall. Standard single-gang boxes require a depth of 2.75 to 3.5 inches. When your available depth is less than 2 inches, you must pivot to a shallow electrical outlet configuration. However, shrinking the box depth drastically reduces the available cubic inch volume, triggering strict National Electrical Code (NEC) box fill limitations that can turn a simple swap into a code violation if miscalculated.
Critical Distinction: Shallow Wall Box vs. Pancake Box
Do not confuse a shallow wall box (typically 1.25 to 1.75 inches deep) with a 'pancake' box (0.5 inches deep). Pancake boxes are strictly designed for ceiling-mounted light fixtures where no device yoke is present. You physically and legally cannot install a standard receptacle in a 0.5-inch pancake box. For wall receptacles, you must use a shallow single-gang or 4x4 shallow box paired with a mud ring.
When to Deploy a Shallow Electrical Outlet
Installing a shallow electrical outlet box is not a default choice; it is a specialized solution for constrained environments. Consider this approach only when dealing with the following scenarios:
- Masonry and Concrete Walls: When furring out a basement or block wall with 1x2 or 1x3 strapping, standard boxes will protrude past the drywall.
- Historic Plaster and Lath: Retrofitting outlets into walls with minimal cavity depth or diagonal wood sheathing behind the plaster.
- Staircase Stringers and Built-ins: Adding power to shallow bookshelves, under-stair wainscoting, or tight cabinetry where the backing material is less than 2 inches from the exterior finish.
- Metal Studs with Acoustic Insulation: In commercial builds where 1.5-inch metal studs are used with rigid foam board, leaving virtually zero clearance for standard boxes.
Top Shallow Box Models Compared
Selecting the right enclosure is paramount. Below is a comparison of the most reliable shallow boxes available on the market, reflecting current 2026 pricing and specifications.
| Manufacturer / Model | Type | Depth | Volume | Avg. Price | Best Application |
|---|---|---|---|---|---|
| Carlon B618R | PVC Old Work | 1.75 in. | 14 cu in. | $1.85 | Drywall retrofits, residential remodels |
| Raco 8211 | Steel Pancake | 1.25 in. | 10.5 cu in. | $3.40 | Surface mount on concrete, metal studs |
| Arlington BE1 | PVC Old Work | 1.38 in. | 12.5 cu in. | $2.10 | Tight plaster walls, low-clearance cavities |
| Allied Moulded RPSC | Fiberglass | 1.50 in. | 14 cu in. | $4.50 | High-moisture, commercial shallow walls |
NEC Box Fill Math: The Make-or-Break Calculation
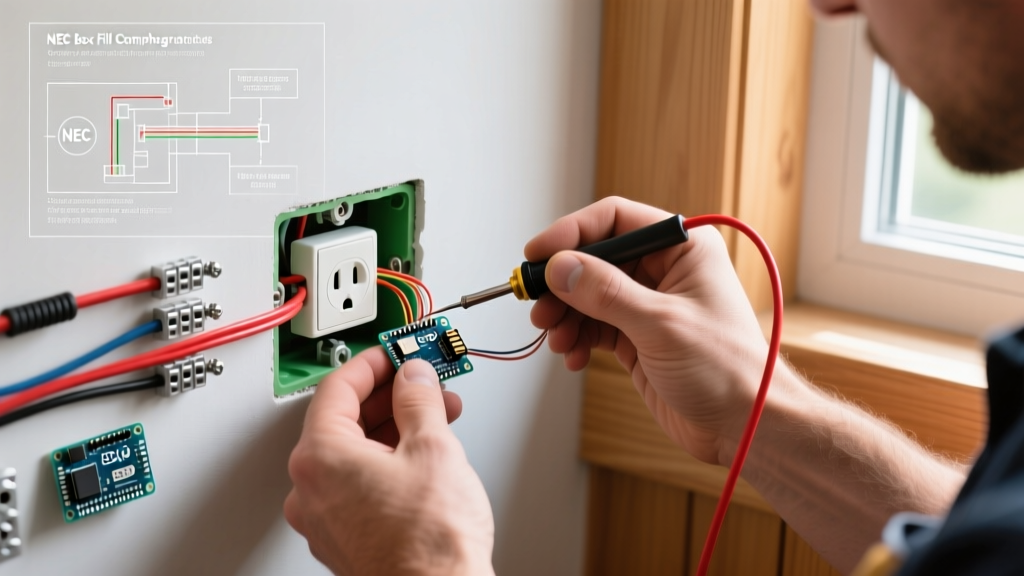
The most common mistake DIYers make with a shallow electrical outlet is ignoring NEC Article 314.16 regarding box fill. Shallow boxes have severely restricted cubic inch (cu in.) capacities. You must calculate the 'wire volumes' before pulling a single cable.
Calculating Cubic Inches for 14 AWG and 12 AWG
Under the NEC, each 14 AWG conductor requires 2.0 cu in. of space, while each 12 AWG conductor requires 2.25 cu in. Furthermore, the receptacle device itself counts as two wire volumes (e.g., 4.0 cu in. for 14 AWG). All grounding conductors combined count as a single volume, and internal cable clamps count as one volume.
Real-World Example: You are installing a Leviton 5262 receptacle using one 14/2 NM-B cable (1 hot, 1 neutral, 1 ground) into a Carlon B618R (14 cu in. box).
- 1 Hot wire = 2.0 cu in.
- 1 Neutral wire = 2.0 cu in.
- 1 Ground wire = 2.0 cu in.
- Internal clamps = 2.0 cu in.
- Device yoke = 4.0 cu in.
- Total Required = 12.0 cu in.
Since 12.0 cu in. is less than the 14 cu in. capacity of the B618R, this installation is code-compliant. However, if you attempt to daisy-chain a second 14/2 cable through this same shallow box, your required volume jumps to 18.0 cu in., resulting in a severe code violation and a dangerous overheating risk.
Step-by-Step Installation Guide
Follow this precise workflow to ensure a safe, flush, and code-compliant installation.
Step 1: Power Verification and Drywall Scoring
Shut off the circuit breaker and verify zero voltage using a non-contact voltage tester and a multimeter. When cutting the drywall opening for an old-work shallow box like the Carlon B618R, trace the template exactly. Shallow boxes rely on smaller, more fragile mounting wings; an oversized hole will compromise the box's structural integrity and cause drywall cracking over time.
Step 2: Cable Routing and Stripping
Feed the NM-B cable through the knockout. Because shallow boxes lack the depth for large cable loops, strip the outer jacket precisely 1/4 inch past the internal clamp. Leave exactly 6 inches of conductor length inside the box. Any more, and you will struggle to fold the wires into the shallow cavity; any less, and you won't reach the receptacle terminals.
Step 3: Prepare the Conductors
Strip 3/4 inch of insulation from the hot and neutral wires. Use a wire bending gauge to form a perfect 'J' hook. In shallow boxes, space is at a premium; flat, neat hooks ensure the wires lay flush against the back of the box rather than bulging outward and pushing against the receptacle yoke.
Step 4: Terminate the Receptacle
Connect the bare copper ground to the green screw, the white neutral to the silver screw, and the black hot to the brass screw. Never use the back-stab (push-in) connections on shallow box installations. The rigid tension of back-stabbed wires creates a bulky profile that prevents the receptacle from seating properly in a 1.25-inch deep box. Always use the side terminal screws.
Step 5: Torque and Fold
Tighten the terminal screws to the manufacturer's specified torque. For most commercial-grade receptacles (like Leviton or Hubbell), this is exactly 14 in-lbs. Use a calibrated torque screwdriver. Carefully fold the ground wire to the absolute back of the box, followed by the neutral, and finally the hot wire, creating an accordion fold. Push the receptacle in, ensuring no wires are pinched between the yoke and the drywall.
Common Failure Modes and Edge Cases
- Drywall Bulging and Cracking: If the wires are not folded meticulously, the receptacle will act like a wedge, pushing outward against the drywall. Over time, the tension will crack the plaster or drywall paper around the faceplate.
- Neutral Crowding in Multi-Wire Branch Circuits (MWBC): Never attempt to land an MWBC in a standard single-gang shallow box. The volume required for two hots, one shared neutral, and the device will almost always exceed the cubic inch limit of a shallow enclosure.
- GFCI Incompatibility: Standard GFCI receptacles are physically deeper than standard duplex receptacles. They will physically not fit into a 1.25-inch or 1.5-inch shallow box. If ground fault protection is required in a shallow location, you must install a standard-depth box elsewhere on the circuit and use a GFCI breaker in the panel, or use a specialized shallow-depth GFCI (which are rare and expensive).
Frequently Asked Questions
Can I use a shallow electrical outlet box for a smart switch?
Generally, no. Smart switches (like Lutron Caseta or Kasa) contain bulky internal relays and Wi-Fi/Zigbee radios that require a minimum depth of 2.5 inches. Attempting to cram a smart switch into a 1.5-inch shallow box will damage the internal components and violate NEC box fill rules. Stick to standard dumb switches or shallow-compatible micro-relays installed in the canopy.
Are shallow metal boxes better than PVC for tight spaces?
Steel shallow boxes (like the Raco 8211) offer superior grounding via the box itself and are required in commercial metal-stud construction or surface-mounted masonry applications. However, for residential drywall retrofits, PVC old-work shallow boxes are preferred because their integrated flip-clamps grip the drywall more securely without the risk of shorting against hidden metal lath or foil-backed insulation.
How do I handle grounding in a shallow metal box?
According to CPSC electrical safety guidelines and NEC 250.148, you must bond the equipment grounding conductor to the metal box using a listed grounding screw (typically a green 10-32 screw) and a pigtail. In a shallow metal box, this adds an extra wire volume to your box fill calculation, which must be accounted for before installation.