
The Evolution of Dryer Receptacles: Why Code Changed
Upgrading or installing a new dryer electrical outlet box is not a simple swap of hardware; it is a critical life-safety intervention governed by strict National Electrical Code (NEC) standards. Historically, electric dryers utilized a 3-prong NEMA 10-30 configuration, which combined the neutral and ground paths into a single conductor. This design inherently flawed, as any fault current or loose neutral connection could energize the dryer's metal chassis, posing a severe shock hazard.
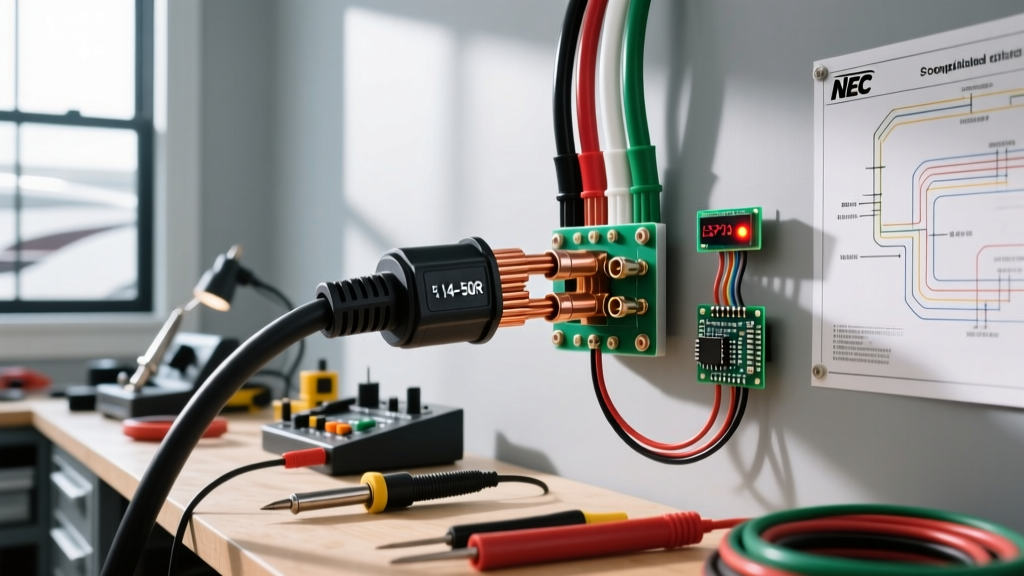
Since the 1996 NEC revision, the standard has mandated a 4-wire system (NEMA 14-30R) for all new construction. This configuration separates the equipment grounding conductor (EGC) from the grounded (neutral) conductor. As we navigate the 2026 electrical landscape, code compliance for your dryer electrical outlet box now includes stringent Ground-Fault Circuit Interrupter (GFCI) requirements that many older guides fail to mention.
2026 NEC Update: The Mandatory GFCI Requirement
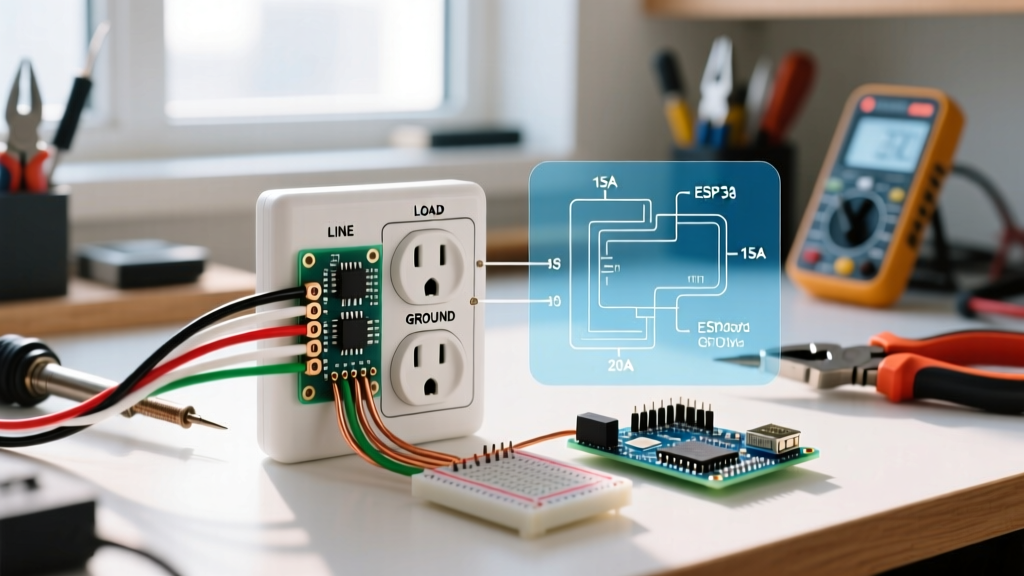
The most significant modern update affecting your dryer electrical outlet box is the expansion of GFCI protection. Under NEC Section 210.8(F), all 125-volt through 250-volt receptacles supplied by single-phase branch circuits rated 150 volts or less to ground, and 50 amperes or less, located in laundry areas must now have GFCI protection.
This means a standard, non-GFCI NEMA 14-30R receptacle is no longer code-compliant in a newly wired or upgraded laundry room. You have two compliant pathways to achieve this:
- GFCI Circuit Breaker: Install a 30-Amp, double-pole GFCI breaker (e.g., Square D HOM230GFI or Eaton BR230GF) in your main service panel. This typically costs between $110 and $140 and allows you to use a standard NEMA 14-30R receptacle at the box.
- GFCI Receptacle: Install a 30-Amp, 250V GFCI receptacle (e.g., Leviton 2091-W or Hubbell 9430GFI) directly into the outlet box. These specialized receptacles cost around $85 to $110 and require a standard 30A double-pole breaker at the panel.
Safety Warning: Never attempt to replace a 30A breaker with a higher amperage to stop nuisance tripping. Nuisance trips on a GFCI indicate a genuine ground fault or moisture intrusion in the dryer or wiring, which requires immediate professional diagnosis.
Sizing and Selecting the Right Dryer Electrical Outlet Box
A 10 AWG, 4-conductor cable is exceptionally stiff, and the NEMA 14-30R receptacle features large, heavy-duty terminals. Cramming this wire into a standard, shallow single-gang box is a direct violation of NEC Article 314.16 (Box Volume Calculations) and creates a severe fire risk due to crushed insulation and stressed terminals.
| Box Type | Recommended Model / Spec | Minimum Volume | Best Application |
|---|---|---|---|
| Flush Mount (Metal) | Raco 8272 (4" x 4" x 2-1/8" Deep) | 30.3 cubic inches | New construction or open-stud retrofits |
| Surface Mount (Metal) | TayMac MX540 or Leviton 400 | 21.0 cubic inches | Concrete walls, finished drywall retrofits |
| Old Work (Drywall) | Carlon B618R-UPC (Extra Deep) | 22.0 cubic inches | Closed-wall retrofits (must use NM cable clamps) |
For surface mount applications, ensure the box features integral cable clamps or install separate NM-B connectors to protect the wire sheath from the sharp metal edges of the knockout holes.
Wire Gauge, Breaker Sizing, and Conductor Rules
Electric dryers require a dedicated 240-volt, 30-amp circuit. Sizing the conductors correctly is non-negotiable. According to NEC Article 210.23 and 240.4(D), the standard requirements are:
- Copper Wire: 10 AWG (10/3 NM-B or 10/3 MC). This is rated for 30A at 60°C/75°C terminations.
- Aluminum Wire: 8 AWG (8/3 SER or USE-2). Aluminum has lower ampacity and higher expansion rates; it must be coated with anti-oxidant compound (e.g., Noalox) and torqued precisely to prevent thermal creep and subsequent arcing.
- Breaker: 30-Amp, double-pole (240V). Never use a 40A or 50A breaker, even if the wire is oversized, as the receptacle terminals are only rated for 30A.
Step-by-Step Code-Compliant Installation
Follow this precise sequence to ensure your dryer electrical outlet box passes inspection and operates safely for decades.
1. Prepare the Conductors
Strip back the outer NM-B jacket exactly to the point where it enters the box clamp—no jacket should be inside the box, but no bare ground wire should be exposed outside the clamp. Strip the individual conductor insulation back 3/4 of an inch. Use a dedicated wire stripper to avoid nicking the copper, which creates a hot spot.
2. Terminate the Grounding Conductor First
Connect the bare (or green) equipment grounding conductor to the green grounding screw inside the metal box (if using a metal box) or directly to the green terminal on the NEMA 14-30R receptacle. If terminating to the box first, run a 10 AWG green pigtail from the box's ground screw to the receptacle's ground terminal.
3. Connect the Neutral (White)
Connect the white (neutral) wire to the silver-colored terminal marked 'W' or 'White' on the receptacle. Do not connect this to the ground terminal.
4. Connect the Hot Legs (Black and Red)
Connect the black and red wires to the two brass-colored terminals marked 'X' and 'Y'. In a 240V split-phase system, polarity between X and Y does not matter for the dryer's operation, but keep them neatly separated to avoid crossing wires inside the box.
5. Apply Precision Torque
This is the most skipped step by amateur DIYers. NEC 110.14(D) requires terminations to be torqued to the manufacturer's specifications. For heavy-duty 30A receptacles (like Hubbell or Leviton), terminal screws typically require between 14 and 18 inch-pounds of torque. Use a calibrated inch-pound torque screwdriver. Under-torquing leads to loose connections and arc faults; over-torquing strips the brass threads or shears the screw head.
Critical Safety Failure Modes to Avoid
When wiring your dryer electrical outlet box, avoiding these common edge-case failures is vital for household safety.
- The 'Bootleg' Ground: Never use a jumper wire to connect the neutral terminal to the ground terminal on a 4-prong receptacle. This creates a parallel neutral path on the grounding system, energizing the dryer chassis if the neutral wire fails upstream.
- Leaving the Dryer Bonding Strap: When plugging a 4-prong cord into a new 4-prong receptacle, you must remove the green bonding strap or bonding wire inside the dryer's terminal block that connects the neutral post to the metal frame. Leaving this strap in place on a 4-wire system defeats the separate ground wire and violates NEC 250.140.
- Daisy-Chaining: A dryer circuit must be an individual, dedicated branch circuit. You cannot daisy-chain a 120V utility receptacle off the 30A dryer circuit using a step-down transformer or improper splicing.
2026 Material Cost Breakdown
Budgeting for a code-compliant upgrade requires accounting for modern GFCI mandates and premium hardware. Below is a realistic cost estimate for a standard 30-foot run using copper wiring.
| Component | Specification | Estimated Cost (2026) |
|---|---|---|
| Wire | 30 ft of 10/3 NM-B (Southwire Cerro) | $55.00 - $65.00 |
| Breaker | 30A Double-Pole GFCI (Square D HOM230GFI) | $125.00 - $145.00 |
| Receptacle | Standard NEMA 14-30R (Leviton 278-S00) | $15.00 - $22.00 |
| Outlet Box | 4" x 4" x 2-1/8" Metal Box + Cover | $12.00 - $18.00 |
| Misc. | Wire staples, NM connectors, torque seal | $10.00 - $15.00 |
| Total | Materials Only (Excluding Labor/Permits) | $217.00 - $265.00 |
Final Inspection and Compliance Verification
Before energizing the circuit, perform a visual inspection. Ensure no bare copper (other than the ground wire) is visible outside the terminal connections, and verify that the wire sheath is clamped securely inside the box. Once energized, use a specialized 3-prong/4-prong receptacle tester (such as the Klein Tools RT250 or Gardner Bender GRT-3500) to verify correct wiring, open neutral, and open ground conditions.
Adhering to these rigorous standards ensures your dryer electrical outlet box operates safely, efficiently, and in full compliance with modern electrical codes. For further reading on household electrical safety and code updates, consult the National Fire Protection Association's NEC resources and the Electrical Safety Foundation International (ESFI) home safety guidelines. Always pull local permits and have your work inspected by the Authority Having Jurisdiction (AHJ) to guarantee your installation meets all municipal amendments to the national code.