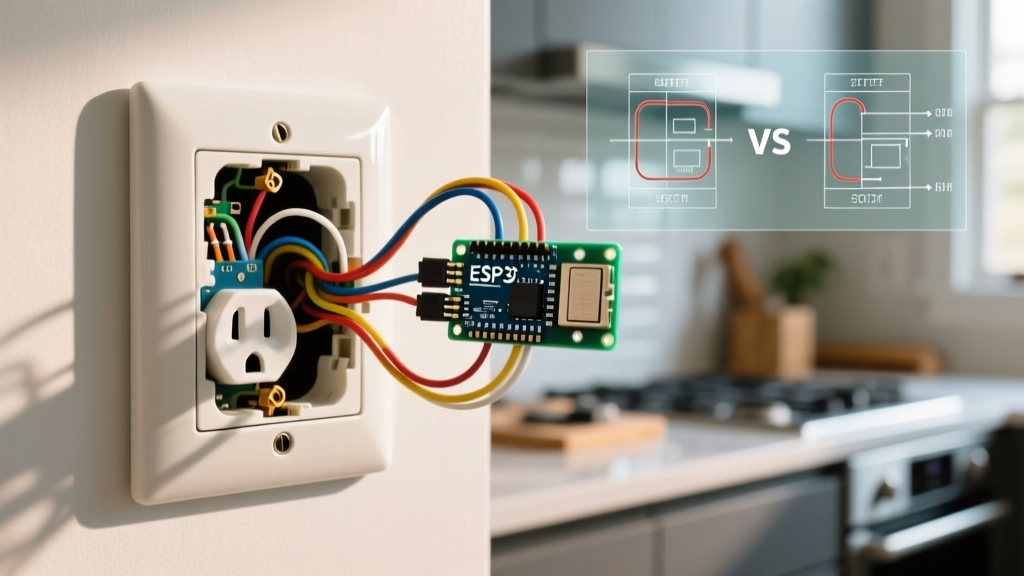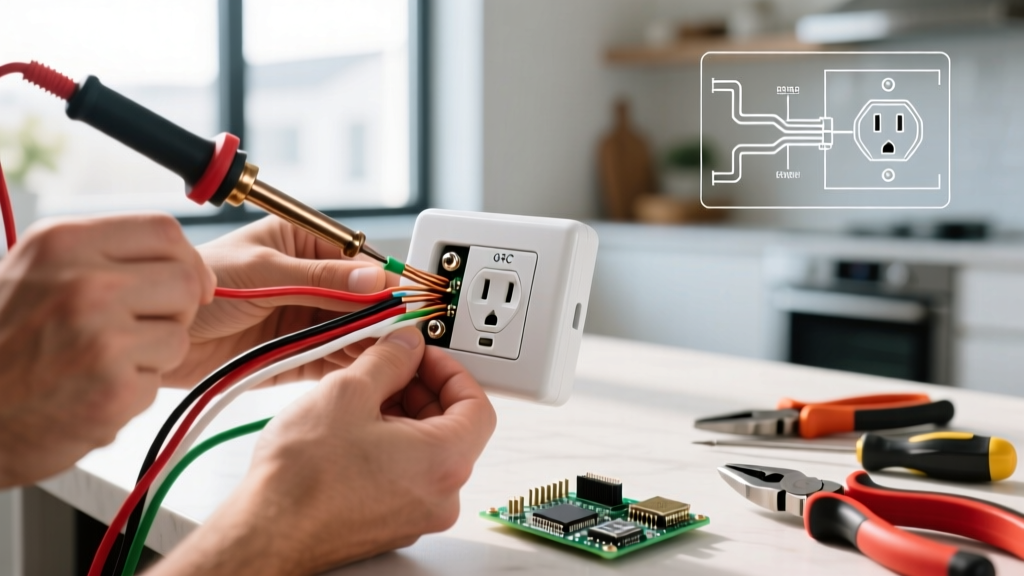

Why and When to Change an Electrical Outlet
Most homeowners ignore their wall receptacles until a plug falls out or a breaker trips. However, knowing how to change an electrical outlet is a critical maintenance skill. Outlets degrade over time; the internal brass contacts lose their tension, leading to high-resistance connections, arcing, and potential fire hazards. According to the National Fire Protection Association (NFPA), electrical distribution and lighting equipment are consistently among the leading causes of home structure fires.
Beyond safety, upgrading your receptacles allows you to integrate modern power delivery, such as USB-C Power Delivery (PD) ports, and ensure compliance with the latest National Electrical Code (NEC) requirements for Tamper-Resistant (TR) and Ground-Fault Circuit Interrupter (GFCI) protection.
The Diagnostic Checklist: Is Replacement Necessary?
Before tearing into the wall, evaluate the existing outlet against these failure modes:
- The "Drop Test": If a standard 3-prong plug slides out of the receptacle under its own weight, the internal wipers are fatigued. Replace immediately.
- Thermal Damage: Brown scorch marks on the faceplate or a melted yoke indicate high-resistance arcing, usually caused by "backstabbed" push-in wire connections.
- Cracked Faceplates: Compromised plastic exposes live terminals and violates UL listing requirements.
- Lack of TR/GFCI Protection: If your home was built before 2008, it likely lacks Tamper-Resistant shutters, a mandatory safety feature for all 15A and 20A, 125V receptacles in dwelling units.
Tools and Materials for a Professional-Grade Swap
Skip the cheap hardware store kits. To meet modern NEC 110.14(D) requirements for calibrated torque terminations, you need precision tools. Below is the professional loadout for a 2026-compliant installation.
| Tool / Material | Recommended Model | Estimated Cost | Purpose |
|---|---|---|---|
| Digital Multimeter | Fluke 117 True RMS | $180.00 | Verifying dead circuit and testing continuity |
| Wire Strippers | Klein Tools 11055 (10-20 AWG) | $28.00 | Cleanly stripping 14 AWG and 12 AWG solid copper |
| Torque Screwdriver | Wiha 645P (10-70 in-lbs) | $115.00 | Meeting NEC torque specifications for terminations |
| Receptacle Tester | Gardner Bender GRT-501 | $12.00 | Post-installation verification of wiring sequence |
| TR Duplex Receptacle | Leviton T5320 (15A) or 5362 (20A) | $3.50 - $5.00 | Standard code-compliant replacement |
Step-by-Step: How to Change an Electrical Outlet
Follow this precise workflow to ensure a safe, code-compliant installation. Always consult EC&M's National Electrical Code resources if you are unsure about local jurisdiction amendments.
Step 1: Isolate and Verify Power
Turn off the breaker at the main panel. Do not rely solely on a non-contact voltage tester (NCVT), as phantom voltages can cause false readings. Insert a multimeter or a plug-in circuit tester into the top and bottom receptacles to confirm 0V across hot-to-neutral and hot-to-ground.
Step 2: Extract and Inspect the Wiring
Remove the center screw and pull the yoke out of the junction box. Inspect the wire insulation. If the insulation is brittle, cracked, or shows heat damage, you must cut back the wire to healthy copper. Warning: If you discover silver-colored aluminum wiring (common in homes built between 1965 and 1973), stop. See the "Edge Cases" section below.
Step 3: Prep the Conductors
Strip exactly 3/4-inch of insulation for 14 AWG wire, or 5/8-inch for 12 AWG wire. If reusing existing J-hooks, straighten them with needle-nose pliers and clean any oxidation off the bare copper with a wire brush.
Step 4: Terminate Using Side-Wiring or Screw-Clamp
Never use push-in "backstab" holes. They rely on a tiny spring-metal wedge that loosens over time due to thermal expansion and contraction. Instead, use side-wiring (wrapping the J-hook clockwise around the screw) or the premium "back-wire" screw-clamp plates found on commercial-spec outlets (like the Leviton ProGrade line). Tighten the terminal screws to the manufacturer's specified torque, typically 14 to 16 inch-pounds for 14 AWG and 12 AWG solid wire.
Step 5: The Split-Receptacle Tab Check
If the old outlet was wired so the top half is controlled by a wall switch and the bottom half is always hot (common in living rooms and bedrooms), you must break off the brass "break-off fin" tab on the hot (black/brass) side of the new receptacle. Failing to do this will cause a dead short when the wall switch is toggled.
Upgrade Options: Beyond the Standard Duplex
When you open the wall, it is the perfect time to upgrade the receptacle's functionality. The Consumer Product Safety Commission (CPSC) heavily advocates for GFCI upgrades in wet areas, but modern tech offers even more.
| Receptacle Type | Best Application | Model Example | Avg. Price |
|---|---|---|---|
| GFCI (Ground Fault) | Bathrooms, kitchens, garages, outdoors | Leviton GFNT1-W | $18.00 |
| USB Type-C + Type-A | Kitchen islands, nightstands, home offices | Leviton T5636 (30W PD) | $34.00 |
| AFCI/GFCI Dual Function | Laundry rooms, kitchens (where NEC requires both) | Eaton GFA1523N | $45.00 |
| Pop-Up Floor Receptacle | Open-concept living rooms, under dining tables | Leviton 62341-POB | $110.00 |
Pro-Tip on Box Fill Calculations: USB-C receptacles have massive internal transformer bodies. Before upgrading to a USB outlet, calculate your box fill per NEC 314.16. A standard single-gang 18-cubic-inch box may not have enough volume to legally accommodate a USB receptacle alongside multiple cable clamps and wire nuts. If the box is too small, you must install an old-work box extender or upgrade to a deeper junction box.
Edge Cases and Troubleshooting
The Aluminum Wiring Hazard
If your home has aluminum branch wiring, you cannot simply swap in a standard copper-rated receptacle. Aluminum expands and contracts at a different rate than copper, leading to loose connections and fires. You must either use a receptacle explicitly marked CO/ALR (Copper/Aluminum Revised), such as the Leviton 1620, or pigtail the aluminum wires to copper using AlumiConn lug connectors or Ideal Purple Wire Nuts before connecting to a standard outlet.
Reverse Polarity and Open Neutrals
After installation, plug in your receptacle tester. If the tester indicates "Reverse Polarity" (hot and neutral swapped), immediately turn off the breaker and swap the black (hot) and white (neutral) wires on the brass and silver screws, respectively. An "Open Neutral" reading means your white wire is not making solid contact or is disconnected upstream.
Frequently Asked Questions
Can I replace a 15-amp outlet with a 20-amp outlet?
Only if the circuit is protected by a 20-amp breaker and the wiring in the wall is 12 AWG copper. If your wall contains 14 AWG wire (common on 15-amp circuits), installing a 20-amp receptacle is a severe fire hazard and an NEC violation, as the breaker will not trip before the 14 AWG wire melts under a 20-amp load.
Why does my new GFCI outlet trip immediately when I plug in a device?
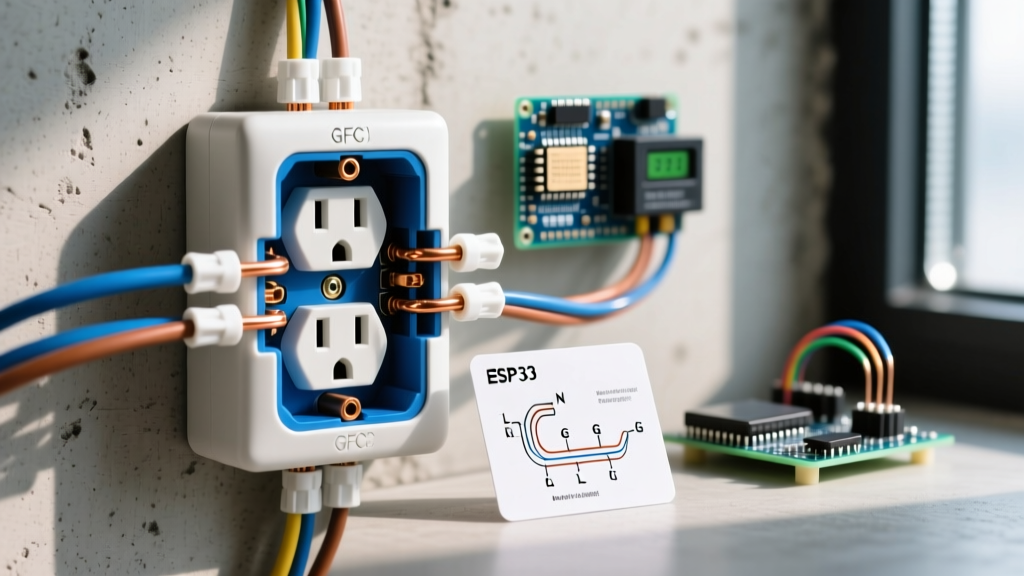
This usually happens for two reasons. First, you may have wired the "LOAD" terminals instead of the "LINE" terminals. The LINE terminals bring power in; the LOAD terminals send protected power downstream. Second, you may have a downstream ground fault on another device connected to the LOAD terminals. Disconnect the LOAD wires and test the GFCI in isolation to diagnose.
Do I need an electrician to change an electrical outlet?
For a standard like-for-like duplex swap in a modern home with copper wiring, a competent DIYer can perform the work legally in most jurisdictions without a permit. However, if you are adding new circuits, upgrading a service panel, or dealing with ungrounded (2-prong) knob-and-tube wiring, you must hire a licensed master electrician to pull permits and ensure life-safety compliance.