
The Evolution of the Kitchen Island: Why Upgrade Your Outlets?
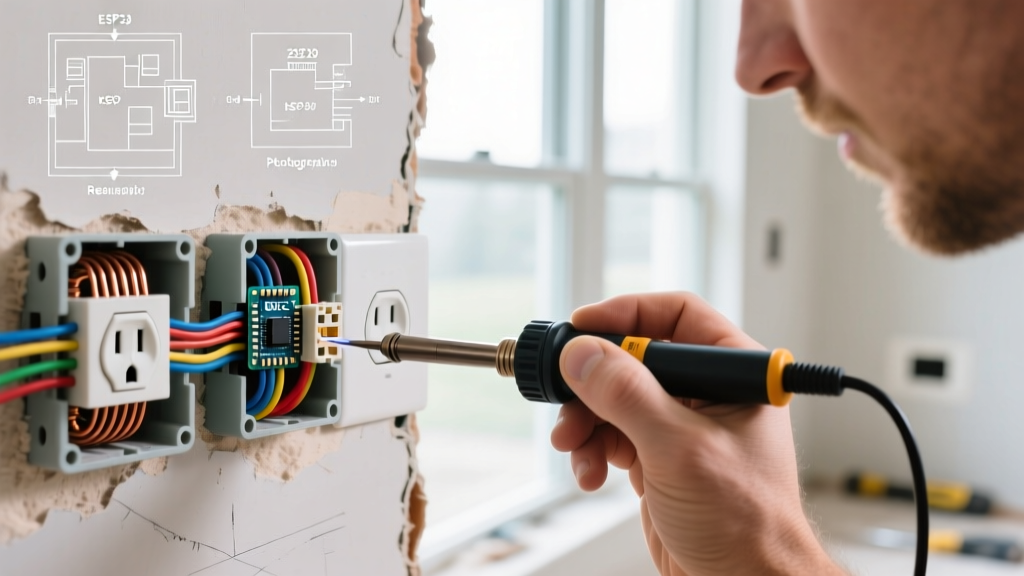
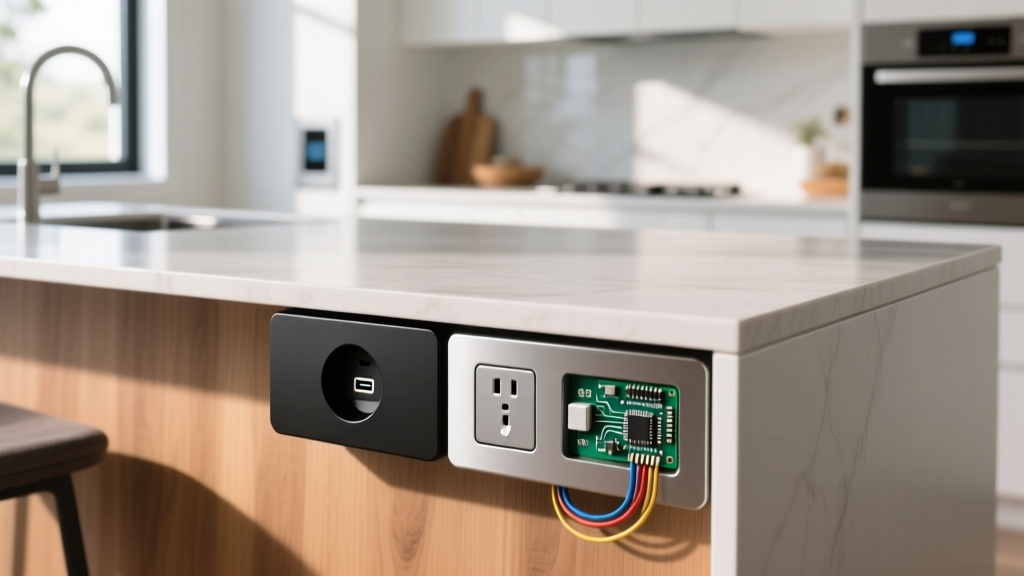
The kitchen island has transitioned from a simple prep surface to the primary command center of the modern home. By 2026, islands routinely house induction cooktops, downdraft vents, smart home hubs, and laptop charging stations. Yet, many homes still rely on builder-grade, side-mounted duplex receptacles or outdated face-up outlets that violate current safety codes. If you are planning a kitchen remodel or a targeted electrical upgrade, exploring modern kitchen island electrical outlet ideas is critical for both aesthetics and code compliance.
Upgrading your island receptacles is not just about adding USB ports; it is about aligning with the latest National Electrical Code (NEC) mandates regarding ground-fault protection and liquid ingress. This guide breaks down the top replacement solutions, complete with specific product models, installation parameters, and real-world pricing.
The 2026 NEC Code Reality Check for Island Receptacles
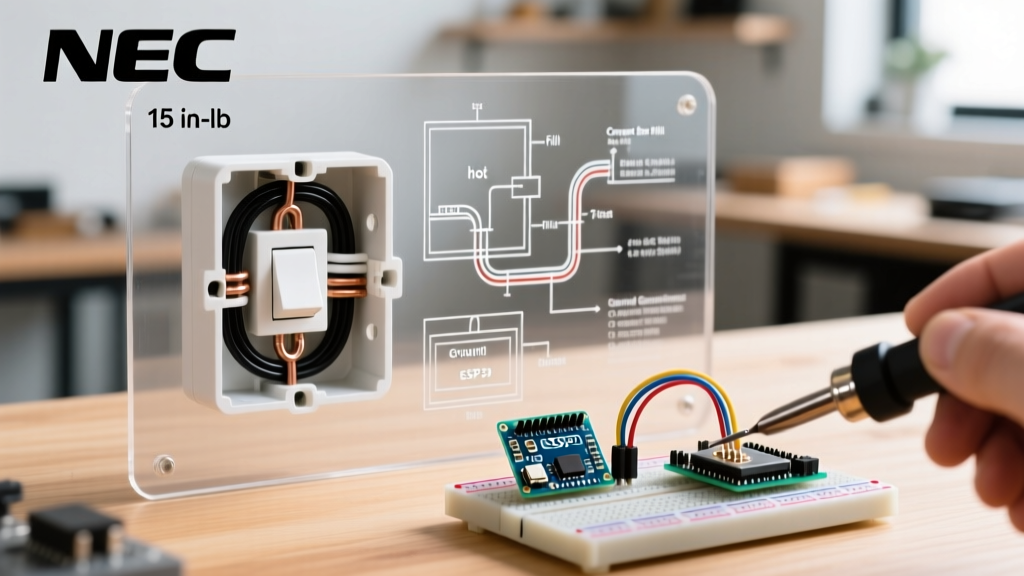
Critical Code Update: The NEC 2023 cycle (widely adopted and enforced by local jurisdictions in 2026) introduced a major shift in NFPA 70 (NEC) Article 210.52(C). Island receptacles are no longer strictly mandatory by default unless specified by the kitchen designer. However, if you do install or upgrade them, they must be GFCI-protected (210.8(A)(7)) and standard receptacles cannot be installed in a face-up position on countertops unless they are specifically listed for that use (e.g., IP54-rated pop-ups).
This code change effectively killed the old practice of cutting a hole in the quartz and dropping in a standard weather-resistant box. Any upgrade you plan must respect these liquid-ingress prevention rules.
Idea 1: The Motorized & Manual Pop-Up Receptacle
For a seamless, unbroken countertop surface, pop-up receptacles remain the gold standard. They sit flush with the stone or wood when not in use, preventing crumbs and spills from entering the electrical box.
Top Product Pick: Lew Electric PUR30-CT
- Specifications: 20A TR (Tamper-Resistant) GFCI, IP54 water/dust rating, manual or motorized push-to-open.
- Installation Requirements: Requires a 3.75-inch diamond core hole saw. You must have at least 8.5 inches of vertical clearance beneath the countertop to accommodate the housing and 12 AWG wire bends.
- Cost: $180 - $240 per unit.
Expert Insight: When core-drilling a quartz or granite island top, always use a continuous-rim diamond core bit with a water-feed attachment. Dry drilling generates micro-fractures that can cause the stone to crack under the torque of twisting a plug into the pop-up later on. If your island has drawers directly beneath the surface, you will need to relocate the drawer boxes or install a false drawer front to create the necessary 8.5-inch drop clearance.
Idea 2: Side-Mount & Blind-Spot Solutions for Waterfall Edges
Waterfall edges (where the countertop material cascades down the sides to the floor) are a dominant design trend in 2026. Core-drilling through the side of a mitered quartz slab is structurally risky and visually disruptive. The solution is the side-mount or 'blind-spot' receptacle.
Top Product Pick: Legrand Adorne Under-Cabinet & Side-Mount Systems
- Specifications: Modular tracks or discreet side-mounted 20A GFCI receptacles that tuck under the countertop overhang.
- Installation Requirements: Mounts to the wooden cabinetry frame beneath the stone overhang. Requires standard 1-gang or 2-gang shallow electrical boxes.
- Cost: $90 - $140 per module.
Expert Insight: Ensure your countertop overhang is at least 10 to 12 inches to provide comfortable knee clearance and easy access to the side-mounted outlet. If the overhang is less than 6 inches, reaching the outlet becomes ergonomically frustrating, defeating the purpose of the upgrade.
Idea 3: High-Power USB-C Power Delivery (PD) Faceplates
If your island already has code-compliant, vertically mounted receptacles on the side panels or hidden inside cabinet ends, the most cost-effective upgrade is swapping the faceplate for a high-wattage USB-C Power Delivery (PD) model. Standard USB-A ports (5W to 12W) are obsolete in 2026; modern laptops and smart appliances require 30W to 45W via USB-C.
Top Product Pick: Leviton T5636 (36W USB-C PD)
- Specifications: 36W USB-C PD port + one 20A AC receptacle. Features advanced thermal management to prevent overheating in enclosed cabinetry.
- Installation Requirements: Fits in a standard deep 1-gang box. Warning: The internal transformer requires a box depth of at least 2.25 inches. Shallow boxes will not accommodate the device and the 12 AWG kitchen wiring.
- Cost: $45 - $60 per unit.
For a comprehensive look at modern charging integrations, reviewing the Leviton T5636 USB-C Receptacle spec sheet will confirm its compatibility with your existing branch circuits.
Comparison Matrix: Island Outlet Upgrade Options
| Feature | Pop-Up (Lew PUR30) | Side-Mount (Legrand) | USB-C PD (Leviton T5636) |
|---|---|---|---|
| Aesthetics | Hidden / Flush | Concealed under overhang | Visible on cabinet side/end |
| Countertop Alteration | Requires 3.75" core drill | None (mounts to wood) | None (uses existing box) |
| NEC Face-Up Compliance | Yes (IP54 Listed) | N/A (Vertical mount) | N/A (Vertical mount) |
| Avg. Material Cost | $210 | $115 | $52 |
| Best Application | Large flat prep islands | Waterfall edge islands | Existing side-panel outlets |
Step-by-Step Replacement Flow: Swapping to a Pop-Up
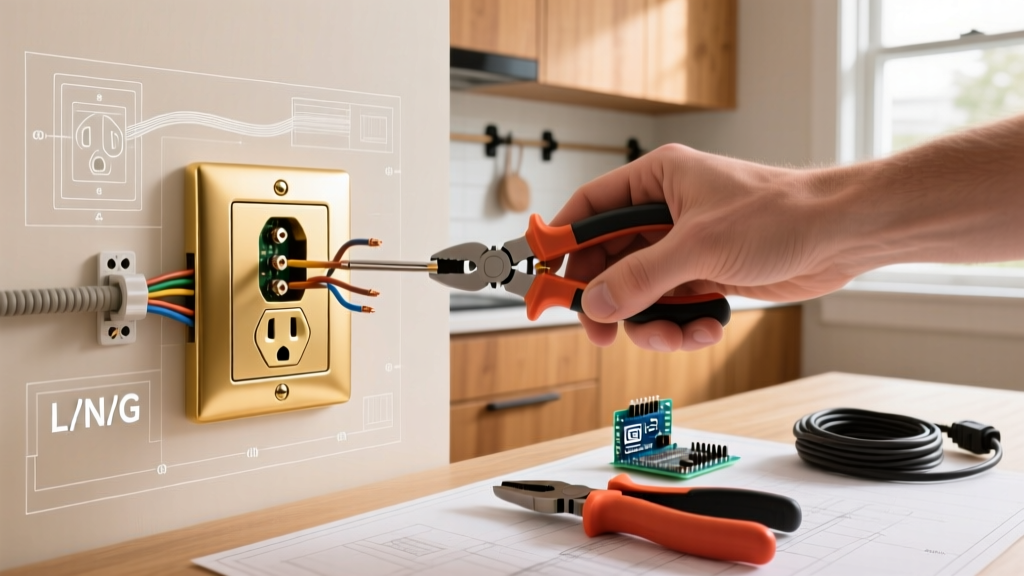
- Kill the Power & Verify: Turn off the 20A small-appliance branch circuit at the breaker. Use a non-contact voltage tester (NCVT) and a multimeter to confirm zero voltage at the existing island receptacle.
- Assess the Existing Wiring: Kitchen islands must be fed by 12 AWG copper wire on a 20A breaker. If your existing outlet is wired with 14 AWG (15A), you cannot simply swap to a high-draw pop-up without upgrading the home run to the panel.
- Core Drill the Surface: Mark the 3.75-inch center point. Use a variable-speed drill with a diamond core bit, applying steady water flow. Do not use hammer-drill mode on stone.
- Route the Cable: Feed the 12/2 NM-B cable through the flexible liquid-tight conduit into the pop-up housing. Ensure the ground wire is securely bonded to the unit's internal ground screw.
- Seal and Secure: Apply a bead of 100% silicone sealant around the underside flange of the pop-up before tightening the locking ring. This prevents condensation from the dishwasher below from migrating into the electrical housing.
Frequently Asked Questions (FAQ)
Do I need a dedicated circuit just for the island outlets?
Yes and no. The NEC requires at least two 20A small-appliance branch circuits (SABCs) to serve all kitchen countertop receptacles. Your island outlet can share one of these existing 20A circuits with the perimeter countertops, provided the total load does not exceed the breaker's capacity. However, if you are adding a built-in microwave or wine fridge to the island, those require their own individual dedicated circuits.
Can I install a standard outdoor weatherproof box face-up on my butcher block island?
No. While butcher block is not stone, the NEC prohibits face-up installations of standard receptacles on any countertop surface where liquids are likely to pool. Even an 'in-use' weatherproof cover does not satisfy the code requirement for a flush, listed countertop assembly. You must use a UL-listed pop-up or mount the receptacle vertically on the side of the cabinetry.
What if my island has no existing electrical feed?
Retrofitting an island without an existing feed requires running a new 12/2 cable from the nearest accessible junction box or panel. If your kitchen floor is concrete slab, this typically involves trenching the concrete or routing the wire through an adjacent wall and up through the floor joists (if accessible via a basement or crawlspace) before emerging through the island's toe-kick.