
Why Add an Exterior Outlet to Your Home?
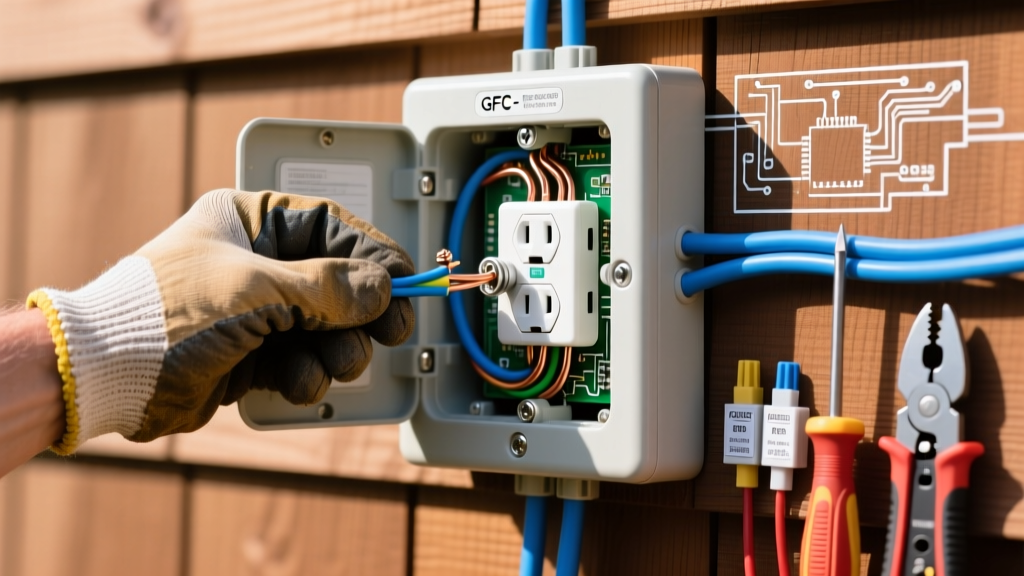
Adding outdoor power transforms how you use your yard, patio, or driveway. Whether you are plugging in holiday lights, running a pressure washer, setting up an outdoor entertainment system, or installing a Level 1 EV charger, having a dedicated outdoor receptacle eliminates the severe fire and tripping hazards of running extension cords through windows. For beginners, installing exterior electrical outlet circuits might seem intimidating due to weather exposure and strict safety codes. However, with the right weather-resistant components and a methodical approach, it is a highly achievable weekend project.
This comprehensive guide walks you through the exact materials, National Electrical Code (NEC) requirements, and step-by-step wiring procedures to ensure your outdoor power is safe, legal, and built to last.
Essential Materials and Tool Checklist (2026 Pricing)
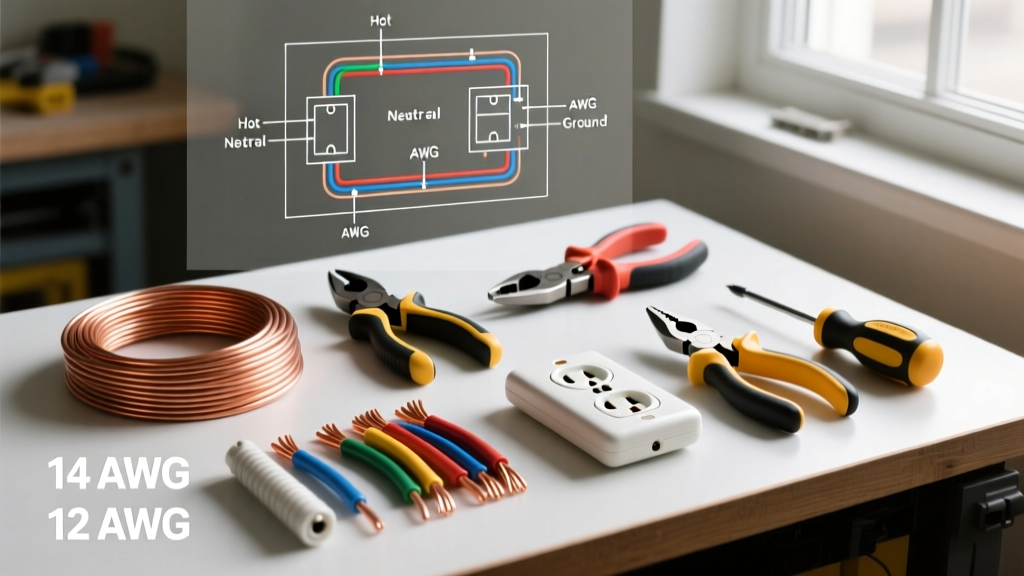
Outdoor environments demand specialized components. Standard indoor outlets will corrode and fail within months when exposed to humidity and temperature swings. Below is the exact bill of materials you need for a standard 20-amp exterior receptacle circuit.
| Component | Recommended Model / Spec | Estimated Cost | Purpose |
|---|---|---|---|
| Weatherproof Box | Carlon B520HF (2-Gang Non-Metallic) | $12 - $18 | Provides a sealed, deep enclosure for wiring connections. |
| WR GFCI Receptacle | Leviton 2097-W2R (20A, Weather-Resistant) | $28 - $35 | Ground Fault protection with UV and corrosion-resistant internals. |
| In-Use Cover | TayMac ML550 Extra-Duty Bubble Cover | $22 - $28 | Allows plugs to remain inserted while fully sealed from rain. |
| Outdoor Cable | 12/2 UF-B (Underground Feeder) Cable | $0.75 / ft | Direct-burial rated cable with moisture-resistant sheathing. |
| Sealant | GE Advanced Silicone II (Clear) | $8 - $12 | Waterproofs the flange gaps against siding or masonry. |
Tool Requirements: Non-contact voltage tester (e.g., Klein Tools NCVT-3), wire strippers, Phillips screwdriver, torque screwdriver (set to 14 in-lbs), drill with masonry or wood bits, and a trenching shovel if burying cable.
Understanding the NEC Code Requirements
Before cutting any drywall or digging trenches, you must understand the rules governing outdoor power. The National Electrical Code (NEC) is the benchmark for electrical safety in the United States, and local inspectors will enforce its latest editions.
- GFCI Protection (Article 210.8): All 15A and 20A, 125V/250V outdoor receptacles must have Ground Fault Circuit Interrupter (GFCI) protection. This detects micro-imbalances in current and trips in milliseconds to prevent fatal shocks in damp conditions.
- Weather-Resistant Marking (Article 406.9): Receptacles in damp or wet locations must be listed as Weather-Resistant (WR). Look for the 'WR' stamp on the yoke; these feature nickel-plated brass and UV-stabilized plastics.
- Extra-Duty Covers (Article 406.9(B)): If the outlet is in a 'wet location' (exposed to direct rain and hose spray), an 'extra-duty' while-in-use bubble cover is mandatory.
Pro Tip: Never wire an outdoor outlet to the 'LOAD' side of an indoor GFCI unless you fully understand the downstream implications. A tripped outdoor fault will kill power to the indoor bathroom or kitchen circuit, which is a massive frustration for homeowners. Run a dedicated line or tap a standard indoor circuit and use the outdoor GFCI as the primary point of protection.
Step-by-Step Installation Guide
Step 1: Routing the Cable (Direct Burial vs. Conduit)
If you are extending power from an indoor panel or an interior junction box to the outside, you must transition through the exterior wall. Use a 3/4-inch masonry or wood spade bit to drill through the siding and sheathing, angling slightly downward toward the outside to prevent water from tracking back inside.
For the underground run to a detached structure or a yard post, you have two primary choices:
- Direct Burial UF-B: 12/2 UF-B cable must be buried at least 24 inches deep according to NEC Table 300.5. It requires no conduit but is vulnerable to future digging.
- PVC Conduit with THWN-2: Running individual THWN-2 wires inside Schedule 40 PVC conduit allows for a shallower trench depth of 18 inches (or 12 inches if using rigid metal conduit). This is the preferred method for long runs and offers superior physical protection.
Step 2: Mounting the Weatherproof Box
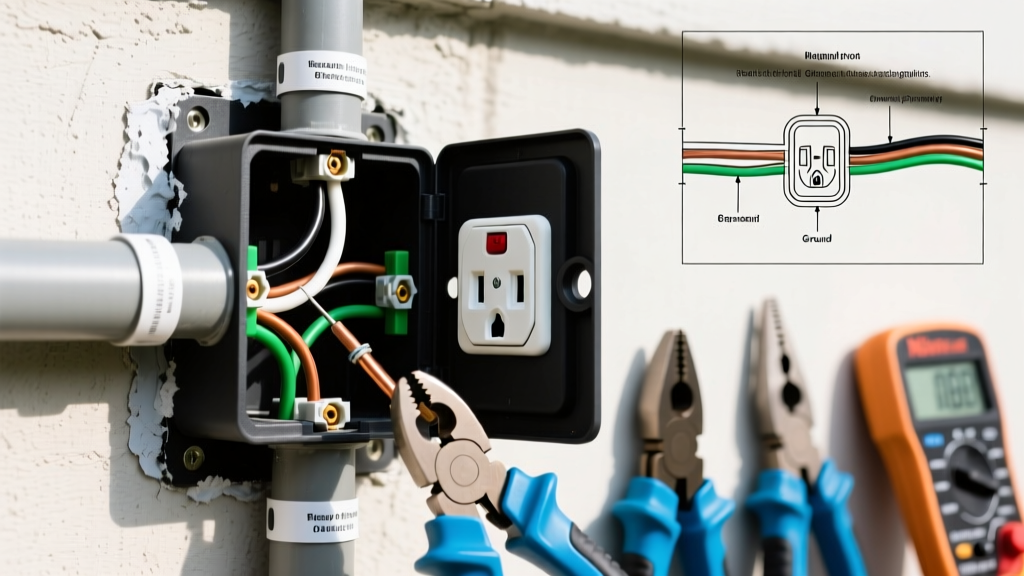
The Carlon B520HF non-metallic box is ideal because it will not corrode and features integrated threaded hubs. Mount the box to your exterior siding or brick. If mounting to masonry, use 1/4-inch Tapcon concrete screws. If mounting to wood or vinyl siding, ensure your screws bite deeply into the structural studs or blocking behind the sheathing. Apply a bead of silicone behind the top and side flanges of the box before tightening to create a watertight seal against the wall.
Step 3: Wiring the WR GFCI Receptacle
This is where beginners make the most critical errors. GFCI receptacles have two sets of terminals: LINE and LOAD.
- LINE Terminals: Connect the incoming power from your breaker panel here. The bare copper ground goes to the green grounding screw. The white neutral connects to the silver LINE screw. The black hot wire connects to the brass LINE screw.
- LOAD Terminals: Only use these if you are daisy-chaining power to a second downstream outdoor receptacle. If this is the end of the line, leave the LOAD terminals completely empty and cap the included warning sticker over them.
Torque Specification: Modern electrical codes require terminals to be tightened to the manufacturer's specified torque. Using a calibrated torque screwdriver, tighten the Leviton terminal screws to 14 inch-pounds. Under-tightening causes arcing and fires; over-tightening strips the brass threads.
Step 4: Installing the In-Use Bubble Cover
Once the GFCI is secured to the box with the provided 6-32 machine screws, it is time to attach the TayMac ML550 bubble cover. The cover comes with a foam gasket. Ensure the gasket sits flush against the face of the GFCI and the edges of the weatherproof box.
When applying exterior silicone caulk around the perimeter of the bubble cover flange, caulk the top and the two sides only. Leave the bottom edge completely uncaulked. This creates a 'weep hole' effect. If any condensation or microscopic moisture breaches the gasket over the years, gravity will pull it down and out through the unsealed bottom edge rather than trapping it inside the electrical box.
Troubleshooting Common Beginner Mistakes
Even careful DIYers can run into issues when testing their newly installed exterior outlets. According to safety data from the U.S. Consumer Product Safety Commission (CPSC), improper outdoor wiring is a leading cause of residential shock incidents. Avoid these common pitfalls:
- The GFCI Won't Reset: You likely reversed the LINE and LOAD wires. If incoming power is attached to the LOAD terminals, the GFCI internal sensor will block the reset button from engaging. Swap the wires to the LINE terminals.
- Nuisance Tripping During Rainstorms: This almost always indicates a compromised seal. Check if you used interior-grade acrylic caulk instead of 100% silicone, or if you failed to tighten the bubble cover hinges properly, warping the foam gasket.
- Using Standard Indoor Receptacles: Standard TR (Tamper Resistant) outlets lack the UV inhibitors and nickel plating of WR models. An indoor GFCI exposed to direct sunlight will become brittle and crack within two seasons, exposing live bus bars to moisture.
Final Safety Inspection and Testing
Before plugging in your landscaping equipment or EV charger, perform a final validation. Turn the breaker back on at the main panel. The GFCI should have a glowing indicator light (or no light, depending on the brand's specific LED logic—consult the manual). Press the 'TEST' button on the receptacle face; it should click loudly and cut power. Press 'RESET' to restore it. Finally, plug in a GFCI outlet tester to verify correct wiring polarity. Once verified, your exterior outlet is ready to provide safe, weatherproof power for years to come.