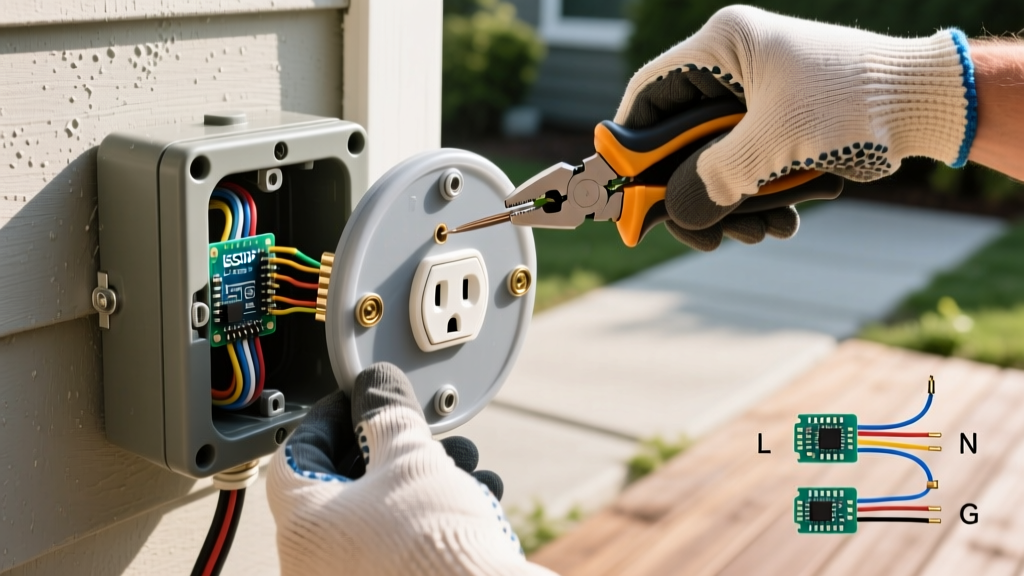

Why 'Extra-Duty' Matters for Your Electrical Outlet Cover Outdoor
When upgrading or replacing exterior receptacles, selecting the correct electrical outlet cover outdoor hardware is not just a matter of keeping rain out—it is a strict code requirement. Under the National Electrical Code (NEC), specifically Article 406.9(B)(1), any 15-amp or 20-amp receptacle installed in a wet or damp location must be fitted with an 'extra-duty' weatherproof cover. Unlike older flat die-cast covers that only protect the outlet when nothing is plugged in, extra-duty in-use bubble covers maintain their weatherproof rating even when a cord is actively connected.
NEC Code Citation: 'Receptacles of 15 and 20 amperes installed in a wet location shall be listed and so installed that they are weatherproof whether or not the attachment plug cap is inserted.' For full code context, refer to the National Fire Protection Association (NFPA) guidelines on exterior wiring.
In this 2026 updated guide, we will walk through the exact step-by-step installation of a deep-bubble extra-duty cover (using the industry-standard Taymac MX8500S as our reference model), highlighting the critical edge cases and thermal physics that cause most DIY outdoor installations to fail prematurely.
Tools and Materials Required
Before beginning, gather the following specific materials. Do not substitute 100% silicone with acrylic latex caulk; acrylic will shrink, crack under UV exposure, and break the weatherproof seal within a single season.
| Item | Specification / Model | Estimated Cost |
|---|---|---|
| Extra-Duty Cover | Taymac MX8500S (Single Gang, 2.75' Deep) | $18.00 - $24.00 |
| Sealant | GE Silicone II Clear (100% Silicone, UV Resistant) | $7.00 - $9.00 |
| Voltage Tester | Klein Tools NCVT-3 Non-Contact Voltage Tester | $25.00 |
| Conduit Hubs | 1/2' NPT Die-Cast or PVC Hubs (if replacing) | $3.00 each |
| Fasteners | Stainless Steel 6-32 Machine Screws (included w/ cover) | Included |
Step-by-Step Installation Guide
Step 1: Kill the Power and Verify at the Receptacle
Turn off the circuit breaker controlling the exterior outlet. Because outdoor circuits are often daisy-chained with interior rooms or landscape lighting, do not rely solely on the breaker panel label. Insert the Klein NCVT-3 into both the top and bottom slots of the GFCI receptacle. Wait for the green light to confirm zero voltage. According to the U.S. Consumer Product Safety Commission (CPSC), verifying dead circuits with a secondary tester is the primary defense against arc flash and fatal shock hazards.
Step 2: Remove the Old Cover and Inspect the Gasket
Unscrew the single center screw holding the existing cover. Pull the cover away and inspect the foam or neoprene gasket behind it. If the gasket is compressed, brittle, or torn, it must be replaced. A compromised gasket allows capillary action to draw water directly into the electrical box during wind-driven rain.
Step 3: Address the Conduit Hubs (The Hidden Failure Point)
Most outdoor boxes have 1/2-inch or 3/4-inch NPT (National Pipe Thread) knockouts where the conduit enters. If you are reusing existing hubs, inspect the threads. Pro-Tip: Do not use standard Teflon tape on outdoor NPT threads. Over time, UV degradation and thermal cycling cause Teflon to shred, creating micro-gaps. Instead, apply a bead of 100% silicone sealant or a specialized outdoor pipe dope around the male threads before tightening the hub into the box. This prevents thermal suction—a phenomenon where the sun heats the air inside the box, and a sudden cold rainstorm causes the air to contract, creating a vacuum that literally sucks water in through unsealed conduit threads.
Step 4: Mount the Extra-Duty Bubble Cover
Feed the receptacle wires neatly into the back of the box, ensuring no bare ground wires are touching the hot brass screws on the GFCI. Align the Taymac MX8500S foam gasket over the face of the receptacle. Place the polycarbonate bubble cover over the gasket. Drive the provided stainless-steel 6-32 machine screws through the cover and into the receptacle's mounting ears. Tighten until the foam gasket compresses by about 50%. Do not overtighten, as polycarbonate can crack under excessive torque in freezing temperatures.
Step 5: Seal the Perimeter (Respect the Weep Holes)
This is where 90% of DIYers make a critical error. Apply a continuous, 1/4-inch bead of GE Silicone II across the top and both side edges where the cover meets the siding or stucco. Do NOT caulk the bottom edge. Extra-duty covers are designed with microscopic weep channels at the bottom. If condensation forms inside the bubble due to humidity, gravity pulls it down. If the bottom is caulked, the water becomes trapped, eventually submerging the GFCI test/reset buttons and causing premature failure.
Cover Type Comparison Matrix
Understanding the evolution of outdoor covers helps explain why code enforcement has become stricter. Below is a comparison of the three main types of exterior covers available on the market today.
| Cover Type | NEC Wet Location Rating | Max Cord Depth | Best Use Case |
|---|---|---|---|
| Flat Die-Cast | Damp Locations Only (Unplugged) | 0.0' (Flush) | Under deep soffits where rain never reaches. |
| Standard Bubble | Wet Location (In-Use) | 1.5' | Standard phone chargers or small transformers. |
| Extra-Duty Deep Bubble | Wet Location (In-Use) | 2.75' to 3.5' | Heavy-duty extension cords, holiday lighting, power tools. |
Troubleshooting Common Edge Cases
- Condensation Inside the Bubble: If you see water droplets on the inside of the plastic, your conduit hubs are likely leaking air, or the bottom edge was improperly caulked. Remove the bottom caulk immediately and check your NPT thread seals.
- GFCI Tripping After Heavy Rain: This usually indicates water ingress behind the box, not through the cover. Check the siding integration. If the outlet is mounted on lap siding, ensure a siding mounting block (like the Arlington 8100) was used to create a flat, sealed surface.
- Plugs Pushing Against the Plastic: If your extension cord plug is pressing hard against the polycarbonate bubble, you have purchased a 'standard' bubble instead of an 'extra-duty' deep bubble. Swap it for a 2.75-inch deep model to prevent stress on the receptacle's internal contacts.
Frequently Asked Questions
Can I paint my outdoor electrical outlet cover to match my siding?
Technically, you can, but it is highly discouraged. Polycarbonate and die-cast aluminum covers are engineered to dissipate heat. Painting them with standard exterior latex or oil-based paints can trap heat, degrade the UV inhibitors in the plastic, and void the UL listing. If aesthetics are paramount, purchase a cover that is injection-molded in a matching color (e.g., bronze, gray, or white) from the manufacturer.
Do I need a GFCI receptacle underneath the cover?
Yes. The weatherproof cover protects against bulk water intrusion, but the NEC mandates Ground Fault Circuit Interrupter (GFCI) protection for all 125-volt, single-phase, 15- and 20-ampere receptacles installed outdoors. The cover and the GFCI work as a dual-layer safety system.
How often should I replace the foam gasket?
Inspect the gasket annually during your spring exterior maintenance. Closed-cell neoprene gaskets typically last 10 to 15 years, while cheaper open-cell foam gaskets may degrade and crumble in as little as 3 to 5 years depending on local UV exposure and temperature extremes.