
The Hidden Culprit Behind Crooked and Sunken Receptacles
There are few things more frustrating in home DIY than installing a fresh coat of paint, hanging new wallpaper, or finishing a drywall patch, only to step back and notice that your electrical outlets are sunken, tilted, or sitting deep inside the wall. When a receptacle sinks behind the drywall surface, it creates an unsightly shadow gap and, more importantly, a serious safety hazard. This is where electrical outlet shims become an essential tool in your electrical kit.
Electrical outlet shims (also known as receptacle shims or switch leveling shims) are small, U-shaped pieces of high-density polycarbonate or vulcanized fiber designed to bridge the gap between the outlet's mounting yoke (the metal strap) and the electrical box or drywall surface. In this beginner-friendly tutorial, we will walk you through the exact process of measuring, stacking, and installing these shims to achieve a perfectly flush, code-compliant finish.
Why Outlet Depth Matters: The Safety and Code Perspective
Before we grab our screwdrivers, it is critical to understand why a sunken outlet is more than just a cosmetic annoyance. According to the National Fire Protection Association (NFPA 70 / National Electrical Code), electrical boxes installed in combustible surfaces like drywall or wood paneling must be mounted so that the front edge of the box is not set back more than 1/4 inch (6 mm) from the finished surface.
When an outlet is pushed deep into a wall cavity, heat generated by high-resistance connections or an electrical arc cannot easily dissipate into the room. Instead, it ignites the surrounding drywall paper or wood framing. Furthermore, as noted by the U.S. Consumer Product Safety Commission (CPSC), recessed outlets can cause plug prongs to be partially exposed when a cord is pulled at an angle, creating a severe shock and arc-flash risk. Using electrical outlet shims brings the yoke flush with the wall, ensuring the faceplate sits tight and the internal connections remain safely enclosed.
Tools and Materials Required for Shim Installation
To do this job correctly, you need more than just a flathead screwdriver. Below is the exact loadout we recommend for beginners in 2026, including specific product models and estimated costs.
| Item | Recommended Brand / Model | Est. Cost (2026) | Purpose |
|---|---|---|---|
| Non-Contact Voltage Tester | Klein Tools NCVT-2 (Dual Range) | $28.00 | Verifies power is off before touching wires. |
| Electrical Outlet Shims | Gardner Bender OSH-10 (10-Pack) | $3.50 | U-shaped polycarbonate shims with interlocking teeth. |
| Insulated Screwdriver | Wiha 1000V Insulated Slotted #1 | $14.00 | Safe removal of terminal and mounting screws. |
| Digital Caliper or Feeler Gauge | Craftsman 6-inch Digital Caliper | $22.00 | Measures the exact depth of the recess gap. |
| Needlenose Pliers | Knipex Twin Grip 8-inch | $35.00 | Snapping and trimming breakaway shim tabs. |
Step-by-Step Tutorial: Installing Electrical Outlet Shims
Step 1: Kill the Power and Verify
Never skip this step. Go to your main electrical panel and flip the breaker controlling the room's outlets to the OFF position. Take your Klein Tools NCVT-2 and test the top and bottom halves of the existing outlet. The tester must remain completely dark and silent. For maximum safety, plug in a lamp or a dedicated receptacle tester to visually confirm the circuit is dead.
Step 2: Extract the Receptacle
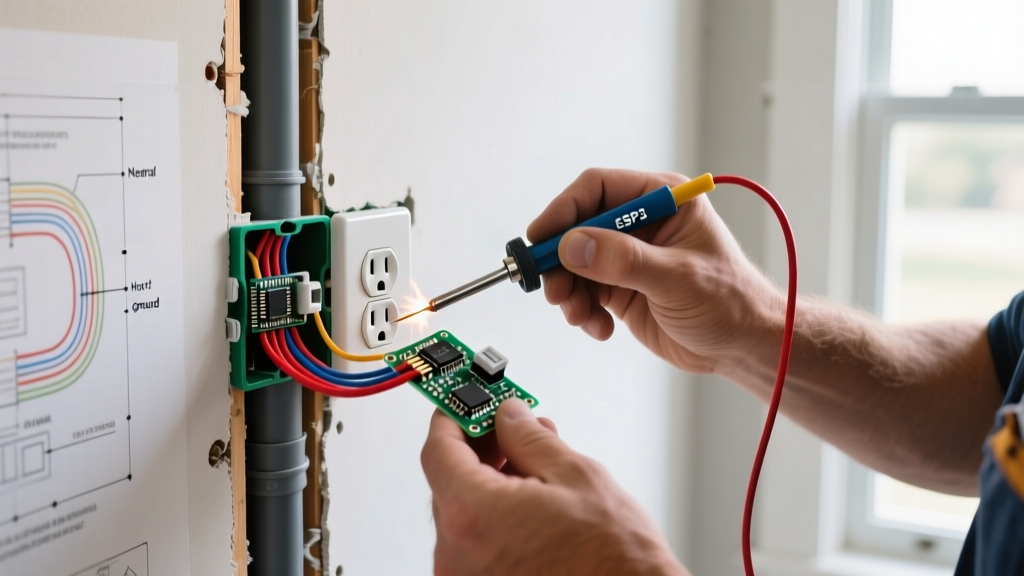
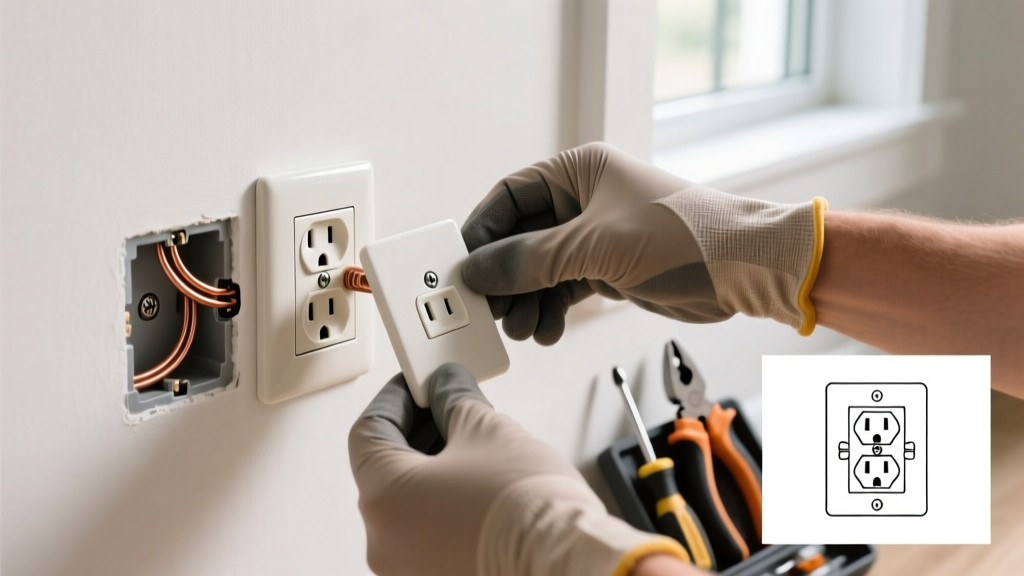
Remove the center screw holding the faceplate and pull the cover off. Next, use your insulated screwdriver to remove the two long mounting screws (one at the top of the yoke, one at the bottom) that secure the receptacle to the electrical box. Gently pull the outlet out of the box by an inch or two. Do not disconnect the wires. You only need enough slack to access the space behind the metal yoke.
Step 3: Measure the Gap and Assess the Tilt
Look at the space between the drywall surface and the metal yoke (the strap with the screw holes). Is the gap uniform, or is the outlet tilted? Use your digital caliper or a simple ruler to measure the distance from the wall to the yoke. Standard outlet shims are typically 0.040 inches thick. If your gap is 1/4 inch (0.250 inches), you will need to stack roughly six shims per side.
Step 4: Size, Snap, and Stack the Shims
Most commercial electrical outlet shims, like the Gardner Bender OSH-10, feature a 'breakaway' design with interlocking teeth.
- Break the Strip: Snap off a section of shims that matches the width of your outlet yoke.
- Slide Under the Screw: Slide the U-shaped cutout of the shim over the mounting screw hole. The shim should sit between the drywall and the metal yoke.
- Stacking Technique: If you need multiple shims to bridge a deep gap, stack them together. Ensure the interlocking teeth on the shims align so they grip each other. This prevents the stack from sliding apart when you tighten the screw.
- Addressing Tilt: If the outlet is crooked, add more shims to the side that is sitting deeper in the wall until the yoke is perfectly plumb and level.
Step 5: Re-seat and Torque the Mounting Screws
Push the receptacle back into the box, ensuring no bare ground wires are touching the hot brass terminals. Thread the top and bottom mounting screws through the yoke, through your newly stacked shims, and into the electrical box ears. Tighten the screws until the yoke is snug against the shims and the shims are flush against the drywall. Pro Tip: Do not overtighten. Applying more than 15 inch-pounds of torque can bend the yoke or crack the drywall. Tighten just until the outlet is rigid.
Troubleshooting Matrix: Common Shim Installation Issues
Even with the right tools, beginners occasionally run into physical obstacles. Use this matrix to diagnose and fix common problems.
| Symptom | Root Cause | Shim Solution |
|---|---|---|
| Faceplate still bows in the center | Shims are stacked too high, pushing the yoke past the drywall surface. | Remove one shim from the stack on both sides and re-torque. |
| Outlet spins or feels loose | Shim teeth are not interlocking, causing the stack to compress unevenly. | Ensure the raised teeth on each shim are pressed firmly into the grooves of the adjacent shim. |
| Mounting screw is too short | The added thickness of the shims eats up the length of the standard 6-32 screw. | Replace the existing screws with 1.5-inch or 2-inch 6-32 machine screws (available at any hardware store for ~$0.15 each). |
| Shims block the faceplate screw | Shim material was not trimmed around the center ground hole. | Use needlenose pliers to snap off the inner tabs of the shim so the faceplate screw can pass through cleanly. |
Advanced Edge Cases: When Shims Are Not Enough
Electrical outlet shims are designed to bridge gaps between 1/16 inch and roughly 1/2 inch. However, in older homes or after poorly executed drywall repairs, you may encounter a junction box that is recessed by 3/4 inch or more.
Expert Warning: Stacking more than 10 or 12 shims creates a spongy, unstable mount that can pull out of the box under the physical stress of plugging and unplugging tight-fitting cords. If your gap exceeds 1/2 inch, shims are the wrong tool for the job.
In these extreme cases, you must use a box extender. Products like the Arlington Industries BE-1 Non-Metallic Box Extender (approx. $1.80 each) slide directly into the existing electrical box and extend the physical walls of the box all the way to the drywall surface. This not only provides a flush mounting surface for your outlet yoke but also maintains the fire-rated enclosure required by the NEC, preventing sparks from entering the wall cavity. You can find detailed specifications for these extenders on the Arlington Industries official catalog.
Frequently Asked Questions (FAQ)
Can I use cardboard or folded paper as a makeshift shim?
No. This is a severe fire hazard and a direct violation of the National Electrical Code. Cardboard and paper are highly combustible and can easily ignite if an outlet overheats or arcs. Always use UL-listed polycarbonate or vulcanized fiber electrical outlet shims, which are inherently flame-retardant.
Do I need to shim GFCI outlets differently than standard receptacles?
The shimming process is identical, but GFCI outlets are physically deeper and bulkier than standard 15-amp receptacles. Because of their larger body, you may find that the GFCI binds against the sides of a shallow electrical box before the yoke reaches the wall. In this case, you may need to use a deep-wall box extender rather than just shimming the yoke.
Should I leave the 'plaster ears' on the outlet when shimming?
The 'plaster ears' are the small, scored metal tabs on the far left and right edges of the outlet yoke. They are designed to rest on the surface of the drywall to prevent the outlet from being pushed too far into the box. If your drywall cutout is ragged or oversized, the plaster ears will miss the wall entirely, making shims mandatory. If the cutout is clean and the ears rest firmly on the drywall, you can often snap the ears off with pliers to give yourself a wider, cleaner surface area for your shims to sit against.
Final Thoughts
Mastering the use of electrical outlet shims is a hallmark of a detail-oriented DIYer. It transforms a sloppy, potentially hazardous recessed receptacle into a professional, flush-mounted installation. By taking the extra five minutes to measure the gap, stack your polycarbonate shims properly, and verify your torque, you ensure your home's electrical system remains safe, functional, and visually impeccable for decades to come.