
Understanding the Beginner Basic Electrical Outlet Wiring Diagram With 2 Wires
When working on older homes built before the 1960s, electricians and DIYers frequently encounter circuits lacking an equipment grounding conductor. If you are searching for a beginner basic electrical outlet wiring diagram with 2 wires, you are likely dealing with a legacy ungrounded system. While these circuits can still function, the National Electrical Code (NEC) imposes strict rules on how they can be repaired, replaced, or upgraded. As of the 2026 adoption cycles of the 2023 NEC, inspectors are highly vigilant about ungrounded receptacle replacements.
This guide breaks down the exact code requirements, visual wiring schematics, and safe installation procedures for 2-wire outlet systems, ensuring your project passes inspection and keeps your home safe from shock hazards.
Anatomy of a 2-Wire Branch Circuit
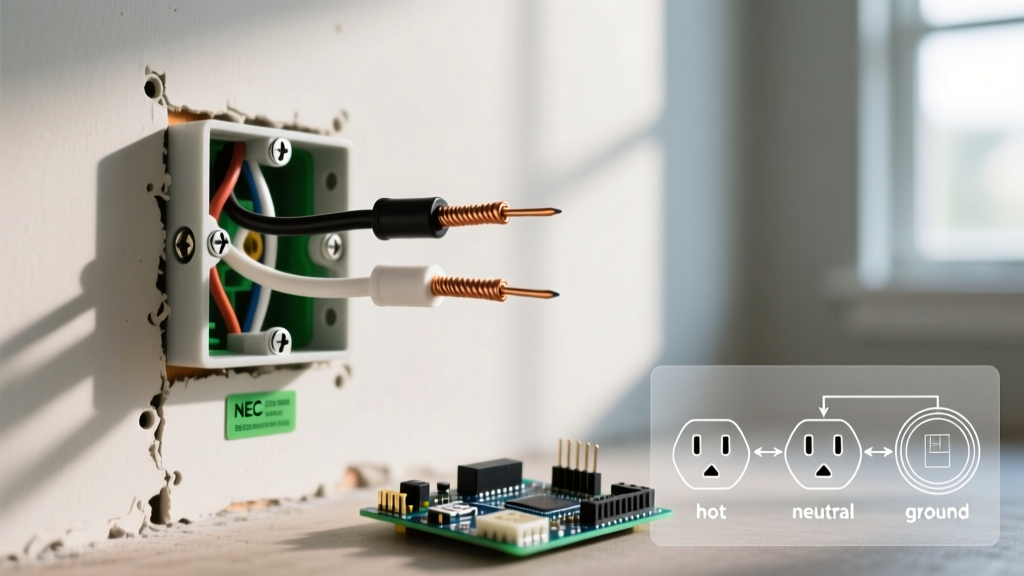
A standard modern branch circuit utilizes three wires: a hot (black), a neutral (white), and a ground (bare or green). A 2-wire system, however, relies solely on the hot and neutral conductors to complete the circuit. The absence of a dedicated ground wire means that in the event of a fault—such as a loose internal wire touching the metal casing of an appliance—there is no low-impedance path back to the panel to trip the breaker.
Visualizing the Basic Diagram
Since we cannot draw a physical schematic here, visualize the text-based diagram below for a standard 2-wire receptacle replacement:
[Breaker Panel 120V]
   │
   ├── Black (Hot) ──────────── Brass Screw (LINE / HOT)
   │
   └── White (Neutral) ──────── Silver Screw (LINE / NEUTRAL)

*Note: The Green Ground Screw remains EMPTY.*
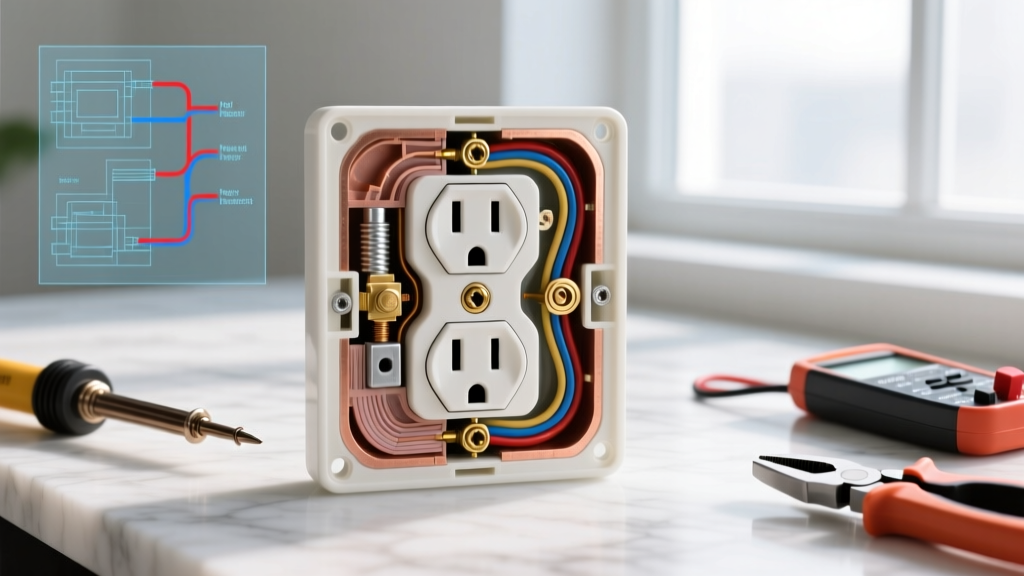
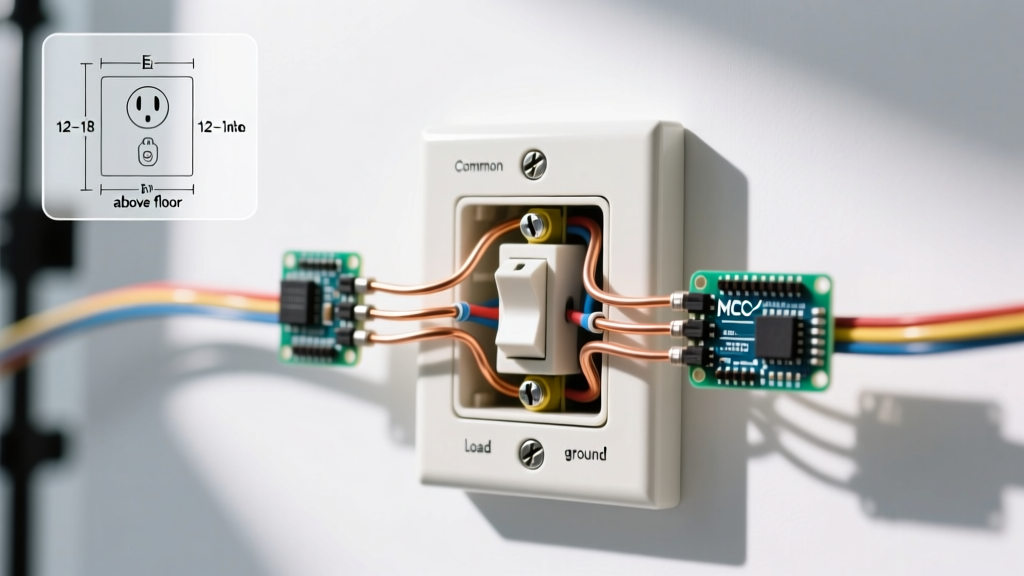
In this configuration, current flows from the breaker through the black wire to the brass terminal, powers the connected load, and returns via the white wire to the silver terminal. The green grounding screw on the receptacle is intentionally left unconnected.
NEC Article 406.4(D): The Core Code Requirement
The primary code section governing this scenario is NEC Article 406.4(D), which specifically addresses Receptacle Replacements. According to the National Fire Protection Association (NFPA), when an ungrounded 2-prong receptacle fails and needs replacement, you cannot simply swap it for a standard 3-prong receptacle and leave the ground screw empty. That creates a deceptive and dangerous situation where a user plugs in a grounded device, assuming it is safe.
NEC 406.4(D)(2) Summary: Where a grounding means does not exist in the receptacle enclosure, the installation shall comply with one of three specific conditions: replacing with another 2-prong receptacle, replacing with a GFCI-protected 3-prong receptacle, or replacing with a 3-prong receptacle protected by an upstream GFCI.
Legal Wiring Options: A Comparison Matrix
To comply with the NEC, you must choose one of the following three paths. Here is a breakdown of the costs, code compliance, and safety profiles for each method.
| Option | Hardware Required | Est. Cost (2026) | Code Compliance | Safety Level |
|---|---|---|---|---|
| 1. Like-for-Like | Leviton 16252-W (2-Prong Duplex) | $1.25 - $1.80 | NEC 406.4(D)(2)(a) | Low (No shock protection) |
| 2. GFCI at Receptacle | Leviton 7299-GY (15A GFCI) | $18.00 - $24.00 | NEC 406.4(D)(2)(b) | High (Shock protection) |
| 3. Upstream GFCI | Standard 3-Prong + GFCI Breaker | $45.00 - $60.00 | NEC 406.4(D)(2)(c) | High (Shock protection) |
Recommendation: Option 2 is the most practical for DIYers. Installing a GFCI receptacle at the first outlet in the run provides life-saving ground-fault protection, even without an equipment ground wire.
Step-by-Step: Wiring a GFCI on a 2-Wire System
Let us walk through the exact procedure for installing a 15-Amp GFCI receptacle (like the Leviton 7299-GY) on an ungrounded 2-wire circuit. This satisfies NEC 406.4(D)(2)(b).
Step 1: Verify the Circuit and Strip Wires
- Turn off the breaker and verify zero voltage using a Fluke 117 True-RMS multimeter.
- Use a Klein Tools 11048 wire stripper to remove exactly 3/4 inch of insulation from the black and white wires. Leviton specifies this exact strip length to ensure no bare copper is exposed outside the terminal housing.
Step 2: Connect to the LINE Terminals Only
This is a critical edge case where beginners fail. On the back of the GFCI, you will see LINE and LOAD terminals. Because you are working with a 2-wire system and likely only protecting this single location, connect the wires to the LINE terminals only.
- Black (Hot): Connect to the Brass LINE screw.
- White (Neutral): Connect to the Silver LINE screw.
- Ground: Leave the Green screw empty. Do not connect the neutral to the ground screw.
Step 3: Apply Proper Torque and Labeling
Under NEC 110.14(D), electrical connections must be tightened to the manufacturer's specified torque. For 14 AWG copper wire on a Leviton 15A receptacle, this is typically 14 to 16 inch-pounds. Use a calibrated torque screwdriver (like the Klein Tools 695) to prevent loose connections that cause arcing.
Finally, apply the "No Equipment Ground" sticker included in the GFCI packaging to the faceplate. The NEC mandates this label so users are aware that while they are protected from shock via the GFCI, sensitive electronics (like desktop PCs) may still be vulnerable to power surges due to the lack of a ground path.
The "Bootleg Ground" Hazard: What NOT To Do
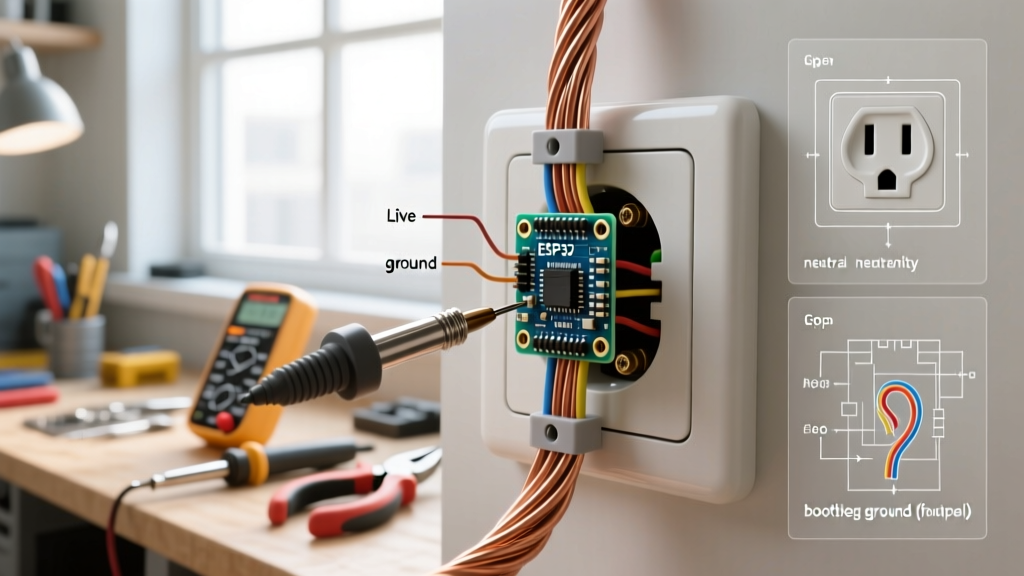
When exploring a beginner basic electrical outlet wiring diagram with 2 wires, you might encounter outdated forums suggesting a "bootleg ground." This involves installing a jumper wire between the silver neutral screw and the green ground screw on a standard 3-prong receptacle.
According to safety guidelines published by the Occupational Safety and Health Administration (OSHA), creating a false ground is a severe violation and a massive safety hazard. If the neutral wire becomes disconnected anywhere upstream, the metal chassis of any plugged-in appliance will become energized at 120 volts, creating a lethal shock risk. Furthermore, a bootleg ground will trick standard 3-light receptacle testers into showing a "Correct" reading, masking the danger from home inspectors and future buyers.
When Must You Run a New Ground Wire?
While GFCI replacement is legal for safety, it does not provide an equipment ground for surge protection. You must run a new Equipment Grounding Conductor (EGC) back to the panel if:
- You are installing new branch circuit extensions (NEC 210.8).
- The room requires AFCI/GFCI dual-function protection where a ground is strictly mandated by local amendments.
- You are powering sensitive medical equipment or high-end data servers that require a clean, low-impedance ground reference.
Running a new 14 AWG or 12 AWG ground wire back to the panel or to an adjacent grounded metal conduit system (if verified continuous) typically costs between $150 and $300 per run when hiring a licensed professional in 2026.
Summary and Final Code Checks
Mastering the beginner basic electrical outlet wiring diagram with 2 wires is less about complex routing and more about strict adherence to NEC replacement rules. Never install a standard 3-prong receptacle on an ungrounded circuit without GFCI protection. By utilizing a GFCI receptacle, applying the correct torque, and affixing the mandatory "No Equipment Ground" label, you ensure your installation is safe, functional, and fully compliant with modern electrical codes.