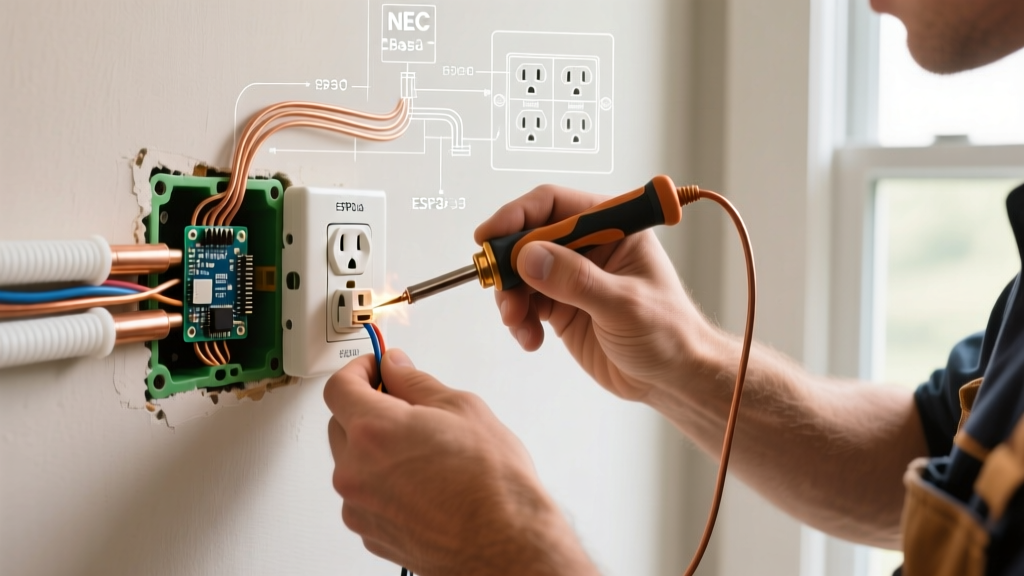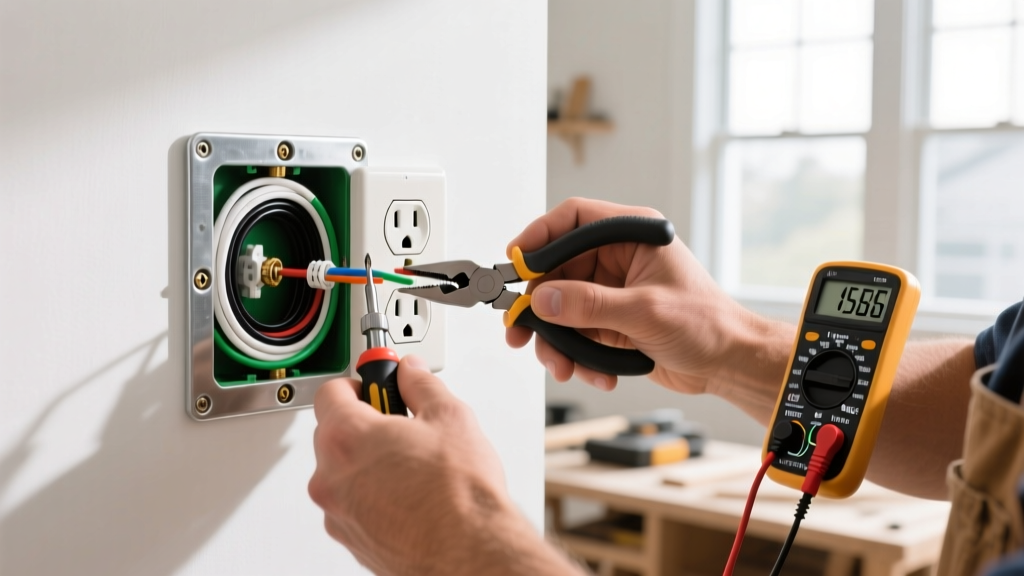

Understanding NEC Code Compliance for Outlet Installation
When you set out to install electric outlet hardware in your home or workshop, adhering to the National Electrical Code (NEC) is not just a legal requirement—it is the primary defense against electrical fires and fatal shocks. The transition into the 2023 and upcoming 2026 NEC cycles has introduced stricter mandates for arc-fault protection, torque verification, and tamper resistance. According to the NFPA 70: National Electrical Code, improper receptacle termination and overloaded junction boxes remain leading causes of residential electrical fires.
This comprehensive safety guide details the exact code requirements, material specifications, and step-by-step procedures required to install electric outlet components correctly. Whether you are upgrading a standard 15A duplex receptacle or wiring a 20A GFCI in a wet location, precision and code compliance are non-negotiable.
Critical Safety Warning: Never attempt to install or modify electrical wiring without first verifying the circuit is de-energized. The OSHA Lockout/Tagout Standards mandate that circuits must be physically locked out and tagged at the breaker panel to prevent accidental re-energization during work.
Required Tools & Materials for Code-Compliant Installation
Professional electricians do not rely on guesswork. To meet NEC Article 110.14(D) requirements for proper termination, specific calibrated tools are required. Below is a breakdown of the essential gear and estimated 2026 market costs for a standard 15A/20A outlet installation.
| Item / Tool | Specific Model / Type | Purpose & Code Relevance | Est. Cost |
|---|---|---|---|
| Torque Screwdriver | Wiha 320P or CDI 40-200 in-lbs | NEC 110.14(D) requires calibrated torque for terminals. | $45 - $85 |
| Wire Strippers | Klein Tools 11055 (14-12 AWG) | Prevents conductor nicking, which creates hot spots. | $28 - $35 |
| Non-Contact Voltage Tester | Fluke 1AC-II VoltAlert | Primary verification of de-energized state. | $30 - $40 |
| Receptacle (15A) | Leviton 099-05325 (TR/GFCI) | NEC 406.12 mandates Tamper-Resistant (TR) in dwellings. | $18 - $25 |
| Wire Connectors | Ideal Twister 341 (Purple) | UL-listed for copper-to-copper pigtailing. | $0.15 / ea |
NEC Box Fill Calculations: Avoiding Overcrowding
Before you install electric outlet devices, you must verify the junction box has adequate cubic inch (cu in) capacity. NEC Article 314.16 strictly prohibits overcrowding, which causes wire insulation damage and heat buildup.
How to Calculate Box Fill
Each conductor, clamp, and device yoke counts as a specific volume based on the wire gauge. Use this formula for standard single-gang boxes:
- 14 AWG Wire: 2.0 cubic inches per conductor.
- 12 AWG Wire: 2.25 cubic inches per conductor.
- Ground Wires: All equipment grounding conductors in the box count as one conductor of the largest gauge present.
- Device Yoke (The Outlet Itself): Counts as two conductors of the largest gauge connected to it.
Example Scenario: You are wiring a 12 AWG circuit (20A) with one incoming cable (hot, neutral, ground) and one outgoing cable (hot, neutral, ground) to a Leviton 20A duplex receptacle.
Calculation: 4 current-carrying conductors (2 hots, 2 neutrals) + 1 ground + 2 for the device = 7 total allowances.
7 x 2.25 cu in = 15.75 cubic inches required. A standard 18 cu in single-gang box is legally compliant for this setup.
Step-by-Step: How to Install Electric Outlet to Code
Step 1: Lockout, Tagout, and Verify
Turn off the breaker and apply a physical lockout device to the panel. Use a Fluke non-contact voltage tester on the existing outlet. Next, use a multimeter set to AC voltage to test between the hot (shorter slot) and neutral (longer slot), and hot to ground. The reading must be exactly 0.0V.
Step 2: Wire Preparation and Stripping
Strip exactly 3/4 inch of insulation from the THHN/THWN-2 conductors using the Klein 11055 strippers. Failure Mode: Stripping too much exposes bare copper outside the terminal, creating a shock hazard. Stripping too little causes the terminal screw to bite into the insulation, leading to a high-resistance connection and eventual thermal failure.
Step 3: Pigtailing vs. Feed-Through
While NEC allows feeding downstream outlets through the receptacle terminals (daisy-chaining), best practice and many local jurisdictions require pigtailing. Pigtailing ensures that if the receptacle fails or is removed for replacement, the downstream outlets do not lose their neutral path—a critical safety measure to prevent open-neutral overvoltage events that can destroy 120V appliances.
- Cut 6-inch pigtails of 12 AWG or 14 AWG THHN wire (matching the circuit).
- Strip 3/4 inch and join the pigtail with the incoming and outgoing wires using an Ideal Twister wire nut.
- Give the wire nut a firm tug to ensure mechanical integrity.
Step 4: Termination and Torque Verification
NEC 110.14(D) dictates that terminals must be tightened to the manufacturer's specified torque. For standard Leviton and Hubbell 15A/20A receptacles, the brass (hot) and silver (neutral) terminal screws typically require 14 in-lbs (1.6 Nm) of torque.
Form a clockwise 'J-hook' with the stripped wire and loop it around the terminal screw. This ensures the screw pulls the wire tighter as it is driven clockwise. Set your Wiha torque screwdriver to 14 in-lbs and tighten until the tool clicks. Never use the push-in back-stab holes on standard receptacles; they rely on spring tension that degrades over time, leading to arc faults.
Common Code Violations & Inspector Failures
When municipal electrical inspectors evaluate a newly installed outlet, they look for specific, common violations. Avoid these critical errors:
- Open Bootleg Grounds: Connecting the neutral terminal to the ground screw to trick a receptacle tester into showing a 'correct' wiring status. This is highly illegal and lethal, as a neutral fault will energize the appliance chassis.
- Reversed Polarity: Swapping the hot and neutral wires. The hot wire must always connect to the brass screw and the shorter slot on the receptacle face.
- Missing GFCI/AFCI Protection: Under NEC 210.8 and 210.12, almost all 120V, 15A and 20A receptacles in living areas, kitchens, bathrooms, and garages require either GFCI (shock protection), AFCI (fire protection), or dual-function CAFCI/GFCI breaker protection.
- Exposed Copper: More than 1/16 inch of bare copper visible outside the terminal saddle is an automatic fail.
Frequently Asked Questions (FAQ)
Can I install a 20A outlet on a 15A breaker?
No. NEC Article 210.21(B)(3) strictly prohibits installing a 20A receptacle (identified by the T-shaped neutral slot) on a 15A circuit. You may, however, install standard 15A receptacles on a 20A circuit, provided there is more than one receptacle on that circuit.
Do I need a tamper-resistant (TR) outlet in my garage?
Yes. The Electrical Safety Foundation International (ESFI) and NEC 406.12 mandate that all 15A and 20A, 125V and 250V non-locking receptacles in dwelling units must be tamper-resistant, regardless of the room, to prevent children from inserting foreign objects into the slots.
What happens if I don't use a torque screwdriver?
Under-torqued screws create loose connections that generate intense heat and cause arc faults. Over-torqued screws can strip the brass threads or snap the screw head, ruining the device. Since the 2017 NEC cycle, inspectors increasingly require proof of torque compliance, making a calibrated torque screwdriver mandatory for professional installations.