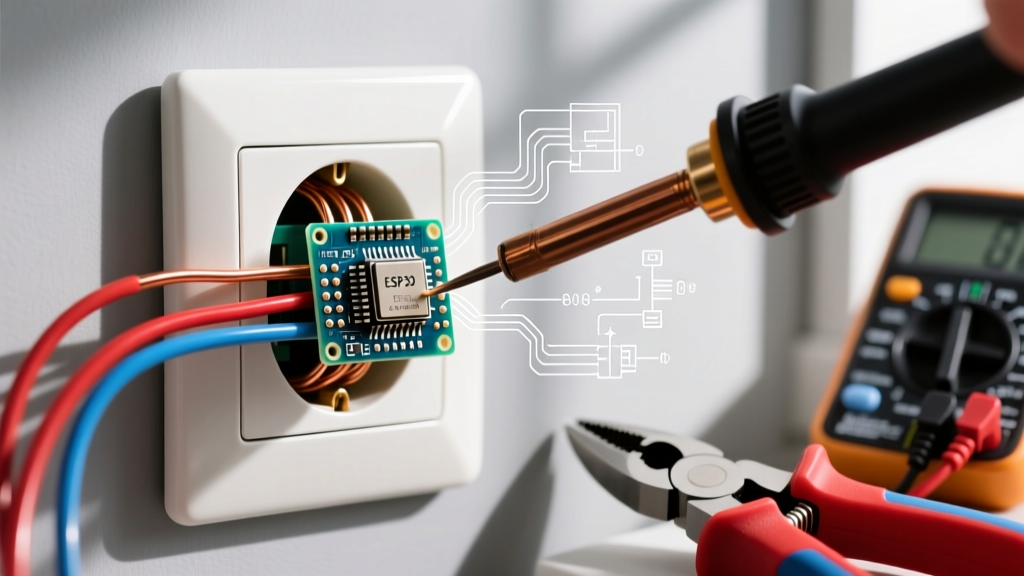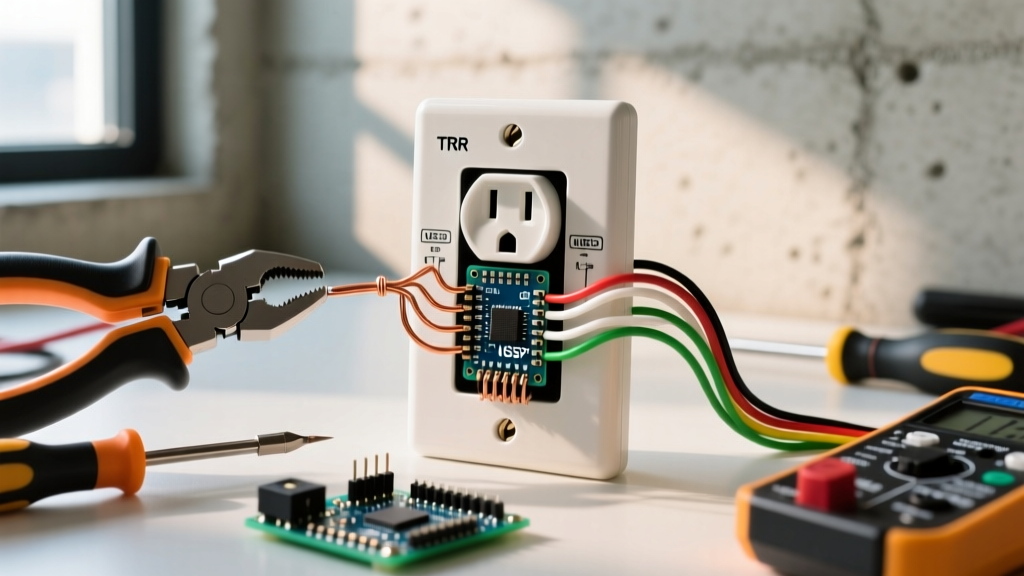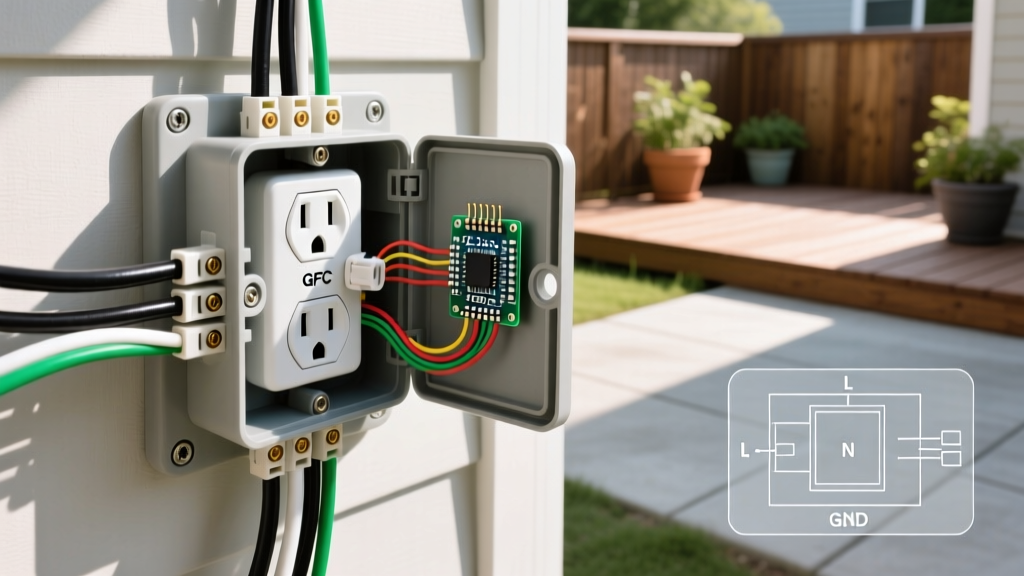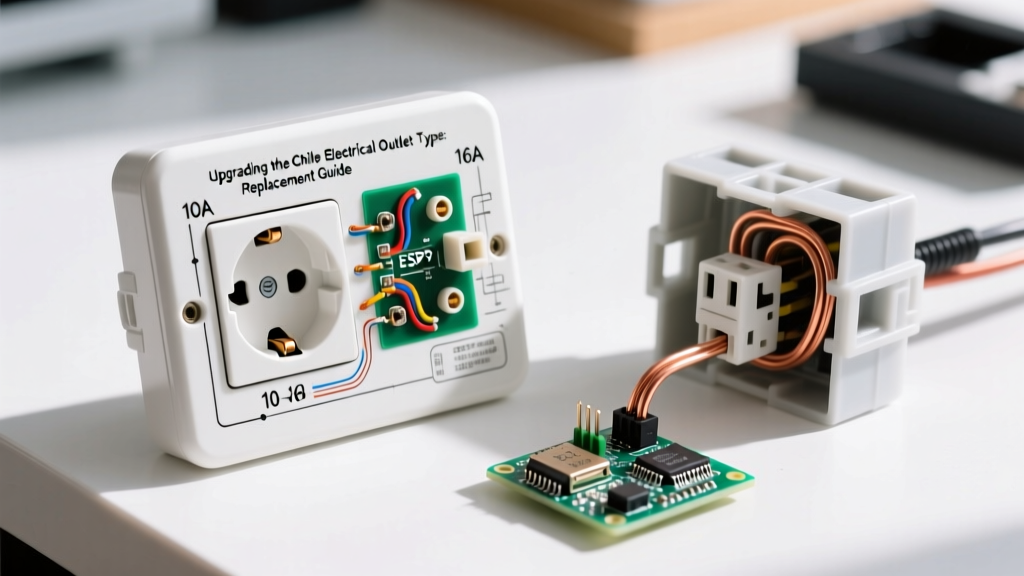

Why Install a Cabinet Electrical Outlet?
Adding a cabinet electrical outlet is one of the most practical upgrades you can make to a kitchen island, base cabinet, or dedicated appliance garage. Whether you are creating a hidden charging station for laptops and phones, powering a router inside a media console, or providing a dedicated plug for a stand mixer in a kitchen appliance garage, routing power inside cabinetry keeps countertops clear of visual clutter. However, unlike standard wall receptacles, installing an outlet inside a wooden cabinet introduces unique fire safety risks, box-fill constraints, and strict National Electrical Code (NEC) compliance requirements.
This guide provides a professional-grade, step-by-step installation workflow for adding a 20-amp GFCI-protected receptacle inside a base cabinet or kitchen island, using 2026 best practices and modern tooling.
NEC Code Requirements for Cabinet Outlets
Before cutting any wood, you must understand how the National Electrical Code (NEC) classifies cabinet outlets. The most common DIY mistake is assuming an outlet inside an appliance garage can count toward the required countertop receptacle spacing.
- Supplemental vs. Required: Under NEC Article 210.52(C), receptacles installed inside a cabinet or cupboard do not count as required countertop receptacles. You must still meet the standard spacing rules on the actual wall backsplash.
- GFCI Protection: If the cabinet outlet is located within 6 feet of a kitchen sink, NEC 210.8(A)(7) mandates Ground Fault Circuit Interrupter (GFCI) protection. We recommend using a GFCI receptacle for all kitchen cabinet outlets regardless of sink proximity to prevent shock hazards from spilled liquids or faulty appliances.
- Switching Restrictions: NEC 210.52(B)(2) prohibits using switched outlets (controlled by a wall light switch) to satisfy countertop receptacle requirements. While a supplemental cabinet outlet can be switched, a GFCI receptacle should generally be on an always-hot circuit to prevent tripping nuisance issues and ensure the internal self-test circuitry remains powered.
Tools and Materials Checklist
To ensure a safe, code-compliant installation, gather the following specific materials. Pricing reflects average 2026 retail costs.
| Item | Recommended Model / Spec | Est. Cost |
|---|---|---|
| GFCI Receptacle | Leviton GFNT2-W (20A SmartLockPro) | $24.00 |
| Old Work Box | Carlon B618R (18 cu. in. Round Non-Metallic) | $4.50 |
| Wiring | 12/2 NM-B (Romex) with Ground (Southwire) | $0.85/ft |
| Drill Bit | Milwaukee 1-1/4 in. Self-Feed Wood Bit | $18.00 |
| Voltage Tester | Klein Tools NCVT-3 (Dual Range NCVT) | $22.00 |
| Torque Screwdriver | Klein Tools 630-4 (Torque set to 14 in-lbs) | $45.00 |
| Wire Strippers | Klein Tools 11063W (10-14 AWG) | $28.00 |
Step-by-Step Installation Guide
Step 1: Power Shutoff and Verification
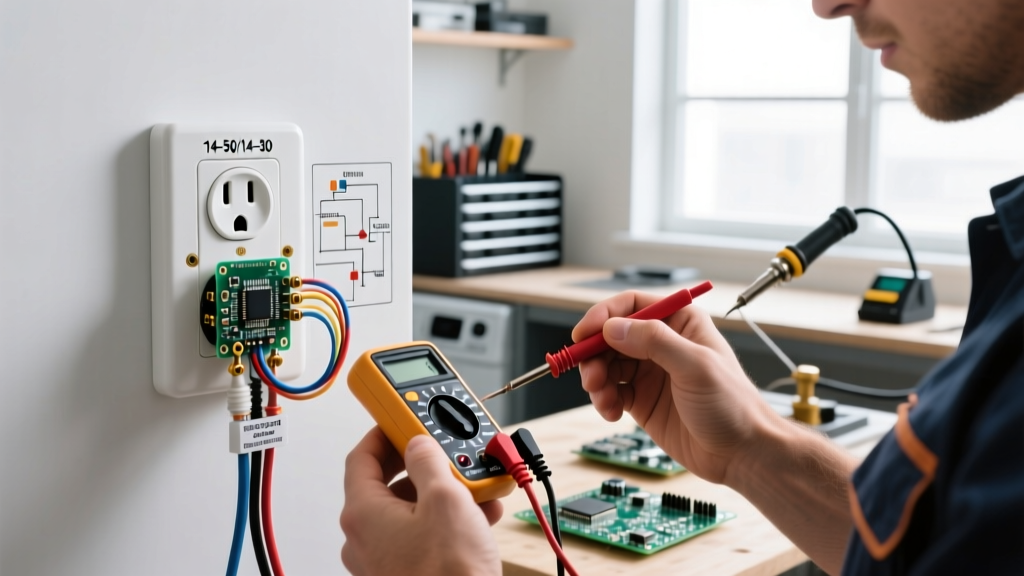
Locate the main service panel and turn off the 20-amp breaker supplying the kitchen island or base cabinet circuit. Use the Klein Tools NCVT-3 non-contact voltage tester on a known live outlet first to verify the tool works, then test the existing outlet or junction box you plan to tap into. Always use a multimeter to confirm 0V between hot and neutral, and hot and ground, before touching any bare copper.
Step 2: Routing the 12/2 NM-B Cable
Drill access holes through the cabinet framing and floor joists. Use the 1-1/4 inch self-feed bit to bore holes through the center of wooden studs or joists. Critical Code Note: NEC 300.4(A)(1) requires that holes bored in studs must be at least 1-1/4 inches away from the edge of the wood to prevent drywall screws or cabinet nails from piercing the cable. If you cannot maintain this 1-1/4 inch clearance, you must install a steel nail plate (e.g., Gardner Bender PN-1025) over the stud face.
Step 3: Mounting the Old Work Box
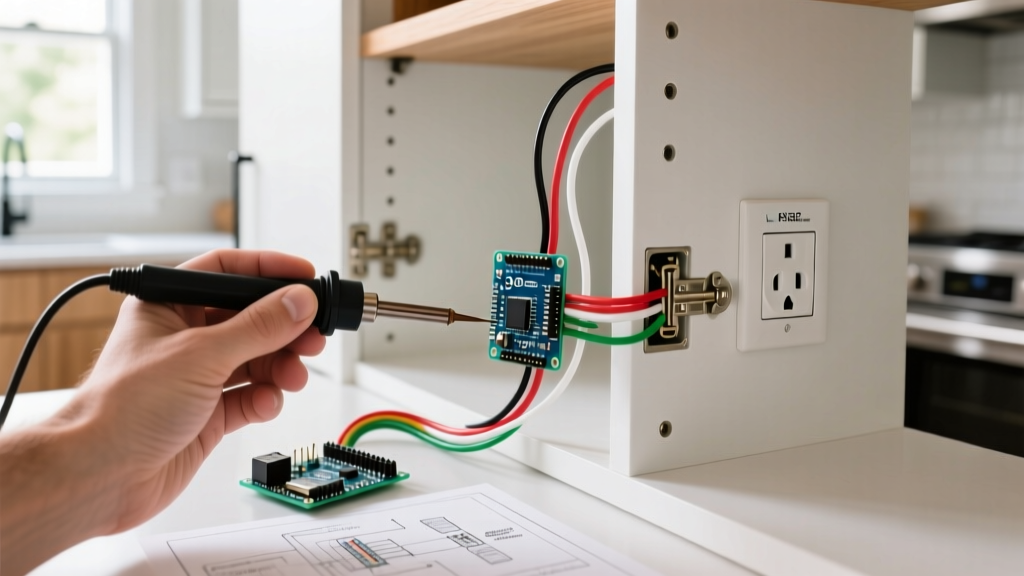
Cut a 3-3/4 inch diameter hole in the cabinet back panel or interior side wall using a hole saw or drywall saw. Feed the 12/2 NM-B cable through the hole, leaving at least 8 inches of working length inside the cabinet. Insert the Carlon B618R round old-work box into the hole and tighten the mounting screws. As you tighten, the internal flippers will rotate and clamp securely against the 3/4-inch cabinet plywood.
Expert Box-Fill Calculation: NEC 314.16 requires adequate space inside the electrical box to prevent wire overheating. For 12 AWG wire, each conductor requires 2.25 cubic inches. Your setup includes 1 hot, 1 neutral, 1 ground (counts as 0.5), and the GFCI device yoke (counts as 2 conductors). Total required volume: 4.5 x 2.25 = 10.125 cubic inches. The Carlon B618R provides 18 cubic inches, ensuring ample, code-compliant space.
Step 4: Wiring the GFCI Receptacle
Strip 5/8 inch of insulation from the black and white wires using your 12 AWG wire strippers. Identify the LINE terminals on the Leviton GFNT2-W GFCI (these are the terminals for the incoming power from the breaker panel). Wrap the bare copper ground wire around the green grounding screw and tighten.
Insert the black (hot) wire into the brass LINE terminal and the white (neutral) wire into the silver LINE terminal. Do not use the back-stab push-in connectors. Use the side terminal screws and tighten them to exactly 14 inch-pounds using a torque screwdriver. Under-torquing causes arcing and fire; over-torquing strips the screw head or damages the brass contact plate.
Step 5: Testing and Final Trim
Before pushing the receptacle into the box, turn the breaker back on. Use a plug-in GFCI tester (like the Gardner Bender GFI-3501) to verify correct wiring. Press the 'TEST' button on the receptacle face; you should hear a sharp click, and the power should cut off. Press 'RESET' to restore power. Once verified, turn the power back off, carefully fold the wires into the back of the box (ground first, then neutral, then hot), and secure the device with the provided 6-32 mounting screws.
Common Failure Modes and Troubleshooting
Even experienced DIYers encounter issues when wiring cabinet outlets. Here is how to diagnose the most frequent problems:
- GFCI Trips Immediately Upon Reset: This usually indicates a ground fault downstream or a miswired LINE/LOAD connection. Ensure incoming power is strictly on the LINE terminals. If you are daisy-chaining another outlet downstream, verify the LOAD terminals are wired correctly and the downstream neutral is not bonded to ground.
- Receptacle Does Not Sit Flush in Cabinet: Cabinet panels are often exactly 3/4 inch thick, which can interfere with standard plaster ears. Use a utility knife to snap off the plaster ears on the Leviton GFCI yoke before installation to allow the device to sit flush against the cabinet interior.
- Overheating at the Terminal: Caused by loose connections. If you did not use a torque screwdriver and relied on 'hand-tight,' the thermal expansion and contraction cycles of a high-draw appliance (like a toaster oven) will loosen the screw over time, creating a high-resistance fault.
2026 Cost Breakdown: DIY vs. Professional Electrician
Understanding the financial scope helps you decide whether to tackle this as a weekend project or hire a licensed contractor.
| Installation Method | Material Costs | Labor Costs | Total Estimated Cost |
|---|---|---|---|
| DIY Installation | $65 - $85 | $0 | $65 - $85 |
| Licensed Electrician (Base Rate) | $40 - $60 | $150 - $250 | $190 - $310 |
| Custom Cabinet Maker + Electrician | $100+ | $350 - $500 | $450 - $600+ |
Frequently Asked Questions
Can I use a standard 15-amp receptacle inside a kitchen cabinet?
If the circuit is protected by a 15-amp breaker, yes. However, modern kitchens heavily utilize 20-amp small appliance branch circuits (SABC). If you are tapping into a 20-amp circuit, NEC 210.21(B)(3) requires you to use a 20-amp rated receptacle (identified by the T-shaped neutral slot) or a 15-amp duplex receptacle. For high-draw appliance garages, a 20-amp GFCI like the Leviton GFNT2 is strongly recommended to handle continuous loads safely.
Does the outlet need to be AFCI protected?
Under NEC 210.12, Arc Fault Circuit Interrupter (AFCI) protection is required for 120V, single-phase, 15- and 20-amp branch circuits supplying outlets in kitchens. If your main panel does not already feature an AFCI breaker for the kitchen circuit, installing an AFCI/GFCI dual-function receptacle at the first outlet in the run is required to meet current code.
How do I protect the cabinet wood from heat generated by appliances?
The Electrical Safety Foundation International (ESFI) warns against enclosing heat-generating appliances in unventilated spaces. If your cabinet outlet will power a coffee maker or toaster oven, ensure the cabinet features rear ventilation grilles or a louvered door to prevent heat buildup, which can warp the wood and degrade the NM-B wire insulation over time.
For comprehensive home electrical safety guidelines and fire prevention tips, always refer to the Consumer Product Safety Commission (CPSC) electrical safety resources before beginning any structural wiring modifications.