
The Modern Upgrade: Why Replace Aging Receptacles?
Upgrading an aging or damaged receptacle is one of the most impactful safety improvements you can make in a residential or commercial space. While basic wiring principles have remained consistent for decades, the National Electrical Code (NEC) has evolved significantly. If you are dealing with two-prong ungrounded outlets, cracked faceplates, or receptacles where plugs fall out effortlessly, an upgrade is overdue. Understanding the modern standards for tamper resistance, ground-fault protection, and proper torque termination is critical before you pick up a screwdriver.
Diagnostic Callout: When to Immediately Replace an Outlet
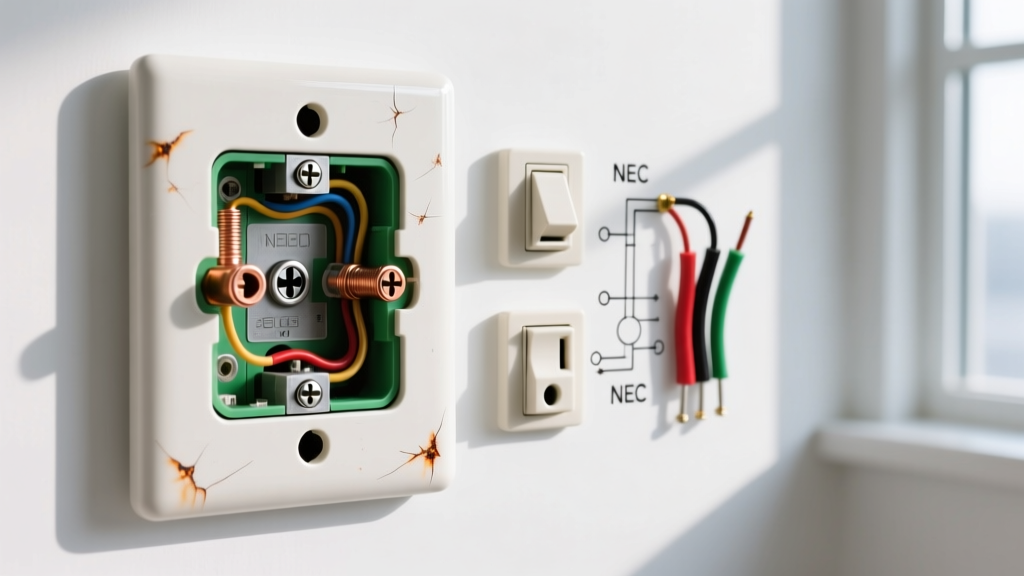
- Physical Damage: Cracked faceplates, scorched plastic, or bent slots.
- Loss of Tension: Plugs slide into the slots with zero resistance or fall out under their own weight, indicating worn internal brass contacts that pose a severe arcing fire hazard.
- Two-Prong Legacy: Ungrounded receptacles in kitchens, bathrooms, or living areas lack the equipment grounding conductor required for modern electronics and surge protectors.
- Backstab Failure: Outlets wired using push-in 'backstab' connections are prone to thermal expansion and contraction, leading to loose neutrals and melted wire insulation over time.
Choosing the Right Receptacle for Your Upgrade
Before learning how to hook up an electrical outlet, you must select the correct device for the specific circuit and location. The NEC mandates specific receptacle types based on the room and proximity to water sources. Below is a comparison matrix of the most common upgrade options available in 2026.
| Receptacle Type | Example Model | Avg. Cost (2026) | Primary Use Case & NEC Requirement |
|---|---|---|---|
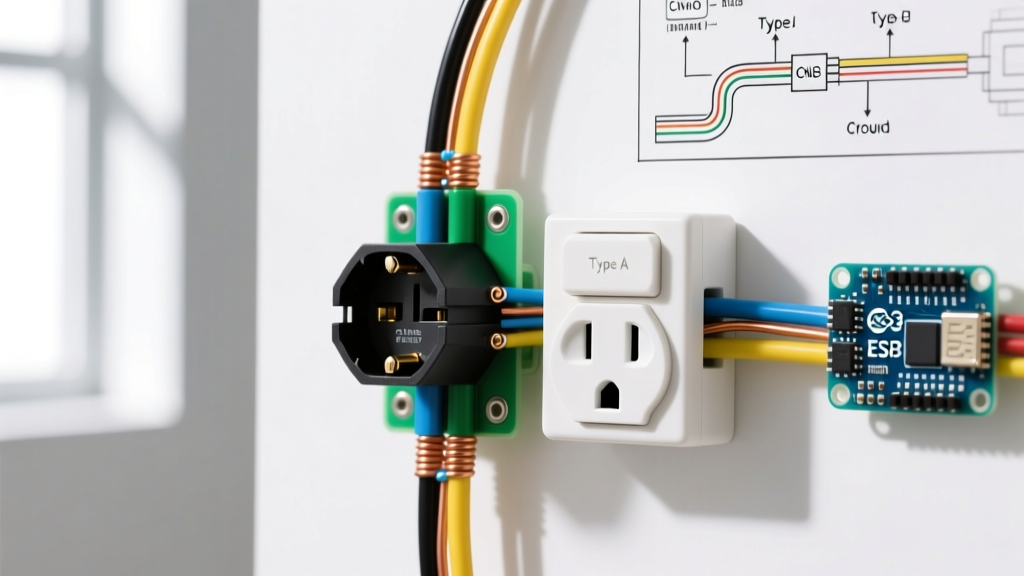
| Standard Tamper-Resistant (TR) | Leviton R52-05320-WMP (15A) | $1.80 - $3.00 | All general living areas. Features internal shutters to prevent foreign object insertion. |
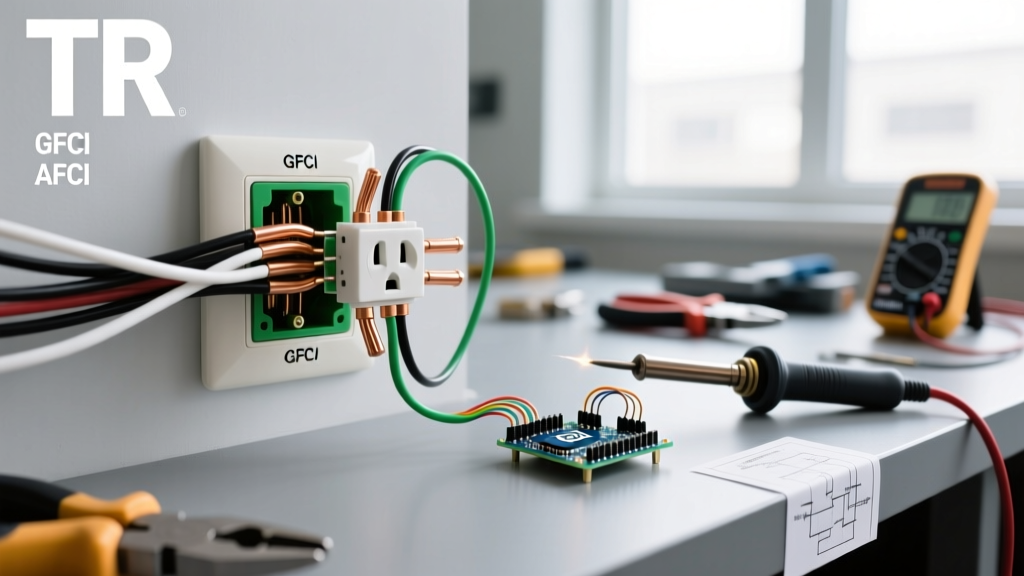
| Ground Fault Circuit Interrupter (GFCI) | Eaton GFNL15W (15A) | $16.00 - $24.00 | Kitchens, bathrooms, garages, and outdoors. Trips at 4-6mA of ground leakage to prevent shock. |
| Dual-Function (AFCI/GFCI) | Leviton AGFTR1-LW (15A) | $38.00 - $45.00 | Laundry rooms and areas requiring both arc-fault (fire) and ground-fault (shock) protection. |
| 20A Commercial Grade | Hubbell 5262-I (20A TR) | $8.50 - $12.00 | Kitchen small-appliance circuits (requires 12 AWG wire). Built for high-insertion-cycle durability. |
For comprehensive safety data on why Tamper-Resistant (TR) receptacles are now mandatory in all dwelling units, refer to the Electrical Safety Foundation International (ESFI) guidelines on TR receptacles. The internal shutters require simultaneous, equal pressure on both blades of a plug to open, effectively neutralizing the risk of children inserting hairpins or keys.
Essential Tools for a Code-Compliant Installation
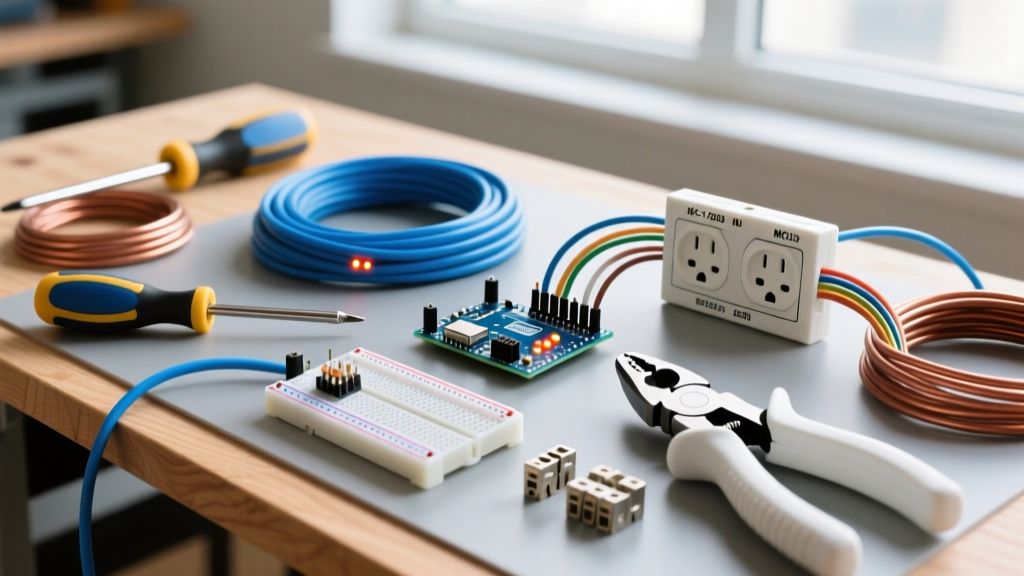
Professional electricians do not rely on guesswork. To ensure a safe, long-lasting connection, assemble the following tools:
- Voltage Tester / Multimeter: Fluke 117 True-RMS Multimeter or a Klein Tools NCVT-3 non-contact voltage tester to verify zero energy state.
- Wire Strippers: Ideal Industries Reflex T-Stripper (calibrated for 14 AWG and 12 AWG solid copper).
- Torque Screwdriver: Klein Tools 32717 (or similar). The NEC now strictly requires terminations to be tightened to the manufacturer's specified torque, typically 12 to 14 in-lbs for standard 15A receptacles.
- Lineman's Pliers: For creating clean, tight J-hooks on solid copper conductors.
How to Hook Up an Electrical Outlet: Step-by-Step Upgrade
Follow this precise sequence to replace an old receptacle with a modern TR or GFCI device safely.
Step 1: Isolate and Verify the Circuit
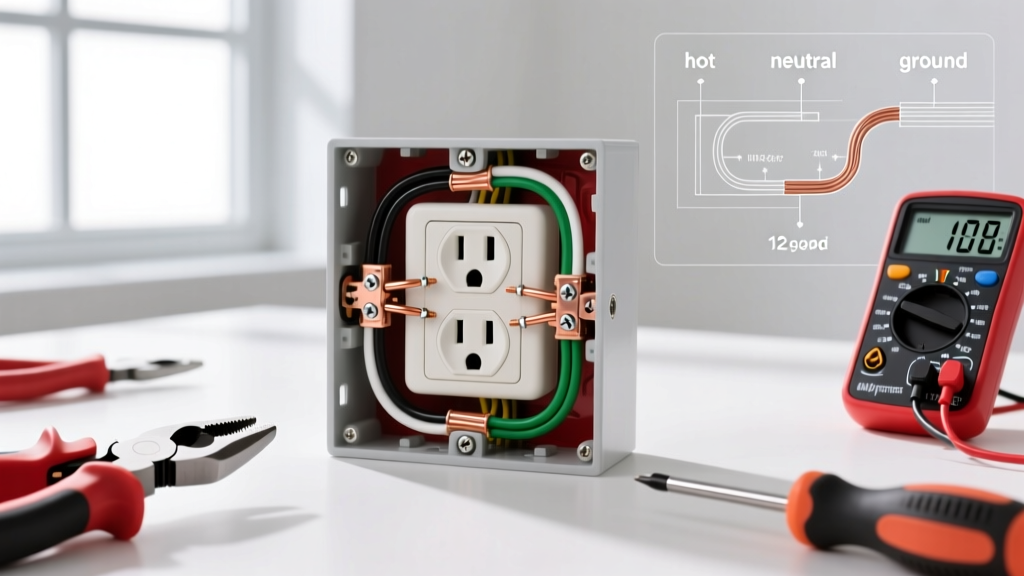
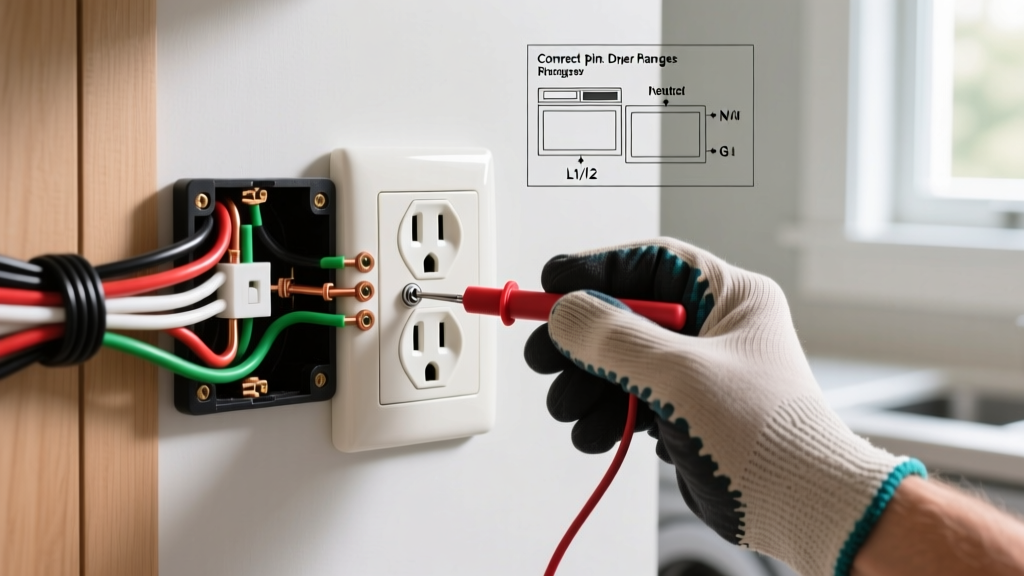
Navigate to your main service panel and switch off the breaker controlling the outlet. Never assume the wall switch or a labeled breaker is accurate. Insert your non-contact voltage tester into both the top and bottom slots of the existing outlet. Follow up by testing between the hot (short slot) and neutral (long slot), and hot to ground (round hole) using a multimeter. A reading of 0.0V confirms the circuit is dead.
Step 2: Extract and Inspect the Wiring
Remove the center screw on the faceplate, then remove the top and bottom mounting screws securing the yoke to the junction box. Gently pull the receptacle out. Inspect the wire insulation. If the insulation is brittle, cracked, or shows signs of heat damage (browning), you must strip it back to fresh copper or consult an electrician to evaluate the branch circuit.
Step 3: Prep the Conductors
If reusing existing wires, use your lineman's pliers to snip off the old, oxidized copper tips. Strip exactly 3/4-inch of insulation from the 14 AWG or 12 AWG solid copper wires. This specific measurement ensures the wire seats fully under the terminal screw without exposing bare copper outside the yoke, which could cause a short circuit if the box is metal.
Step 4: Form the J-Hook and Terminate
Bend the stripped wire into a tight 'J-hook' using the needle-nose section of your pliers. Hook the wire around the brass (hot) and silver (neutral) terminal screws in a clockwise direction. This ensures that as you tighten the screw, the loop pulls tighter rather than splaying outward. Connect the bare/green ground wire to the green grounding screw. For GFCI upgrades, ensure the incoming power wires connect to the 'LINE' terminals, and any downstream outlets connect to the 'LOAD' terminals.
Step 5: Torque and Secure
Using your calibrated torque screwdriver, tighten the terminal screws to the manufacturer's specification (usually printed on the back of the device or the packaging, commonly 14 in-lbs). Fold the wires neatly into the back of the junction box using a Z-fold pattern to prevent pinching. Mount the yoke, ensuring it sits flush and level, and install the new faceplate.
The Backstab vs. Screw Terminal Debate: A Critical Failure Mode
When researching how to hook up an electrical outlet, you will notice quick-wire push-in holes (backstabs) on the rear of many standard 15A receptacles. Do not use them for upgrades. Backstab connections rely on a small internal spring-metal wedge to grip the wire. Over years of thermal cycling—heating up under load and cooling down when idle—these springs lose tension. This creates a high-resistance connection, leading to voltage drops, melted plastic yokes, and ultimately, electrical fires.
Always use the side-wiring screw terminals. If you are dealing with stranded wire (rare in standard residential branch circuits but common in some commercial or low-voltage applications), you must use a crimped ferrule or a pigtail connection to a solid copper wire, as terminal screws on standard receptacles are not UL-listed for direct stranded wire termination without a pressure plate.
Troubleshooting Edge Cases and Complex Scenarios
Upgrades rarely go exactly to plan, especially in older homes. Be prepared for these common edge cases:
Multi-Wire Branch Circuits (MWBC)
If you open the box and find two black (hot) wires, one red (hot) wire, and a shared neutral (white), you are dealing with an MWBC. These circuits share a neutral between two 120V phases. Warning: If you are replacing an outlet on an MWBC, you must break the brass fin (the small metal tab between the top and bottom hot screws) on the new receptacle if the top and bottom halves are controlled by different breakers. Failing to identify and safely manage an MWBC can result in overloading the shared neutral, creating a severe fire hazard.
Open Ground in Older Homes
If you are upgrading a two-prong outlet to a three-prong TR receptacle but there is no equipment grounding conductor in the box, the NEC allows a specific workaround. You may install a GFCI receptacle and label it with the included sticker reading 'No Equipment Ground.' The GFCI will protect against shock hazards by monitoring current imbalance, even without a physical ground wire. However, this setup will not protect sensitive electronics from surges, as surge protectors require a true path to ground to divert transient voltage.
Reverse Polarity
After installing the new outlet, test it with a standard $10 receptacle tester. If the tester indicates 'Reverse Polarity' (usually a red and yellow light), the hot and neutral wires are swapped. This is a dangerous condition where the shell of a plugged-in lamp remains energized even when switched off. Immediately turn off the breaker, swap the black wire to the brass screw and the white wire to the silver screw, and retest.
Final Verification and Code Compliance
Once the physical installation is complete and the receptacle tester shows 'Correct' wiring, restore power at the breaker. For GFCI and AFCI upgrades, press the built-in 'TEST' button on the faceplate to ensure the internal trip mechanism functions correctly; the reset button should pop out, cutting power. Press 'RESET' to restore functionality.
By adhering to modern termination standards, utilizing torque-calibrated tools, and selecting the correct UL-listed devices for your specific environment, you ensure your electrical system meets the rigorous safety benchmarks outlined in NFPA 70 (National Electrical Code). Properly upgrading your receptacles not only brings your home up to current safety codes but also provides the reliable, low-resistance connections required by today's high-draw electronics and smart home appliances.