
The Factory 400W Limitation vs. Job-Site Demands
When outfitting a modern midsize pickup for mobile job-site duty, installing a high-capacity electrical outlet on a Canyon truck bed is one of the most transformative upgrades you can make. The 2023-2026 generation GMC Canyon (including the AT4 and Denali trims) comes equipped with a factory 120V bed outlet. However, this factory receptacle is hardwired to a 400-watt internal inverter. While 400W is sufficient for charging laptops or running a small cooler, it will immediately trip the internal breaker if you plug in a 15-amp miter saw, a rotary hammer, or a job-site air compressor.
To run heavy-duty AC tools, you must bypass the factory system and install a dedicated, high-capacity pure sine wave inverter wired directly to the battery, terminating in a weatherproof, GFCI-protected receptacle mounted securely in the bed. This guide details the exact tools, materials, and wiring protocols required to execute this upgrade safely and in compliance with mobile electrical standards.
Essential Tools for Heavy-Duty DC Wiring
Working with high-amperage 12V DC systems requires specialized crimping and stripping tools. Standard automotive crimpers will fail to compress the heavy lugs needed for 2 AWG wire, leading to high-resistance connections that can melt under load.
- Knipex 97 53 14 Crimping Pliers: Specifically designed for heavy-duty battery lugs and wire ferrules up to 2 AWG. Provides the necessary mechanical advantage for a gas-tight crimp.
- Klein Tools 11055 Wire Strippers: Ideal for cleanly stripping 10-18 AWG AC wiring without nicking the copper strands.
- Fluke 117 True RMS Multimeter: Essential for verifying DC voltage at the battery, checking for continuity in your ground connections, and testing the final AC output.
- Heat Gun (Dual Temperature): Required for shrinking adhesive-lined marine heat shrink over your heavy DC lugs to prevent moisture ingress and corrosion.
- Greenlee 7238 Step Bit: For drilling clean, burr-free holes through the truck bed sheet metal and plastic trim panels for mounting the receptacle box.
Material Bill of Materials (BOM) & Sizing
Sizing your DC wire correctly is critical. According to the Blue Sea Systems Circuit Sizing guidelines, a 1500W inverter drawing up to 130A from a 12V system requires heavy-gauge copper to prevent dangerous voltage drop and wire heating over a 10-to-15-foot run from the engine bay to the truck bed.
| Component | Specification / Model | Est. Cost (2026) |
|---|---|---|
| Pure Sine Wave Inverter | Victron Energy Phoenix 12/1500 (1500W Continuous) | $380 - $420 |
| DC Wiring | 2 AWG Tinned Copper Marine Battery Cable (Red/Black) | $85 |
| DC Overcurrent Protection | 150A Class T Fuse & Block (Blue Sea 5103) | $45 |
| AC Receptacle | Hubbell Marine 5262 (20A Marine-Grade GFCI) | $65 |
| Weatherproof Cover | Taymac MX1000 'While-in-Use' Extra Duty Cover | $22 |
| AC Wiring & Hardware | 12 AWG THHN, Marine Heat Shrink, 2 AWG Ring Terminals | $40 |
Step-by-Step Installation Procedure
1. Mount the Inverter and DC Fusing
Mount the Victron inverter inside the cab (under the rear seat or behind the kick panel) or in a protected, ventilated under-bed storage box. Never mount an inverter directly inside an unventilated truck bed toolbox, as the cooling fans will ingest dust and moisture. The 150A Class T fuse must be installed on the positive DC cable within 18 inches of the battery's positive terminal to protect the entire cable run in the event of a short circuit.
2. Routing the 2 AWG DC Cables
Route the 2 AWG positive and negative cables from the engine bay to the inverter location. Use existing firewall grommets where possible. If you must drill through the chassis, use a step bit and immediately install a rubber firewall grommet to prevent the sheet metal from slicing through the wire insulation. Secure the cables every 12 inches using UV-resistant zip ties or P-clamps.
3. Crimping and Terminating DC Connections
Strip the 2 AWG cable and insert it into a tinned copper ring terminal. Use the Knipex heavy-duty crimper to compress the terminal. Slide a piece of 3/8-inch adhesive-lined marine heat shrink over the joint and apply heat until the adhesive oozes out the ends. This creates a waterproof seal that prevents galvanic corrosion, which is vital for vehicles exposed to rain and road salt.
4. Grounding to the Chassis
If grounding the inverter to the truck bed or chassis rather than running a dedicated negative cable back to the battery, you must grind the paint and powder coating down to bare, shiny metal. Use a star washer between the ring terminal and the chassis to bite through any remaining micro-corrosion, and coat the finished joint with dielectric grease or marine battery terminal protector.
5. Wiring the AC GFCI Outlet in the Bed
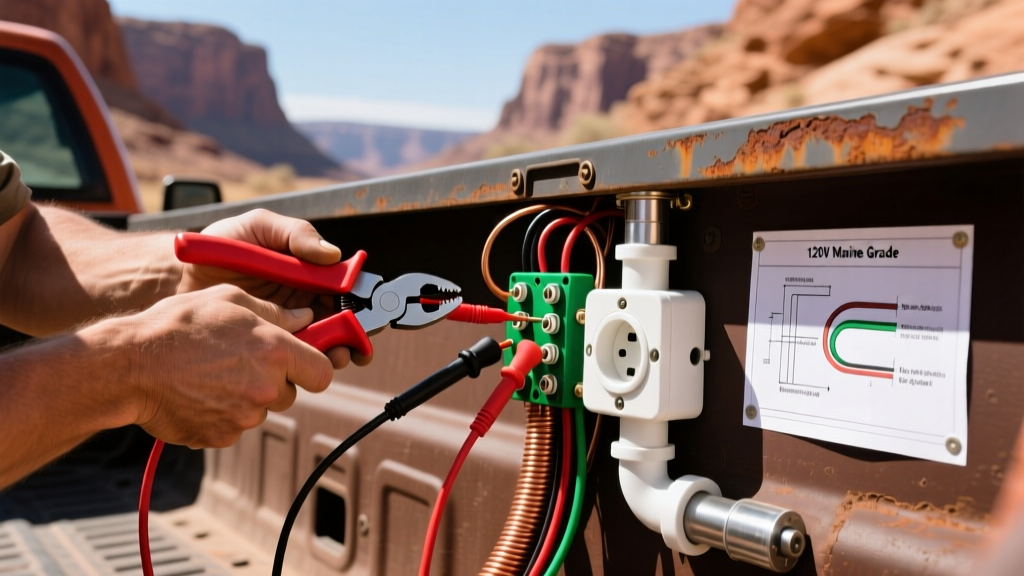
Mount a heavy-duty steel or marine-grade plastic junction box to the inside wall of the Canyon truck bed. Run 12 AWG THHN copper wire from the inverter's AC output terminals through a protected conduit to the bed box. Wire the Hubbell Marine GFCI receptacle, ensuring the LINE terminals are connected to the inverter output. Connect the ground wire to the receptacle's green screw and bond it to the metal junction box.
Grounding & GFCI Compliance for Mobile Job Sites
Working on construction sites requires strict adherence to safety protocols. According to OSHA Standard 1926.404(b)(1), all 120V, single-phase, 15- and 20-ampere receptacle outlets on construction sites must have approved ground-fault circuit interrupter (GFCI) protection. This is why a standard household receptacle is illegal and unsafe for job-site use; the Hubbell Marine 5262 is designed to resist moisture and corrosion while providing rapid GFCI tripping.
Furthermore, mobile inverter grounding requires specific attention. As outlined in the Samlex America Inverter Grounding guidelines, the inverter's chassis ground must be bonded to the vehicle's DC ground, and the AC neutral must be bonded to the AC ground at the inverter output to ensure the GFCI receptacle functions correctly and trips during a fault condition.
Troubleshooting Common Failure Modes
Nuisance GFCI Tripping
Symptom: The GFCI outlet trips immediately when plugging in a tool with a large inductive load (like an air compressor).
Solution: Inductive loads create massive inrush currents that can mimic a ground fault to sensitive marine GFCIs. Ensure your inverter is a Pure Sine Wave model (like the Victron Phoenix). Modified sine wave inverters produce 'dirty' power with high harmonic distortion, which frequently causes nuisance tripping and can damage tool motors.
Severe Voltage Drop Under Load
Symptom: The inverter shuts down with a 'Low Voltage' alarm when a 1200W tool is engaged, even though the truck battery reads 12.6V at rest.
Solution: You are experiencing voltage drop due to undersized wiring or poor crimps. Use your Fluke multimeter to measure the DC voltage directly at the inverter's input terminals while the tool is running. If the voltage drops below 10.5V, your 2 AWG wire run is too long, or a crimp has high resistance. Re-crimp all terminals and verify the Class T fuse block is tight.
Inverter Cooling Fan Failure
Symptom: Inverter overheats and shuts down after 10 minutes of continuous use.
Solution: Truck beds and under-seat locations accumulate dust, pet hair, and debris. The inverter's internal thermal sensors will throttle output if the heatsink is choked. Install a removable, washable HVAC filter mesh over the inverter's intake fan if mounted in a dusty environment, and clean it monthly.
Safety Warning: Always disconnect the negative terminal of the truck's main battery before cutting, stripping, or routing any DC cables. A short circuit across a 2 AWG positive cable connected to a live battery can instantly weld tools to the chassis and cause a catastrophic vehicle fire.
Frequently Asked Questions
Can I just tap into the factory 12V bed power socket?
No. The factory 12V accessory socket in the Canyon bed is typically fused for 15A to 20A (180W-240W max). Attempting to draw the 100+ amps required by a 1500W inverter through the factory wiring harness will melt the wires and start a fire. You must run dedicated 2 AWG cables directly to the engine bay battery.
Will this aftermarket setup void my GMC warranty?
Under the Magnuson-Moss Warranty Act, adding an aftermarket electrical accessory does not automatically void your vehicle's warranty. However, if your installation causes a specific electrical failure (e.g., a short circuit that fries the BCM), the dealer may deny coverage for that specific repair. Using proper fusing, marine-grade materials, and clean routing protects your investment.
Do I need a transfer switch between the factory outlet and my new one?
No. The factory 400W outlet and your new aftermarket 1500W GFCI outlet will operate as completely independent circuits. You can leave the factory outlet as-is for low-draw electronics and use your new heavy-duty outlet for power tools.