
Understanding Electrical Outlet Wire Fundamentals
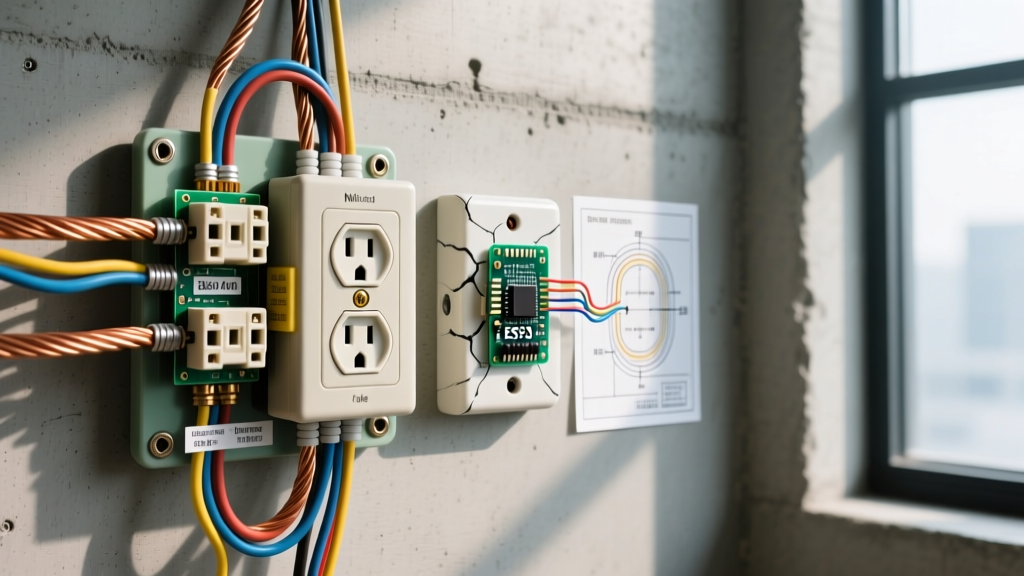
Selecting and routing the correct electrical outlet wire is the foundation of any safe, code-compliant branch circuit. Whether you are wiring a new addition, upgrading a kitchen, or replacing a damaged receptacle, the physical copper conductor feeding the device must match the circuit breaker rating and the expected load. In 2026, with the latest National Electrical Code (NEC) standards in full effect, understanding wire sizing, insulation types, and termination methods is more critical than ever to prevent thermal events and arc faults.
The term 'electrical outlet wire' generally refers to the branch circuit wiring—most commonly Non-Metallic Sheathed Cable (NM-B), widely known by the brand name Romex—that runs from the breaker panel to the receptacle, and from receptacle to receptacle. Choosing the wrong gauge or improperly terminating the wire remains one of the leading causes of residential electrical fires.
Wire Gauges and Sizing Matrix
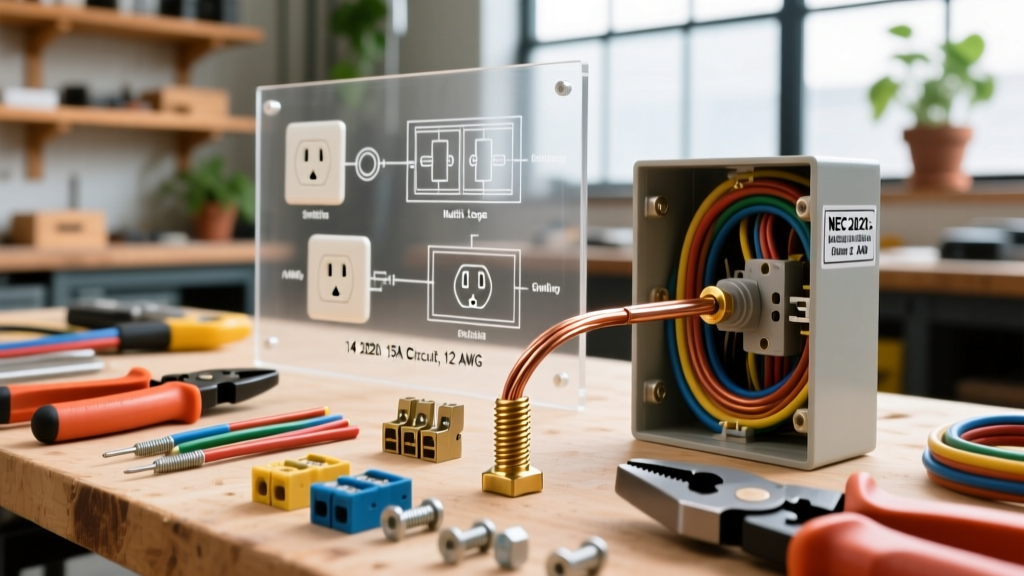
Before pulling any wire, you must match the American Wire Gauge (AWG) to your circuit breaker. According to the National Fire Protection Association (NFPA), standard residential branch circuits primarily rely on two sizes of copper wire.
| Wire Gauge (AWG) | Sheath Color (NM-B) | Max Breaker Size | Max Wattage (120V) | Common Applications |
|---|---|---|---|---|
| 14 AWG | White | 15 Amps | 1,440W (Continuous) | Bedrooms, living rooms, hallways (lighting and general use) |
| 12 AWG | Yellow | 20 Amps | 1,920W (Continuous) | Kitchens, bathrooms, garages, outdoor receptacles, laundry rooms |
| 10 AWG | Orange | 30 Amps | N/A (Usually 240V) | Electric dryers, RV receptacles (rarely used for standard 120V outlets) |
Note: Always derate continuous loads (those expected to run for 3 hours or more) to 80% of the breaker's capacity. A 15A circuit should only carry 12A of continuous load.
Common Wiring Scenarios for Electrical Outlet Wires
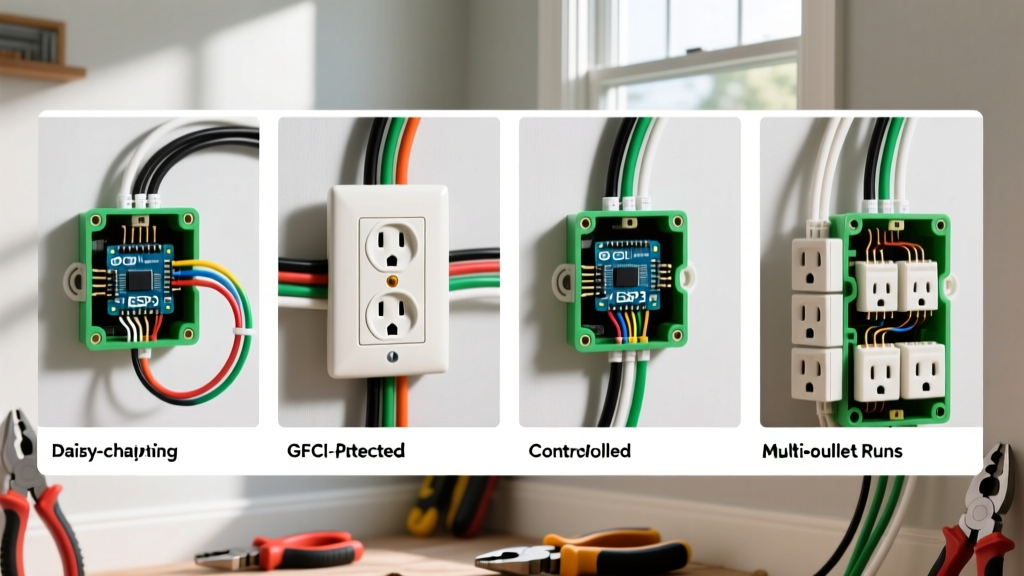
How you route and connect your electrical outlet wire depends heavily on the room and the circuit architecture. Below are the three most common scenarios encountered by professionals and advanced DIYers.
Scenario 1: Standard 15-Amp Daisy Chain (Feed-Through)
In a standard living room or bedroom, a single 15-amp breaker often feeds multiple receptacles in a series. The electrical outlet wire enters the first box (Line), connects to the receptacle, and a second cable exits the box to feed the next receptacle (Load).
- The Feed-Through Method: Both the incoming and outgoing neutral (white) wires are connected to the silver terminal side, and both hot (black) wires are connected to the brass terminal side. While permitted by code, this places the entire downstream load through the internal brass bus bar of the receptacle.
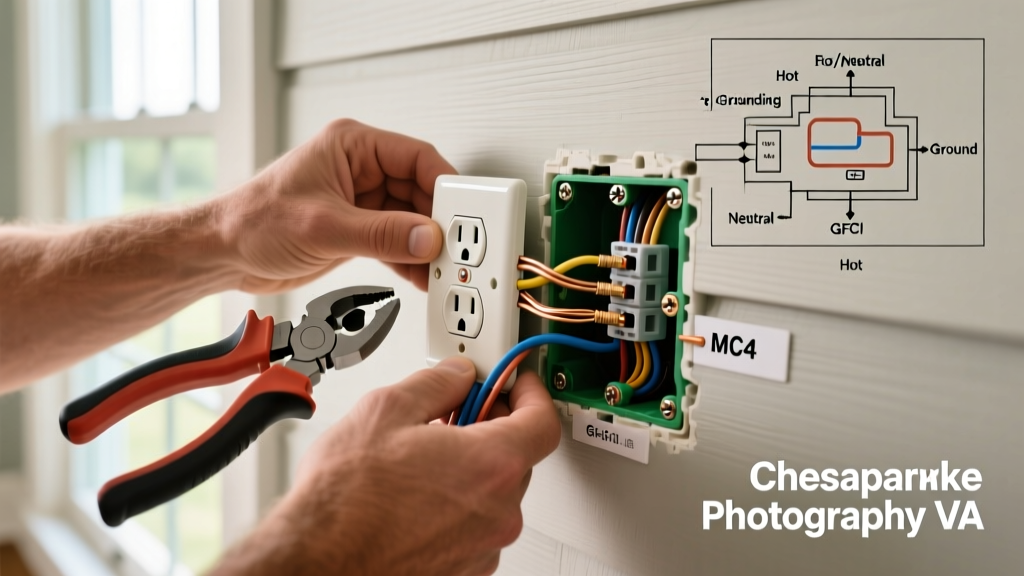
- The Pigtailing Method (Expert Preference):strong> Instead of using the receptacle as a bridge, electricians use wire nuts or WAGO connectors to join the incoming and outgoing wires with a short 6-inch 'pigtail' that connects to the receptacle. This ensures that if the receptacle fails or is removed, downstream outlets remain powered.
Scenario 2: 20-Amp Kitchen and Bathroom Circuits
NEC Article 210.11(C) mandates that small-appliance branch circuits in kitchens and laundry areas, as well as bathroom receptacle circuits, must be rated for 20 amps. This requires 12 AWG electrical outlet wire.
While you can legally install a standard 15-amp duplex receptacle on a 20-amp circuit (provided there is more than one receptacle on the circuit), the wire feeding it must be 12 AWG. Using 14 AWG wire on a 20-amp breaker is a severe code violation; the breaker will not trip before the 14 AWG wire melts and catches fire under a heavy load.
Scenario 3: Multi-Wire Branch Circuits (MWBC)
An MWBC uses a single 12/3 or 14/3 NM-B cable (containing a black, red, white, and bare ground) to feed two separate 120V circuits that share a single neutral wire. This is common in older kitchens or split-wired bedroom receptacles where the top and bottom halves of an outlet are on different breakers.
CRITICAL SAFETY WARNING: The two hot wires (black and red) must be connected to opposite phases (legs) of the electrical panel. If connected to the same phase, the shared neutral will carry the combined amperage of both circuits, leading to a catastrophic neutral overload and fire. Furthermore, the latest NEC updates require a simultaneous disconnect (a handle-tied breaker or a single 2-pole breaker) so both circuits are de-energized at the same time for safe servicing.
Step-by-Step: Terminating the Electrical Outlet Wire
Proper termination is where most DIY failures occur. A poorly terminated wire increases electrical resistance, generating heat that can melt the receptacle housing over time.
- Strip the Insulation: Use a precision wire stripper (like the Klein Tools 11063W) set to the exact gauge. Strip exactly 5/8-inch of insulation. Most modern receptacles feature a physical 'strip gauge' molded into the back plastic housing. Do not nick the copper conductor, which creates a weak point prone to snapping.
- Form the Hook: Using needle-nose pliers, bend the exposed copper into a tight, clockwise 'U' shape. The clockwise direction ensures that tightening the terminal screw pulls the loop tighter around the screw shaft, rather than pushing it out.
- Side-Wire vs. Backstab: Always use the side-binding screw terminals. Avoid the 'push-in' (backstab) connections on the rear of cheap receptacles. Backstab connections rely on a small internal spring clip that grips the wire. Under heavy thermal loads (like a 1,500W space heater), these springs lose tension, leading to arcing and melted plastic.
- Apply Correct Torque: NEC 110.14(D) requires terminations to be torqued to the manufacturer's specifications. For most commercial and spec-grade Leviton or Hubbell 15A/20A receptacles, this is typically 14 in-lbs. Use a calibrated torque screwdriver to ensure the screw is tight enough to prevent high-resistance heating, but not so tight that it strips the brass threads.
For authoritative termination guidelines, refer to the Leviton official installation guidelines, which provide exact torque values and strip lengths for their specific product lines.
Troubleshooting Common Electrical Outlet Wire Failures
When an outlet fails, trips a breaker, or shows signs of heat damage, the root cause usually traces back to the electrical outlet wire or its termination. Here is a diagnostic framework for common issues:
- High-Resistance Connection: Symptoms include the receptacle faceplate feeling warm to the touch or a buzzing sound. Fix: Turn off the breaker, remove the receptacle, and check for loose side-wire screws or degraded backstab connections. Cut back the wire to fresh, unoxidized copper and re-terminate.
- Open Neutral: The outlet tests as 'dead' with a receptacle tester, but voltage is present on the hot wire. Fix: Check the neutral (white) wire connections in the target box and the upstream box. A loose wire nut or a broken neutral bus bar in the panel will interrupt the return path.
- Reversed Polarity: The hot and neutral wires are swapped. This is highly dangerous because the device's internal switch will break the neutral path, leaving the device's internal components energized even when turned 'off'. Fix: Verify that the black wire is on the brass screw and the white wire is on the silver screw.
When sourcing materials, always verify you are purchasing pure copper NM-B cable from reputable manufacturers. As noted in Southwire's NM-B Building Wire specifications, genuine SIMpull Romex features specific jacket thicknesses and flame-retardant properties that counterfeit or substandard imported cables lack.
Final Code Considerations for 2026
As you plan your wiring scenarios, remember that AFCI (Arc-Fault Circuit Interrupter) and GFCI (Ground-Fault Circuit Interrupter) requirements continue to expand. Nearly all 15A and 20A, 120V electrical outlet wires feeding living spaces, kitchens, bathrooms, garages, and outdoors must now be protected by either a dual-function AFCI/GFCI breaker at the panel, or a combination of an AFCI breaker and a GFCI receptacle at the first point of the circuit. Always consult your local Authority Having Jurisdiction (AHJ) before beginning work, as local amendments can supersede baseline national codes.