
The Hidden Fire Hazard of a Wiggling Receptacle
A loose electrical wall outlet is far more than a minor cosmetic annoyance; it is a documented fire hazard and a frequent point of failure in residential wiring systems. When a receptacle wiggles or sags into the wall cavity upon plugging in a device, it places severe mechanical stress on the branch circuit conductors. Over time, this repetitive pushing and pulling causes metal fatigue at the terminal screws, leading to loose wire connections, high-resistance arcing, and eventual thermal runaway.
According to data from the U.S. Consumer Product Safety Commission (CPSC), loose electrical connections and damaged receptacles are primary contributors to the estimated 51,000 electrical home structure fires that occur annually in the United States. Furthermore, the Electrical Safety Foundation International (ESFI) emphasizes that any receptacle that fails to grip a plug firmly or moves when force is applied must be immediately diagnosed and secured.
In this comprehensive troubleshooting guide, we will diagnose the exact mechanical failure causing your loose outlet and detail four professional-grade methods to fix it, comparing outlet shims, box extenders, plaster ears, and old-work box replacements.
Diagnostic Phase: Why Is Your Outlet Loose?
Before purchasing parts, you must identify the specific failure mode. Remove the faceplate and observe the receptacle's yoke (the metal mounting strap) as you gently push on the outlet. Which of these four scenarios is occurring?
- Crumbled Drywall or Plaster: The drywall around the electrical box has deteriorated, meaning the yoke's mounting ears have no solid surface to clamp against. The outlet pushes backward into the wall cavity when pressed.
- Recessed Electrical Box: The electrical box itself is mounted too far back behind the finished wall surface. This is incredibly common in older homes, after drywall overlays, or in tiled backsplashes. The outlet physically cannot reach the surface without bending the wires.
- Stripped Yoke Screws or Warped Yoke: The 6-32 UNC machine screws holding the receptacle to the box are stripped, or the brass yoke itself has been bent out of shape by previous overtightening.
- Worn Receptacle Contacts: The outlet is physically secure to the wall, but the internal brass wipers are worn out, making the plug feel "loose" when inserted. (Note: This requires a total receptacle replacement, not a mounting fix).
4 Proven Methods to Secure a Loose Outlet
Once you have diagnosed the root cause, select the appropriate repair method below. Do not use stacked cardboard or matchbooks behind the yoke—these are combustible materials and violate fire safety codes.
Method 1: Outlet Shim Strips (For Minor Drywall Gaps)
If your electrical box is perfectly flush with the drywall, but the drywall immediately surrounding the box has crumbled or been over-cut, outlet shims are the fastest solution. Products like the Ideal Industries 33-060 Shim Strip are made of non-combustible, high-impact polycarbonate. They feature pre-scored break-away segments that allow you to stack them precisely behind the yoke's mounting ears to bridge the gap between the strap and the wall.
Cost: ~$4.00 for a pack of 100 shims.
Best For: Flush-mounted boxes with minor drywall degradation (gaps up to 1/4 inch).
Method 2: Electrical Box Extenders (The Code-Compliant Fix for Deep Boxes)
If the electrical box is recessed more than 1/4 inch behind the wall surface, you are legally required by the National Electrical Code (NEC) Article 314.20 to use a box extender in combustible walls (like drywall or wood paneling). The Arlington Industries BE1 Non-Metallic Box Extender is the industry standard. It slides over the existing wires and nests inside the original box, bringing the mounting surface completely flush with the drywall. This prevents sparks from igniting the paper facing of the drywall inside the wall cavity.
Cost: ~$3.50 to $5.00 per extender.
Best For: Recessed boxes, tiled walls, or post-remodeling drywall overlays.
Method 3: Plaster Ears / Outlet Spacers (For Severely Blown-Out Drywall)
When the drywall is so heavily damaged that shims simply fall into the wall cavity, you need a mechanical anchor that grips the intact drywall outside the immediate cutout. Caddy TS14 Plaster Ears or generic metal outlet spacers feature long, angled metal prongs. You place them over the receptacle's mounting screws; as you tighten the 6-32 screws, the prongs bite into the solid drywall several inches away from the damaged center, creating a rock-solid anchor point.
Cost: ~$2.00 to $3.00 per pair.
Best For: Severely crumbled plaster or drywall where the box mounting ears are completely unsupported.
Method 4: Upgrading to an "Old Work" Box (Total Structural Failure)
If the original electrical box is loose, detached from its stud, or physically cracked, no amount of shimming will save it. You must cut the existing box out and install a new-work/old-work box, such as the Carlon B114R-UPC Single Gang Old Work Box. These boxes feature flip-out "wings" that clamp against the back of the drywall when tightened, turning the wall itself into the structural support.
Cost: ~$6.00 to $10.00 per box.
Best For: Detached boxes, cracked plastic boxes, or severe structural wall damage.
Troubleshooting Matrix: Which Fix Do You Need?
| Repair Method | Primary Failure Mode | NEC 314.20 Compliant? | Est. Cost & Time |
|---|---|---|---|
| Polycarbonate Shims | Crumbled drywall (Flush box) | Yes (If box is already flush) | $4.00 / 5 mins |
| Box Extender (e.g., BE1) | Recessed box (>1/4" deep) | Yes (Required for recessed) | $4.50 / 10 mins |
| Plaster Ears | Severely blown-out drywall | Yes (Provides secure mount) | $2.50 / 7 mins |
| Old Work Box Swap | Cracked or detached box | Yes (Replaces compromised box) | $8.00 / 30 mins |
Step-by-Step Execution: Installing a Box Extender
Because recessed boxes are the most common and dangerous cause of loose outlets, here is the exact procedure for installing an Arlington BE1 Box Extender safely and to code.
- Kill the Power & Verify: Turn off the circuit breaker. Use a non-contact voltage tester (like the Klein Tools NCVT-2) to verify zero voltage on both the hot and neutral wires. Test the tester on a known live source first to ensure it is functioning.
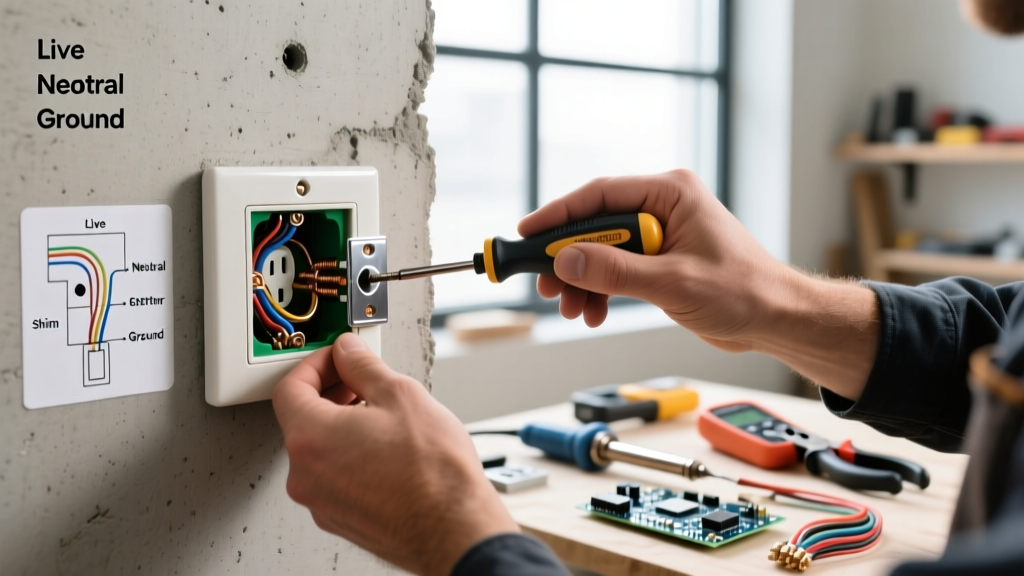
- Remove the Receptacle: Unscrew the faceplate and remove the two 6-32 UNC mounting screws. Gently pull the receptacle out of the box. Do not disconnect the wires unless absolutely necessary.
- Prep the Extender: Take the BE1 box extender and use side cutters to snip off the closed end, creating a pass-through sleeve for the wires.
- Slide and Seat: Slide the extender over the hot, neutral, and ground wires. Push the extender firmly into the existing recessed electrical box until the extender's front flange sits perfectly flush with the finished drywall surface.
- Remount the Receptacle: Feed the receptacle into the new extender. Use the longer 8-32 or 6-32 screws provided with the extender kit to secure the yoke to the extender's mounting tabs.
- Torque Verification: If you had to disconnect any wires to fish them through the extender, ensure they are re-terminated correctly. Modern NEC guidelines (110.14(D)) emphasize proper torque. For a standard 15A/20A Leviton or Eaton receptacle with #12 AWG solid copper wire, tighten the terminal screws to 14 in-lbs using a calibrated torque screwdriver to prevent thermal loosening over time.
- Final Test: Restore power and use a standard 3-light receptacle tester to confirm correct wiring (two yellow lights for standard 120V grounding).
When to Call a Licensed Electrician
While fixing a loose outlet is generally a straightforward DIY task, certain edge cases require professional intervention. If you pull the receptacle out and discover aluminum branch wiring (common in homes built between 1965 and 1973) that is not connected via COPALUM crimps or AlumiConn lug connectors, do not attempt to swap or shim the outlet yourself. Aluminum wire requires specific CO/ALR rated receptacles and precise torque settings to prevent catastrophic oxidation and fires. Additionally, if you notice any scorch marks, melted plastic on the yoke, or a distinct "fishy" odor (a hallmark of overheating Bakelite or PVC insulation), the circuit has experienced severe thermal damage and must be evaluated by a licensed professional immediately.
By properly diagnosing the mechanical failure and utilizing the correct UL-listed hardware—whether that is a simple shim strip or a code-mandated box extender—you ensure your home's electrical system remains safe, stable, and fully compliant with modern safety standards.