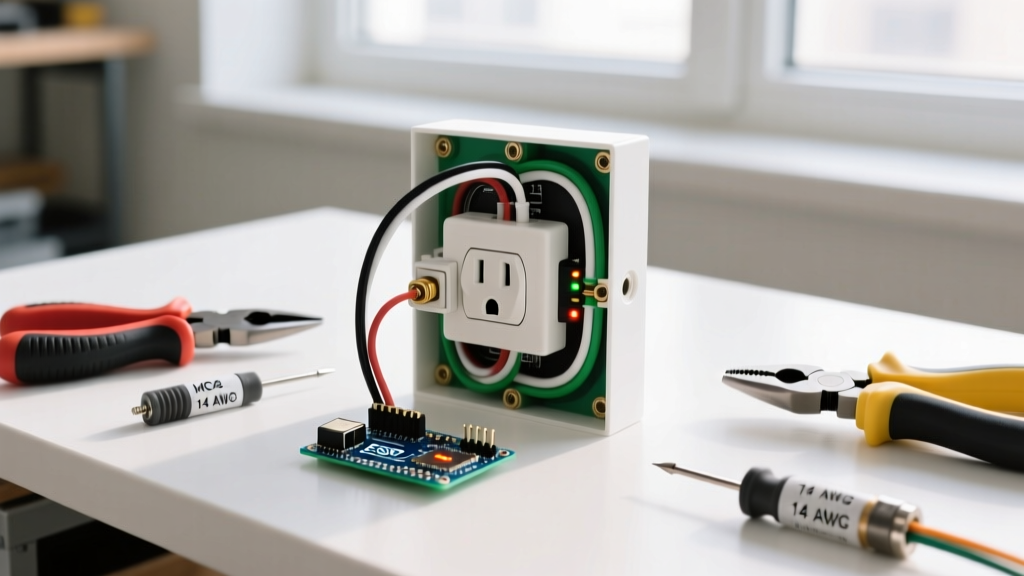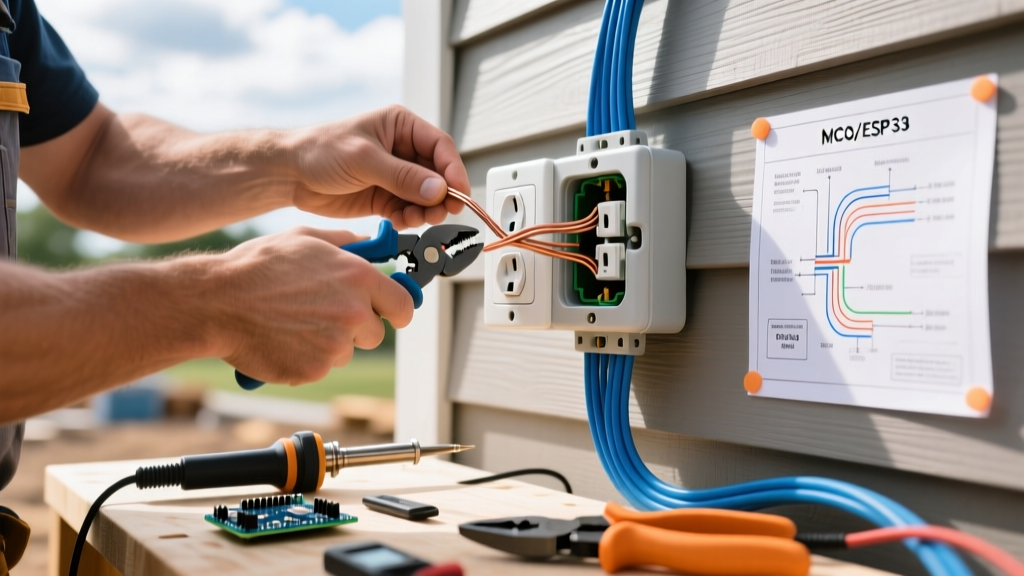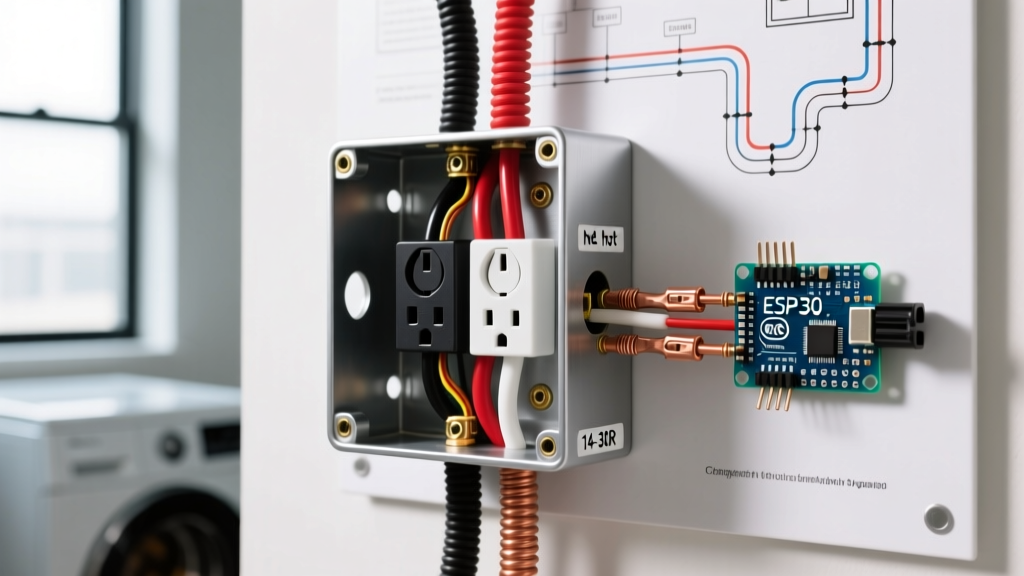

Why You Must Upgrade Your Electrical Box for Dryer Outlet
If your home was built before 1996, your laundry room likely still relies on an outdated 3-prong NEMA 10-30R receptacle. While the National Electrical Code (NEC) mandated the transition to 4-prong NEMA 14-30R outlets decades ago, millions of older homes still utilize the older configuration. Upgrading the receptacle is only half the battle; the physical electrical box for dryer outlet housing the connection is frequently undersized, damaged, or incompatible with modern 4-wire setups.
Modern electric dryers draw up to 7,200 watts, requiring a dedicated 240V, 30-amp circuit. The older 3-prong setup combined the neutral and ground paths, creating a dangerous shock hazard if the neutral wire failed. The modern 4-prong setup separates these paths, requiring an additional wire and, consequently, more physical space inside the junction box. According to the National Fire Protection Association (NFPA), improper grounding and overloaded junction boxes remain leading contributors to residential electrical fires.
NEC Code Warning: Under NEC Article 250.140, you are strictly prohibited from using the equipment grounding conductor as a current-carrying neutral. If your existing wall cavity only contains 10/2 cable (two hots and a ground), you must pull new 10/3 NM-B cable from the panel. You cannot simply swap the receptacle without upgrading the wire and the box.
NEMA 10-30R vs. NEMA 14-30R: The Core Differences
Before selecting a replacement box, understand the physical and electrical differences between the old and new standards. The 4-prong receptacle is physically larger and requires deeper box cavities to accommodate the thick 10 AWG wires and the extra neutral terminal.
| Feature | NEMA 10-30R (Legacy 3-Prong) | NEMA 14-30R (Modern 4-Prong) |
|---|---|---|
| Wiring Configuration | Hot, Hot, Ground/Neutral (Combined) | Hot, Hot, Neutral, Ground (Separated) |
| Cable Required | 10/2 NM-B (with bare ground) | 10/3 NM-B (with bare ground) |
| Box Volume Minimum | 14 cubic inches | 18 cubic inches |
| Safety Risk Profile | High (Chassis energization if neutral fails) | Low (Dedicated safety ground path) |
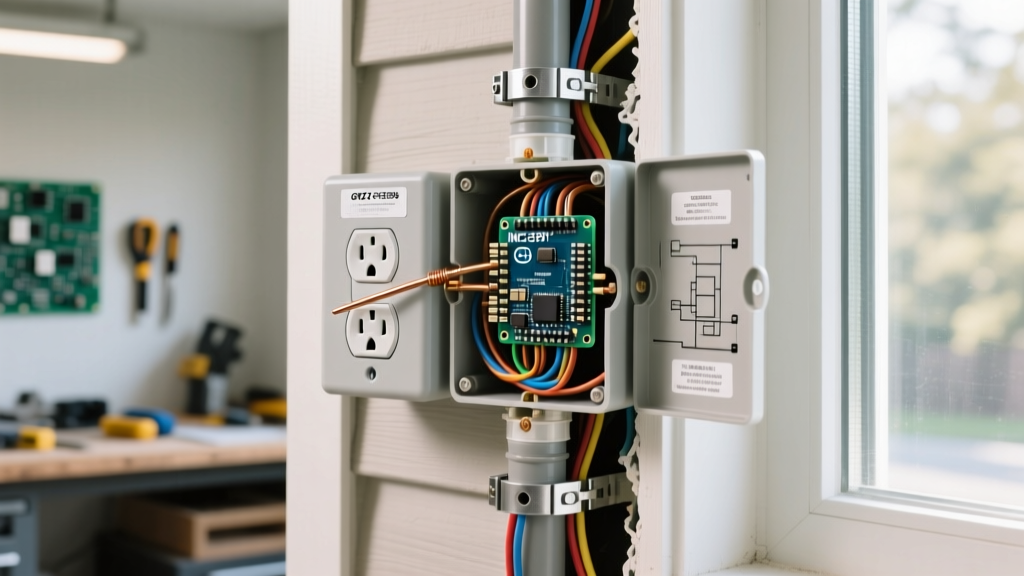
Calculating Box Fill: Sizing the Electrical Box for Dryer Outlet
The most common mistake DIYers make when upgrading a 240V outlet is reusing the existing shallow junction box. NEC Article 314.16 dictates strict box fill calculations based on wire gauge. For 10 AWG copper wire, the NEC assigns a volume allowance of 3.0 cubic inches per conductor.
The 18-Cubic-Inch Rule
To calculate the minimum box size for a NEMA 14-30R upgrade, use this formula:
- 4 Conductors (2 Hots, 1 Neutral, 1 Ground) × 3.0 cu in = 12.0 cu in
- Receptacle Yoke (Counts as 2 conductor volumes) × 3.0 cu in = 6.0 cu in
- Total Minimum Volume Required: 18.0 cubic inches
A standard single-gang 'old work' box (typically 14 to 16 cubic inches) is illegal and unsafe for this application. You must use a 4-inch square deep steel box (21 cubic inches) or a specialized non-metallic appliance box.
Top-Rated Boxes and Receptacles for 2026 Upgrades
As of 2026, material costs for heavy-duty electrical components have stabilized. Here are the specific SKUs trusted by master electricians for dryer outlet replacements.
1. The Flush-Mount Standard: Steel City 52C71 & Hubbell HBL2620
If you are cutting into drywall or replacing an existing flush-mount box, the Steel City 52C71 (4-inch square, 2-1/8 inch deep, 21 cu in) is the industry standard. Pair it with a 1-gang plaster ring and the Hubbell HBL2620 NEMA 14-30R receptacle.
Estimated Cost: $12 for the box/ring, $48 for the Hubbell receptacle.
2. The Surface-Mount Solution: Leviton 278-S00
For masonry walls, unfinished basements, or situations where cutting into the wall cavity is impossible, a surface-mounted box is required. The Leviton 278-S00 is a heavy-duty, surface-mount NEMA 14-30R outlet that integrates the box and receptacle into a single, rugged phenolic housing rated for 30A/125/250V.
Estimated Cost: $28 to $35.
3. The Cable: Southwire 10/3 NM-B
If you need to pull a new line from the panel, Southwire's 10/3 NM-B (Romex) remains the gold standard. Ensure you purchase a spool with a printed UL listing and NEC-compliant jacket markings.
Estimated Cost: $2.15 to $2.45 per linear foot in 2026.
Step-by-Step 240V Box Replacement Procedure
The Electrical Safety Foundation International (ESFI) emphasizes that 240V circuits carry a lethal arc-flash risk. Follow these exact steps to ensure a code-compliant installation.
- Isolate and Verify: Turn off the 30A double-pole breaker at the main panel. Lock out the panel if possible. Test the existing outlet with a CAT IV rated non-contact voltage tester (like the Klein Tools NCVT-4IR) and a multimeter probing Line 1 to Line 2, Line 1 to Ground, and Line 2 to Ground. All readings must be 0V.
- Extract the Old Box: Unscrew the legacy 10-30R receptacle. If the existing box is a shallow metal nail-on box, use a reciprocating saw with a metal-cutting blade to carefully cut the nails securing it to the stud, then extract the box.
- Prep the 10/3 NM-B Cable: Strip back 8 inches of the outer PVC jacket. Leave at least 1/4 inch of the internal paper separator intact to prevent jacket abrasion against the box clamp. Strip exactly 3/4 inch of insulation from the black, red, and white conductors using a precision wire stripper.
- Secure the Box: Mount your new 21-cubic-inch 4-inch square box to the stud. Secure the 10/3 cable using a 3/4-inch Romex connector, ensuring the internal clamp bites down on the PVC jacket, not the individual wire insulation.
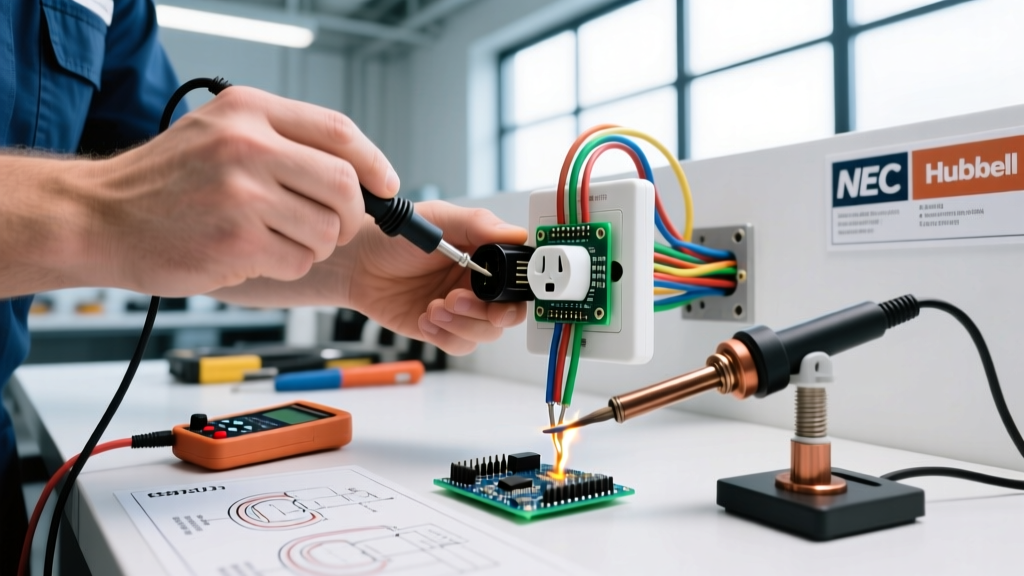
- Terminate the Receptacle: Connect the bare copper ground to the green grounding screw. Connect the white neutral to the silver terminal (marked 'W'). Connect the black and red hots to the brass terminals (marked 'X' and 'Y'). Critical Step: Use a calibrated inch-pound torque screwdriver (such as the CDI 101SMIC) to tighten the terminal screws to 14 in-lbs, per Leviton and Hubbell specifications. Hand-tightening causes micro-arcing and eventual thermal failure.
- Final Assembly: Carefully fold the 10 AWG wires into the box using a 'Z' fold pattern to avoid pinching the neutral wire against the grounding strap. Secure the receptacle and install the cover plate.
Troubleshooting Edge Cases and Failure Modes
Edge Case 1: Aluminum Branch Wiring
Homes built in the early 1970s may have 10 AWG aluminum wire instead of copper. You cannot terminate aluminum wire directly onto a standard copper-rated NEMA 14-30R receptacle; doing so will cause galvanic corrosion, increased resistance, and eventual fire.
Solution: Use AlumiConn aluminum-to-copper lug connectors inside a 21-cubic-inch box to pigtail the aluminum wires to short copper pigtails, then terminate the copper pigtails onto the receptacle. Alternatively, source a receptacle explicitly marked 'CO/ALR' (Copper/Aluminum Revised), though these are increasingly rare in 30A configurations.
Edge Case 2: Masonry and Cinder Block Walls
In many older homes, laundry areas are located in masonry basements. You cannot mount a standard nail-on box to cinder block.
Solution: Use a masonry ring and a 4-inch square masonry box (like the Hubbell SystemOne series). Hammer-drill the block using a 3/16-inch carbide masonry bit and secure the box using Tapcon concrete anchors. If the wall is uneven, use the Leviton 278-S00 surface mount box and feed the conduit directly into the rear knockout.
Edge Case 3: Breaker Sizing Mismatches
Never assume the breaker in the panel is correctly sized just because it was used for the old outlet. Verify the breaker is a 30-Amp double-pole (e.g., Square D HOM230 or Eaton BR230). A 40A or 50A breaker will not protect 10 AWG wire, creating a severe fire hazard if the dryer experiences an internal short circuit.
Final Inspection and Testing
Once the new electrical box for dryer outlet is installed and the dryer cord is updated to a 4-prong configuration, restore power at the panel. Use a multimeter to verify 240V across the two hot slots (X and Y), and 120V from either hot slot to the neutral slot (W). Finally, verify continuity between the ground slot and a known grounding source. If all measurements align, your upgrade is complete, code-compliant, and safe for decades of heavy appliance use.