
Decoding the Electrical Outlet Symbol for Advanced Diagnostics
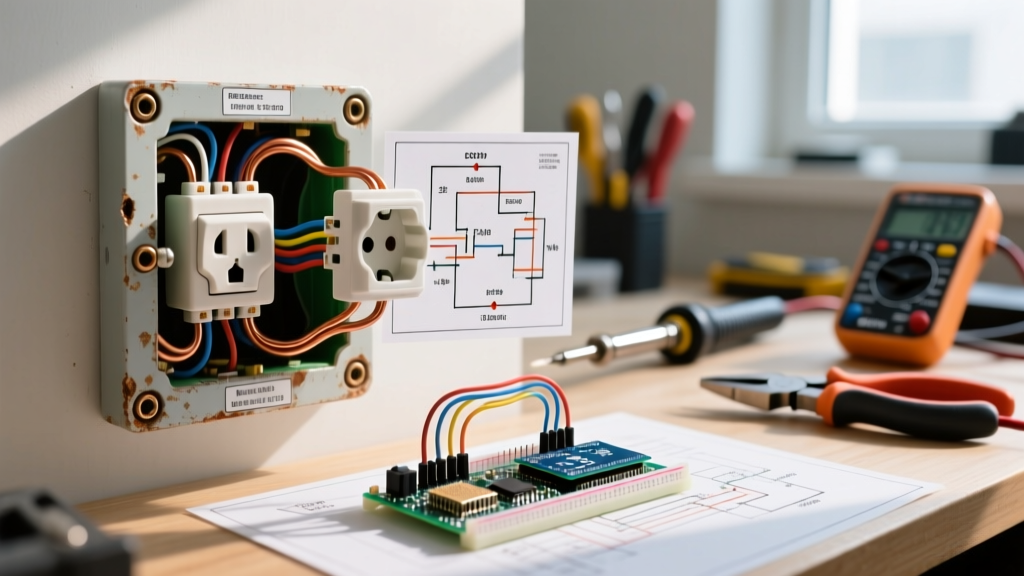
When troubleshooting complex residential or commercial circuits, a digital multimeter and a receptacle tester are only half the battle. The other half is understanding the original design intent. Misinterpreting an electrical outlet symbol on an architectural blueprint or electrical schematic is one of the most common reasons electricians and advanced DIYers waste hours chasing 'phantom' voltage drops, misdiagnosing dead receptacles, or failing to identify hidden Multi-Wire Branch Circuits (MWBC).
As of the 2026 NEC adoption cycle, the proliferation of AFCI/GFCI requirements and smart-home integrations means blueprints are denser than ever. A standard circle with two parallel lines is no longer just a simple 120V duplex receptacle; it may indicate a downstream load, a switched half-hot configuration, or a specialized tamper-resistant (TR) weather-resistant (WR) unit. This guide bridges the gap between schematic symbols and physical troubleshooting, providing actionable diagnostic workflows for real-world wiring faults.
The Core Electrical Outlet Symbols You Must Know
Before pulling off a receptacle yoke, you must accurately translate the blueprint's legend. According to standards outlined by the Electrical Training Alliance, architectural electrical plans use specific notations to denote receptacle function, circuit origin, and protection type.
- Standard Duplex (Ø with two parallel lines): Indicates a standard NEMA 5-15R 120V/15A receptacle. In troubleshooting, if this reads 0V, your primary suspects are a tripped upstream GFCI, a failed backstabbed connection, or an open neutral.
- Split-Wired / Switched (Ø with a diagonal line or 'SW'): Denotes a receptacle where the hot brass tab has been removed. One half is always hot; the other is controlled by a wall switch.
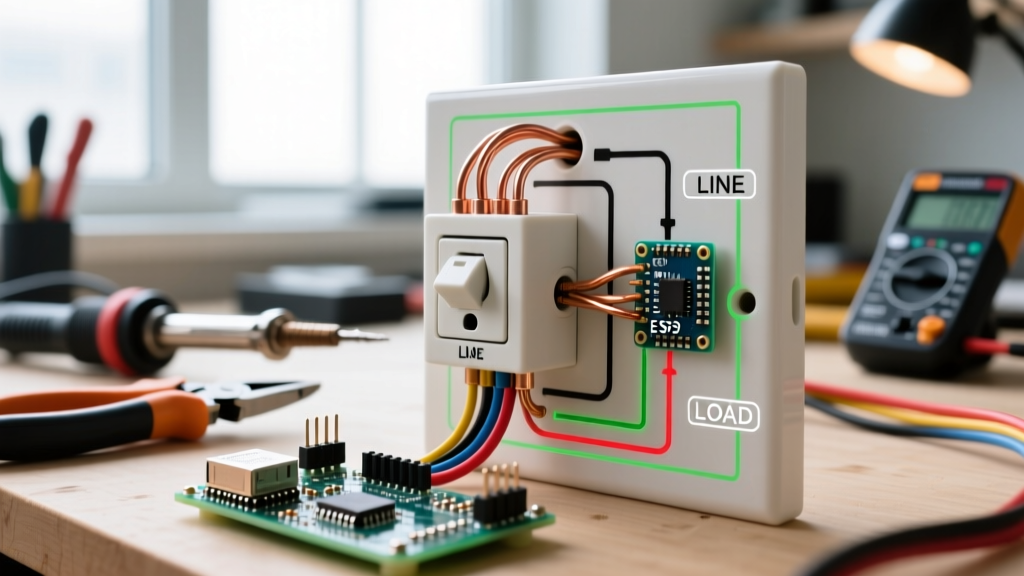
- GFCI Protected (Ø with 'GFCI' or 'CI'): Indicates a Class A Ground Fault Circuit Interrupter. Crucially, blueprints often use a standard symbol with a note reading 'GFCI Protected' to denote downstream receptacles wired to the LOAD terminals of a primary GFCI device.
- Hospital Grade / Isolated Ground (Ø with 'HG' or a green triangle): Requires an isolated equipment grounding conductor run directly to the main panel. Miswiring this to a standard grounded box will defeat the noise-reduction purpose and can cause sensitive medical or IT equipment to malfunction.
- Multi-Wire Branch Circuit (Ckt 14/16): Often shown as a single receptacle symbol fed by two distinct circuit numbers. This indicates a shared neutral setup requiring a simultaneous disconnect (2-pole breaker or handle-tied singles) per NEC 210.4(B).
Blueprint Symbol to Multimeter Diagnosis Matrix
Use this matrix to correlate the expected electrical outlet symbol behavior with actual field measurements. For accurate diagnostics, bypass cheap solenoid testers and use a True RMS multimeter like the Fluke 117 ($230-$250) to eliminate ghost voltage readings caused by capacitive coupling in long wire runs.
| Blueprint Symbol Notation | Receptacle Type | Expected Voltage (Line-Neutral) | Primary Diagnostic Focus |
|---|---|---|---|
| Standard Ø | NEMA 5-15R | 120V AC (±5%) | Loose backstab, tripped upstream GFCI, open neutral. |
| Split-Wired (Diagonal) | Half-Hot Duplex | 120V (Top) / 0V or 120V (Bottom) | Intact brass tab (switch won't work), missing second hot feed. |
| GFCI / CI | Class A GFCI | 120V AC | Tripped internal solenoid, line/load reversal, neutral-to-ground fault. |
| MWBC (Dual Ckt #) | Shared Neutral Duplex | 120V (L-N) / 240V (L-L) | Lost shared neutral (causes 240V across loads), missing handle tie. |
| WR / HD | Weather / Hospital | 120V AC | Corroded internal contacts, high insertion force, degraded UV housing. |
Troubleshooting Scenario 1: The Split-Wired Misdiagnosis
You are called to diagnose a 'dead' living room outlet. The blueprint shows the electrical outlet symbol with a diagonal slash, indicating a split-wired, switch-controlled receptacle. You test the top half: 120V. You test the bottom half: 0V. You flip the wall switch: still 0V.
The Root Cause Analysis
Many DIYers and novice electricians replace aging receptacles without checking the blueprint or inspecting the old yoke. If the original receptacle had the brass connecting tab removed to allow switch control, and the new receptacle was installed with the tab intact, the switch will simply feed 120V back into the always-hot feed, creating a dead short that trips the breaker instantly. Conversely, if the tab was removed on the new receptacle but the wall only has a single 3-wire (Hot, Neutral, Ground) cable instead of a 4-wire (2 Hots, Neutral, Ground) cable, the bottom half will remain permanently dead.
Actionable Fix: Remove the receptacle. If the brass tab is intact, snap it off using needle-nose pliers. Verify the presence of a second ungrounded (hot) conductor in the back of the box. If only one hot wire exists, the switch loop was likely wired incorrectly at the switch box, or the blueprint is outdated and the home was roughed-in without the switch loop.
Troubleshooting Scenario 2: The Phantom MWBC Shared Neutral
Blueprints for kitchens and bathrooms frequently use dual-circuit electrical outlet symbols to denote 20A MWBCs feeding small appliance branch circuits. If you are troubleshooting a receptacle that is reading erratic voltages (e.g., 140V on one half, 80V on the other), you are likely dealing with a compromised shared neutral.
CRITICAL SAFETY WARNING: Per NEC 210.4(B), all ungrounded conductors of an MWBC must be provided with a means to simultaneously disconnect them. Before opening the panel to trace an MWBC fault, verify that the two breakers are handle-tied or part of a factory 2-pole unit. Failing to disconnect both phases can result in a lethal shock from the shared neutral return path.
To diagnose this, set your Fluke 117 to measure AC Voltage. Measure Line 1 to Neutral, then Line 2 to Neutral. If the voltages do not sum to approximately 240V (e.g., 145V and 95V), the neutral connection has high resistance or is completely open at a downstream junction box or the panel neutral bar. Refer to Mike Holt Enterprises Technical Articles for detailed vector diagrams on how an open neutral shifts the phase angles and destroys 120V appliances.
Step-by-Step Diagnostic Workflow for Blueprint Tracing
When physical testing contradicts your expectations, follow this structured workflow to reconcile the blueprint symbols with the physical installation:
- Verify the Legend: Blueprints from different eras use different symbols. A 1980s schematic might use a simple '$' for a standard outlet, while a 2026 CAD drawing will use highly specific IEC/NEMA block symbols.
- Map the Protection Type: Identify if the symbol denotes an AFCI-protected circuit (common in bedrooms/living rooms per NEC 210.12) or GFCI (kitchens/baths per NEC 210.8). If a standard outlet is dead, check the main panel for a tripped AFCI breaker before tearing apart the receptacle.
- Test Line-to-Ground vs. Line-to-Neutral: If the blueprint indicates a standard outlet but you read 120V Line-to-Ground and 0V Line-to-Neutral, you have an open neutral. The hot feed is intact, but the return path is broken.
- Inspect for Bootleg Grounds: Use a Klein Tools RT250 GFCI Receptacle Tester ($45). If the blueprint calls for a grounded 3-prong symbol, but the home was built in the 1950s, previous owners may have installed 3-prong receptacles without an equipment grounding conductor. The RT250 will identify this 'false ground' condition instantly.
- Trace the Load Terminals: If the symbol indicates downstream protection, remove the receptacle and look for two sets of cables (Line and Load). Use a non-contact voltage detector (NCVD) to ensure power is isolated before disconnecting the load wires to test the upstream GFCI independently.
Code Compliance and Real-World Blueprint Errors
It is vital to remember that blueprints represent the design intent, not necessarily the as-built reality. Change orders during construction, value engineering, and subsequent renovations often result in physical wiring that deviates from the electrical outlet symbol printed on the plans. For instance, a blueprint might specify a 20A NEMA 5-20R symbol for a kitchen island, but the electrician may have installed a standard 15A NEMA 5-15R to save costs or due to supply chain shortages.
When troubleshooting, always let the physical evidence (wire gauge, breaker amperage, and multimeter readings) override the blueprint. As outlined by the National Electrical Code (NEC), the safety and functionality of the installation must meet the physical requirements of the space, regardless of schematic discrepancies. By mastering the translation of these symbols into actionable diagnostic steps, you eliminate guesswork, reduce time-on-site, and ensure safe, code-compliant repairs.