
The Hidden Danger of the Wrong Screw
When beginners tackle their first receptacle installation, they obsess over wire stripping gauges, voltage testers, and proper grounding pigtails. Yet, one of the most critical components of a safe, code-compliant installation is frequently overlooked: the hardware. Using the incorrect electrical outlet screw size is not just a cosmetic issue; it is a direct violation of the National Electrical Code (NEC) and can lead to catastrophic failure modes, including arcing, loose connections, and electrical fires.
According to the National Fire Protection Association (NFPA), electrical equipment must be installed in accordance with its listing and labeling (NEC 110.3(B)). Receptacles are UL-listed to be mounted using specific machine screw sizes. Substituting drywall screws, wood screws, or mismatched machine screws voids the UL listing and compromises the mechanical integrity of the entire circuit. In this 2026 beginner's guide, we will break down the exact thread pitches, lengths, and applications for every screw on a standard 15A or 20A duplex receptacle.
The Quick Reference Chart: Electrical Outlet Screw Sizes
Before opening your toolbox, you must understand that an outlet installation involves three distinct types of screws, each with a highly specific thread profile. Memorize this chart to avoid cross-threading and code violations.
| Application | Standard Size | Thread Pitch (TPI) | Head Type | NEC / UL Note |
|---|---|---|---|---|
| Yoke Mounting (Device to Box) | #6-32 UNC | 32 Threads Per Inch | 1/4" Hex / Slotted | Must be machine screw; no pointed tips |
| Metal Box Grounding | #10-32 UNC | 32 Threads Per Inch | Hex / Green Painted | NEC 250.148 mandates 10-32 for ground |
| Terminal (Line/Load/Ground) | #10-32 or #12-24 | Varies by Manufacturer | Combo / Phillips | Torque to 14 in-lbs (standard 15A/20A) |
| Wall Plate Cover | #8-32 UNC | 32 Threads Per Inch | Slotted / Oval Head | Never use for mounting the device yoke |
Deep Dive: The 6-32 UNC Mounting Screw
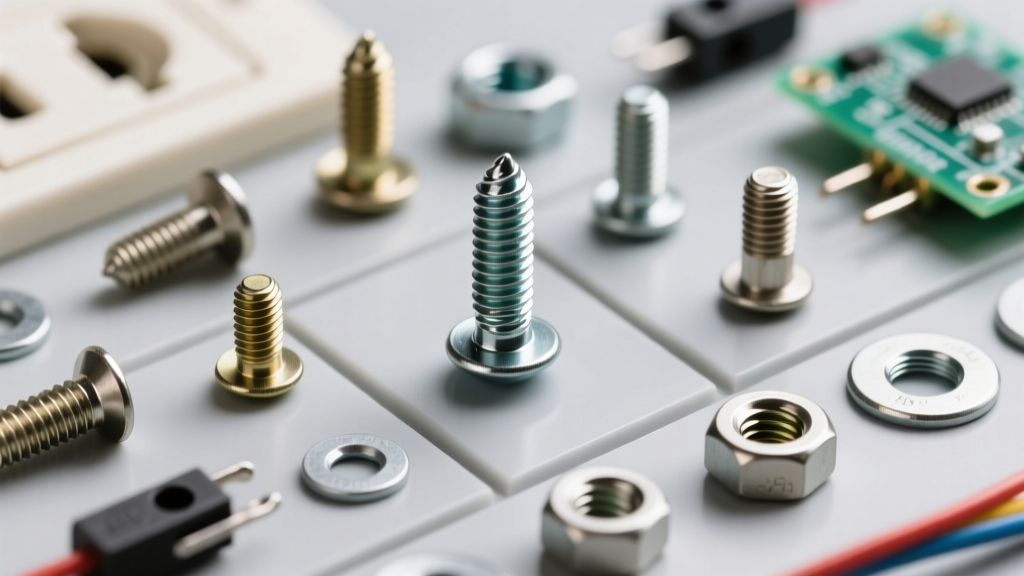
The screws that physically attach the receptacle yoke (the metal or nylon strap) to the electrical box are universally #6-32 UNC (Unified National Coarse). The '6' refers to the screw diameter (0.138 inches), and the '32' means there are 32 threads per inch. Standard steel and plastic device boxes have pre-tapped holes specifically machined for this exact thread pitch.
Why Length Matters (and Current Pricing)
While the thread pitch is always 6-32, the length varies wildly based on your wall construction. A standard receptacle installed in a typical 1/2-inch drywall setup requires a 3/4-inch or 1-inch screw. However, modern DIYers frequently encounter deep-set boxes due to tile backsplashes, stone veneers, or thick plaster mud rings.
- Standard Drywall (1/2"): 3/4" to 1" length. (Cost: ~$9 for a 100-pack of Ideal Industries 6-32 hex head screws in 2026).
- Tile / Stone Backsplash: 1-1/2" to 2" length. If the setback exceeds 1/4-inch from the box edge, NEC 314.20 requires a box extender (like the Arlington Industries BE1, approx. $2.50 each) to bring the box edge flush with the non-combustible surface.
- Shallow Pan Boxes: 1/2" length. Used in concrete block walls where deep screws might bottom out and crack the masonry.
The Grounding Trap: 10-32 vs. 10-24
One of the most dangerous mistakes a beginner can make is confusing coarse and fine threads when grounding a metal electrical box. When attaching a green grounding pigtail directly to a metal device box, you must use a #10-32 grounding screw.
WARNING: Never use a #10-24 (fine thread) screw for grounding metal boxes. The thin gauge steel of a standard device box cannot support the shallow bite of a fine thread under high fault-current conditions. NEC 250.148 explicitly requires 10-32 threads to ensure a low-impedance fault path. Using 10-24 is a guaranteed code violation and a severe shock hazard.
Always purchase dedicated green grounding screws (such as the Hubbell 10-32 Grounding Screw) which feature a built-in washer and the correct coarse pitch. For more on home grounding safety, refer to the Electrical Safety Foundation International (ESFI) guidelines.
The 8-32 Catastrophe: Plate Screws vs. Mounting Screws
Here is a scenario that destroys thousands of electrical boxes every year: A beginner loses the 6-32 mounting screws provided with the receptacle. They look at the long, slotted screws holding the plastic wall plate cover and assume those will work to mount the receptacle. They will not.
Wall plate cover screws are #8-32. They are physically thicker than the #6-32 mounting screws. If you attempt to force an 8-32 screw into the pre-tapped 6-32 hole of a metal electrical box, you will strip the threads out of the box permanently. Once the box threads are destroyed, the box must be replaced, or you must resort to using box-mounting clips (like Caddy Snap-Tite), which is a frustrating and unnecessary repair. Always keep a dedicated bin of 6-32 machine screws in your toolkit.
Step-by-Step: Installing and Sizing Outlet Screws
Follow this precise workflow to ensure a secure, rattle-free, and code-compliant installation using premium components like the Leviton 15A Tamper-Resistant (TR) Receptacle.
Step 1: Assess the Box Depth and Wall Material
Before wiring, measure the distance from the front edge of the electrical box (or mud ring) to the finished surface of the wall. If this distance is greater than 1/4-inch, install an Arlington BE1 non-combustible box extender. This ensures your 6-32 screws have solid metal-to-metal or metal-to-plastic engagement without bottoming out.
Step 2: Select the Correct Hardware
Pull two #6-32 UNC hex-head machine screws from your kit. Hex heads (1/4-inch nut driver size) are vastly superior to flathead or Phillips heads for device mounting because they allow you to apply higher torque without cam-out (slipping and stripping the screw head).
Step 3: Seat the Yoke and Torque Properly
Push the wires neatly into the back of the box using a sweeping motion to avoid pinching the ground wire. Align the yoke. Drive the 6-32 screws until the plaster ears (the small metal tabs on the top and bottom of the yoke) make firm contact with the drywall. Stop driving. Overtightening mounting screws on standard thermoplastic yokes will crack the strap, causing the outlet to wobble every time you plug in a vacuum cleaner. If using premium nylon yokes (like Pass & Seymour), you can apply slightly more torque, but 'snug' is always the standard.
Common Beginner Failure Modes to Avoid
- Using Drywall Screws: Drywall screws (Type S or W) have a bugle head, a pointed tip, and are made of brittle, case-hardened steel. They can snap under torque, leaving the head embedded in the yoke. Worse, the pointed tip can pierce the insulation of a hot wire resting inside the box, causing a dead short and a fire. NEC 110.3(B) forbids their use for device mounting.
- Ignoring Torque Specs on Terminals: While mounting screws just need to be 'snug', the terminal screws (where the bare copper wire wraps around) require precise torque. For standard 15A and 20A receptacles, the manufacturer specifies 14 inch-pounds of torque. Use a calibrated torque screwdriver (like the Wiha 408-02) to prevent the wire from creeping loose under thermal expansion and contraction cycles.
- Mismatched Ground Pigtails: When using a green grounding clip on the edge of a metal box, ensure the clip is UL-listed for the specific gauge of the box steel. If the box is heavily galvanized, scratch the zinc coating slightly where the clip bites to ensure a low-resistance electrical connection.
Frequently Asked Questions
Can I use stainless steel 6-32 screws for outdoor outlets?
Yes, but ensure they are 18-8 or 304-grade stainless steel to prevent galvanic corrosion when mating with standard galvanized steel boxes. However, stainless steel is softer than hardened steel, so drive them carefully to avoid stripping the hex head.
My receptacle is crooked even though the screws are tight. How do I fix it?
Do not overtighten one screw to force it straight; this will crack the yoke. Instead, use receptacle shims (small plastic U-shaped washers, approx. $3 for a 50-pack) behind the plaster ears to level the device before final tightening.
What size screw is used for GFCI outlets?
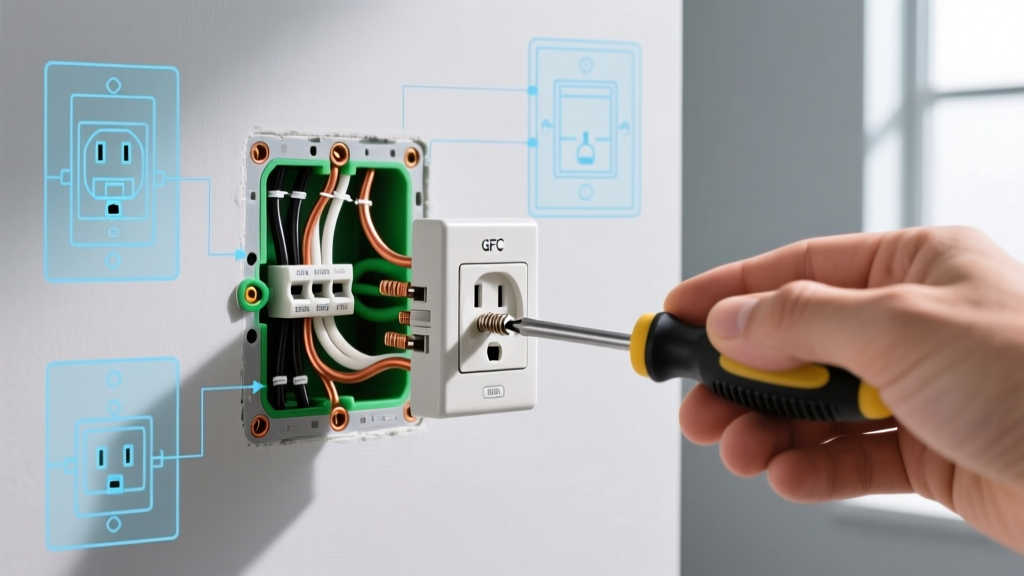
GFCI outlets use the exact same #6-32 UNC mounting screws as standard duplex receptacles. However, because GFCI bodies are significantly deeper, you must ensure your electrical box has adequate cubic inch capacity (minimum 18-22 cubic inches depending on wire count) to accommodate the device without crushing the wires.