
The Reality of Tripped Receptacles: Beyond the Reset Button
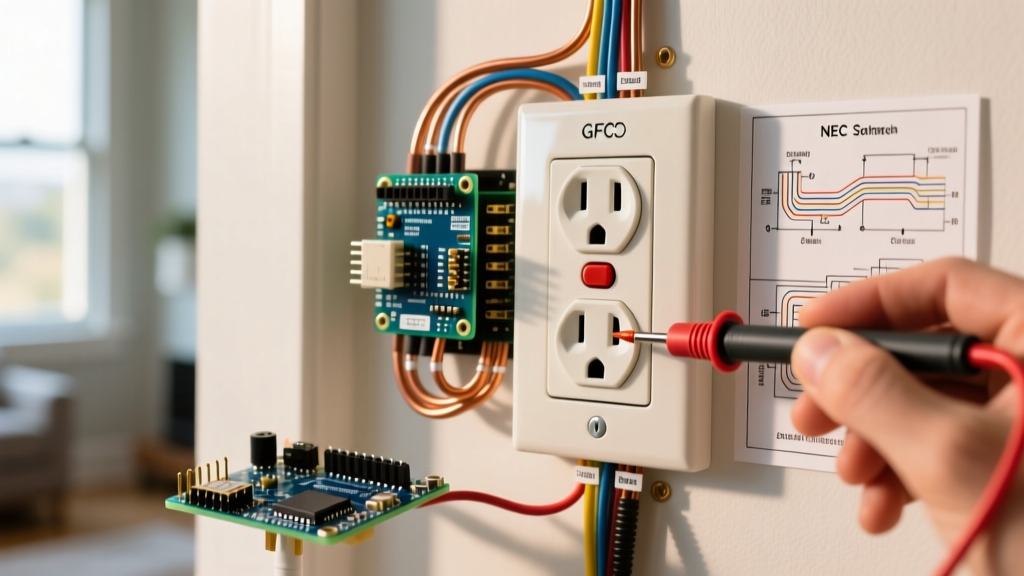
When a kitchen appliance suddenly dies or a bathroom hairdryer cuts out, the immediate question is usually: how do you reset an electrical outlet? While the simple answer is to press the small red or black button on the receptacle face, the reality of modern electrical systems is far more complex. Standard duplex receptacles do not have reset buttons; they rely on the circuit breaker panel. Only specialized safety devices—specifically Ground Fault Circuit Interrupters (GFCIs) and Arc Fault Circuit Interrupters (AFCIs)—feature local reset mechanisms.
As a DIYer or homeowner, treating a tripped outlet as a simple mechanical switch can lead to misdiagnosed faults, repeated nuisance tripping, or severe shock hazards. This tool and material guide shifts the focus from merely pushing a button to properly diagnosing why the outlet tripped, the professional-grade tools required to verify circuit integrity, and the exact materials needed when a reset mechanism permanently fails.
Understanding Resettable Outlets: GFCI vs. AFCI vs. Standard
Before reaching for your tools, you must identify the type of protection governing the dead outlet. According to the National Fire Protection Association (NFPA), modern electrical codes mandate specific interrupter technologies based on the room's environment and load type.
- GFCI Receptacles (Ground Fault): Feature 'Test' and 'Reset' buttons directly on the outlet face. They monitor the current balance between the hot and neutral wires. If a variance as small as 4 to 6 milliamps is detected (indicating current is leaking to ground, possibly through a person), an internal solenoid trips the circuit in under 25 milliseconds.
- AFCI Protection (Arc Fault): While AFCI receptacles exist, AFCI protection is most commonly integrated directly into the circuit breaker in your main panel. If a bedroom or living room outlet dies, you likely need to reset an AFCI breaker, not the outlet itself.
- Standard Duplex Receptacles: Have no buttons. If these lose power, the fault lies upstream at a tripped GFCI, a tripped breaker, or a failed wire nut connection in a junction box.
The Essential Diagnostic Tool & Material Arsenal
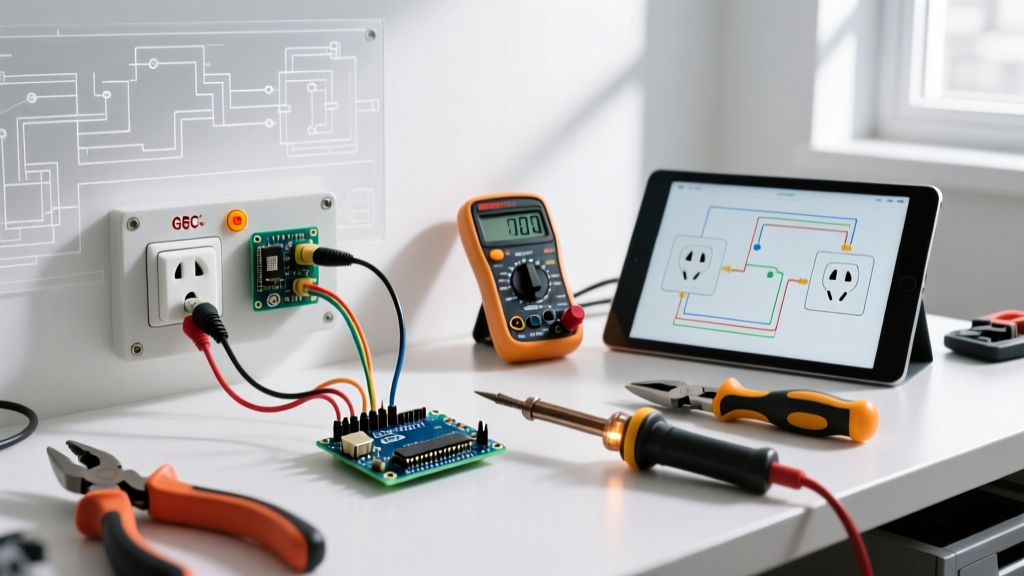
To properly troubleshoot an outlet that refuses to reset, you need more than a neon screwdriver tester. The Occupational Safety and Health Administration (OSHA) emphasizes the use of properly rated, dual-insulated testing equipment to prevent arc flash and shock injuries. Below is the definitive tool and material matrix for outlet diagnostics.
| Tool / Material | Specific Model Recommendation | Est. Cost (2026) | Primary Diagnostic Function |
|---|---|---|---|
| Non-Contact Voltage Tester (NCVT) | Klein Tools NCVT-2 (Dual Range) | $28.00 | Verifies presence of 12-1000V AC without stripping wires. Essential for confirming 'Line' power before resetting. |
| Receptacle Circuit Tester | Gardner Bender GFI-3501 | $14.00 | Checks wiring topology (open ground, reverse polarity) and mechanically tests the GFCI trip circuit. |
| True-RMS Digital Multimeter | Fluke 117 Electricians DMM | $185.00 | Measures exact voltage drop across Line/Load terminals and checks continuity on internal solenoids. |
| Torque Screwdriver | Milwaukee 48-22-5101 | $45.00 | Ensures terminal screws are tightened to exact manufacturer specs (NEC compliance). |
| Replacement GFCI | Leviton SmartlockPro 20A (GFNT2-W) | $18.50 | Features auto self-testing every 3 seconds and Tamper-Resistant (TR) shutters. |
Step-by-Step Diagnostic & Reset Protocol
When an outlet fails to deliver power, follow this systematic protocol to isolate the fault.
Phase 1: The Upstream Dependency Check
The most common reason a GFCI outlet 'will not reset' is that it is actually downstream of another tripped GFCI. Builders frequently daisy-chain standard outlets to the 'LOAD' terminals of a single GFCI to save money.
Pro-Tip: If your master bathroom outlet is dead and has no reset button, check the guest bathroom, the garage, and even the exterior patio receptacles. A single tripped GFCI in the garage can cut power to three other rooms. Reset the upstream device first.
Phase 2: The Mechanical Reset Procedure
- Clear the Load: Unplug all devices from the tripped GFCI and any downstream outlets. A faulty appliance (like a frayed toaster cord) will cause the GFCI to instantly trip the moment you press reset.
- Press 'Test' First: Push the 'Test' button. You should hear and feel a distinct mechanical click. This confirms the internal logic board and physical spring mechanism are not seized.
- Engage 'Reset': Press the 'Reset' button firmly until it clicks and locks flush with the outlet face. If it immediately pops back out, proceed to Phase 3.
Phase 3: Load vs. Line Verification (When Reset Fails)
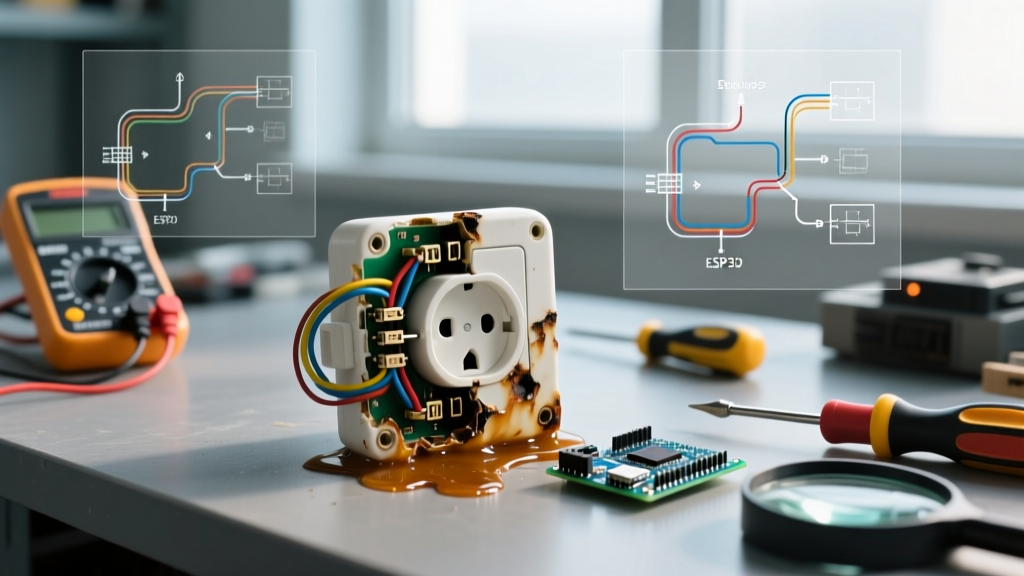
If the button refuses to stay depressed, the internal solenoid may be burned out, or there is no power reaching the 'LINE' terminals. Use your Klein NCVT-2 to scan the outlet. If it beeps, power is present, but the GFCI's internal relay has likely failed due to age or a recent voltage surge. GFCIs have an average operational lifespan of 10 to 15 years. If your home was built before 2015, the device is likely at end-of-life and requires replacement.
Use the Fluke 117 multimeter set to AC Voltage. Insert the probes into the hot (smaller slot) and neutral (larger slot). A reading of 115V-125V indicates power is reaching the receptacle face, but the internal switching mechanism is broken. A reading of 0V indicates an open circuit upstream or a tripped main breaker.
Advanced Failure Modes & Troubleshooting
Sometimes, an outlet resets but trips again hours later. This is known as 'nuisance tripping' and requires deeper investigation into environmental and wiring factors.
Moisture Ingress in Outdoor Enclosures
Outdoor GFCIs are highly susceptible to condensation. If an exterior outlet repeatedly trips during high humidity or rain, inspect the weatherproof cover. Standard flat covers are not code-compliant for outdoor use if a cord is plugged in. You must install an 'in-use' or 'bubble' cover (e.g., Taymac BX1100, ~$12) rated for NEMA 3R environments to prevent water from bypassing the face seal and shorting the internal electronics.
Shared Neutral on Multi-Wire Branch Circuits (MWBC)
If you are replacing a standard outlet with a GFCI on a multi-wire branch circuit (two hot wires sharing one neutral), the GFCI will instantly trip upon resetting. GFCIs require a dedicated, isolated neutral. If you encounter an MWBC, you must either pull a new dedicated neutral wire or install a 2-pole GFCI circuit breaker in the main panel instead of using a receptacle-based GFCI.
Material Guide: Replacing a Failed GFCI
When diagnostics confirm the GFCI is dead, replacement is mandatory. The Consumer Product Safety Commission (CPSC) notes that thousands of electrocutions have been prevented by functional GFCIs; operating a home with a bypassed or dead GFCI is a severe life-safety risk.
Selecting the Right Replacement Material
Do not buy the cheapest contractor-grade receptacle. Invest in a commercial-grade or premium residential model with self-testing capabilities.
- Leviton SmartlockPro (GFNT2-W): A 20-Amp Tamper-Resistant GFCI. It automatically tests itself every 3 seconds. If it detects a fault, it flashes a red LED and cuts power. (Approx. $18.50)
- Eaton Receptacles (GF15W): A reliable 15-Amp alternative with excellent back-wiring clamps for secure connections. (Approx. $14.00)
Note on Amperage: You can safely install a 20A GFCI on a 15A circuit, but you cannot install a 15A GFCI on a 20A circuit (which uses 12 AWG wire). Always match or exceed the circuit breaker's amperage rating.
NEC Compliance & Torque Specifications
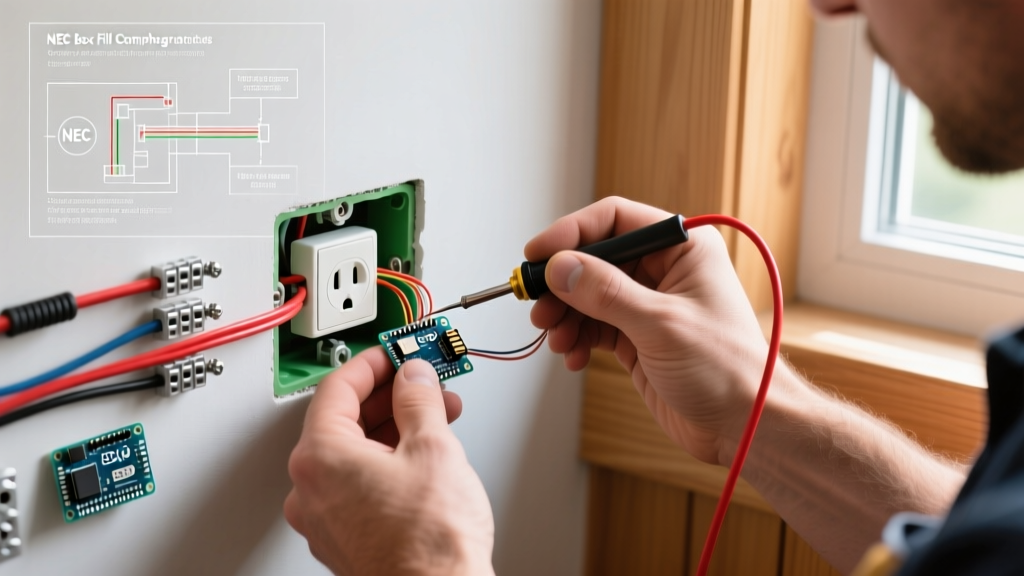
The National Electrical Code (NEC) now strictly requires that terminal screws be tightened to the manufacturer's specified torque using a listed torque tool. For most Leviton and Eaton GFCIs, the required torque for the terminal screws is 0.75 Nm (approx. 6.6 in-lbs). Using a standard screwdriver and 'guessing' the tightness can lead to loose connections, which generate arc-fault heat and cause the new GFCI to melt or trip prematurely. Use your torque screwdriver to click exactly at the specified rating.
Summary Checklist for Safe Resetting
- Identify if the outlet is GFCI, AFCI, or standard.
- Unplug all downstream loads to eliminate appliance faults.
- Check upstream locations (garage, patio, other bathrooms) for tripped master GFCIs.
- Use a True-RMS multimeter to verify 120V at the LINE terminals.
- If the reset button will not lock, replace the unit with a self-testing, tamper-resistant model.
- Terminate wires using a calibrated torque screwdriver to NEC standards.
Understanding how do you reset an electrical outlet is ultimately about understanding the safety architecture of your home. By utilizing the correct diagnostic tools and respecting the engineering limits of GFCI solenoids, you ensure your home's electrical system remains both functional and fundamentally safe.