
The Hidden Dangers of a Burned Electrical Outlet
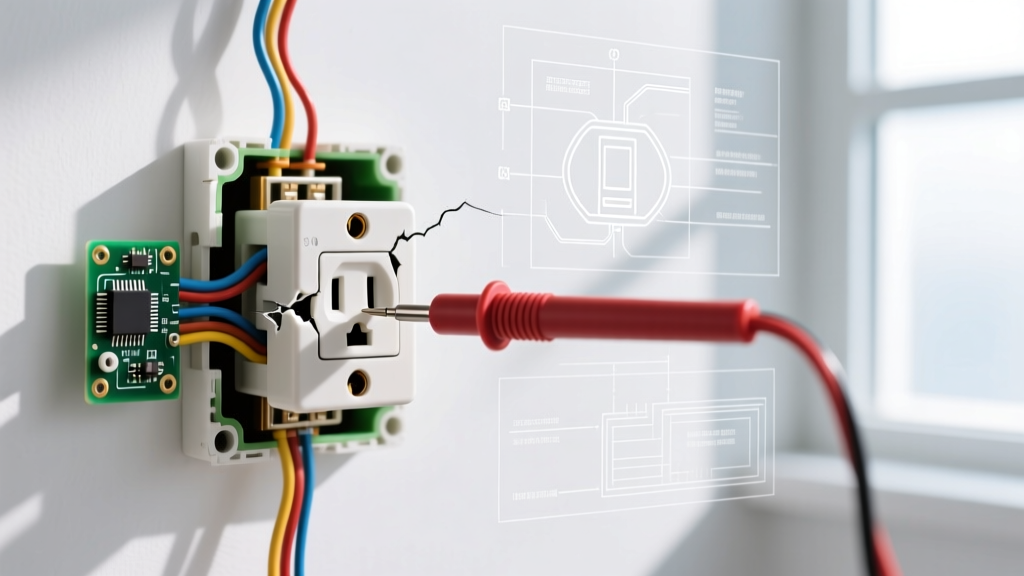
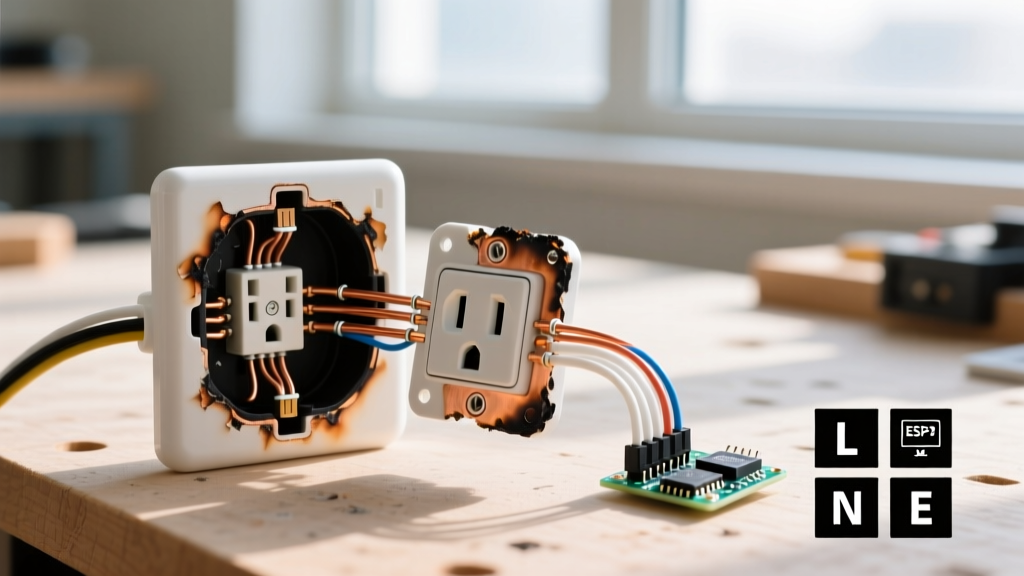
Discovering a melted, discolored, or smoking receptacle is a jarring experience for any homeowner. When an electrical outlet burned, it is never just a cosmetic issue; it is a glaring symptom of high-resistance connections, circuit overloads, or severe arcing. According to the National Fire Protection Association (NFPA), electrical distribution and lighting equipment are consistently among the leading causes of home structure fires. Ignoring a scorched faceplate or attempting a superficial repair can lead to catastrophic electrical fires hidden behind your drywall.
This comprehensive, step-by-step installation guide will walk you through safely extracting the damaged hardware, diagnosing the root cause, and installing a modern, code-compliant replacement. We will cover specific torque requirements, wire gauge validations, and the exact tools needed to ensure your new installation meets 2026 National Electrical Code (NEC) standards.
Diagnostic Callout: Why Did the Outlet Burn?
Expert Insight: Over 70% of burned residential receptacles are caused by 'backstabbed' push-in wire connections. These spring-loaded terminals lose tension over time, creating micro-gaps that arc and generate immense localized heat. Always use side-screw or internal clamp terminations for replacements.
Common Failure Modes
- Push-In Terminal Failure: High resistance at the spring clip causes thermal runaway, melting the polycarbonate yoke.
- Loose Screw Terminals: Undertorqued brass screws allow the wire to shift, leading to series arcing.
- Circuit Overloading: Plugging a 1500W space heater and a 1200W microwave into the same 15-amp circuit forces 22.5 amps through 14 AWG wire, overheating the entire run.
- Aluminum Wiring Oxidation: Pre-1972 aluminum wire expands and contracts differently than copper, loosening connections and creating high-heat oxidation layers if not treated with antioxidant paste.
Required Tools and Materials (2026 Pricing)
Do not attempt this repair with substandard tools. Precision stripping and verified de-energization are non-negotiable.
| Category | Recommended Tool / Material | Estimated Cost | Purpose |
|---|---|---|---|
| Voltage Tester | Fluke T+PRO or Klein Tools NCVT-5 | $45 - $110 | Verifies zero voltage and detects stray fields. |
| Wire Strippers | Klein Tools 11055 (10-20 AWG) | $28 | Prevents nicking copper, which creates hot spots. |
| Torque Screwdriver | Klein Tools 32500 (or CDI 401SM) | $65 | Ensures NEC 110.14(D) compliance (14 in-lbs). |
| Receptacle (15A) | Leviton T52-0W (Tamper-Resistant) | $3.50 | Standard residential TR replacement. |
| Receptacle (20A) | Hubbell HBL5262 (Commercial Grade) | $12.50 | Heavy-duty internal clamps for high-draw appliances. |
Step-by-Step Installation: Replacing the Burned Outlet
Step 1: Kill the Power and Verify
Navigate to your main electrical panel and switch off the breaker controlling the damaged outlet. If your panel is poorly labeled, use a process of elimination. Once the breaker is off, insert your non-contact voltage tester (NCVT) into both the top and bottom slots of the burned receptacle. Follow up by testing between the hot (shorter slot) and neutral (longer slot), and hot to ground (round hole) using a plug-in circuit tester or multimeter. Never skip the physical plug-in test; NCVTs can sometimes give false negatives on shielded or deeply recessed contacts.
Step 2: Extract the Melted Hardware
Remove the faceplate screw. If the plastic faceplate has fused to the drywall or the receptacle yoke, gently score the perimeter with a utility knife to avoid tearing the paint or wallpaper. Unscrew the top and bottom yoke mounting screws. Carefully pull the receptacle out of the junction box. Warning: If the wires are stiff and the insulation is brittle or cracked, do not yank the device. Support the wires with your free hand to prevent them from snapping off inside the wall cavity.
Step 3: Assess and Remediate Wire Damage
This is the most critical step. Examine the exposed copper wire. If the copper appears dull, darkened, or feels unusually soft, it has been annealed by the excessive heat. Annealed copper loses its spring tension and will not maintain a secure connection under a screw terminal.
- Action: Use your Klein 11055 strippers to cut off all discolored or annealed copper.
- Action: Strip exactly 3/4 inch of fresh, shiny insulation from the wire.
- Edge Case: If cutting back the damaged wire leaves it too short to reach the new receptacle's terminals, you must use a wire nut (Ideal 341 Yellow or equivalent) and a 6-inch piece of matching gauge THHN copper wire (a 'pigtail') to extend the run safely. Never daisy-chain wire nuts inside a standard single-gang box if it exceeds box-fill capacity.
Step 4: Wire the New Receptacle (Side-Wiring Method)
Discard any receptacle that utilizes push-in backstab terminals. We will use the side-screw method or the internal screw-clamp method (found on higher-end Hubbell or Leviton commercial models).
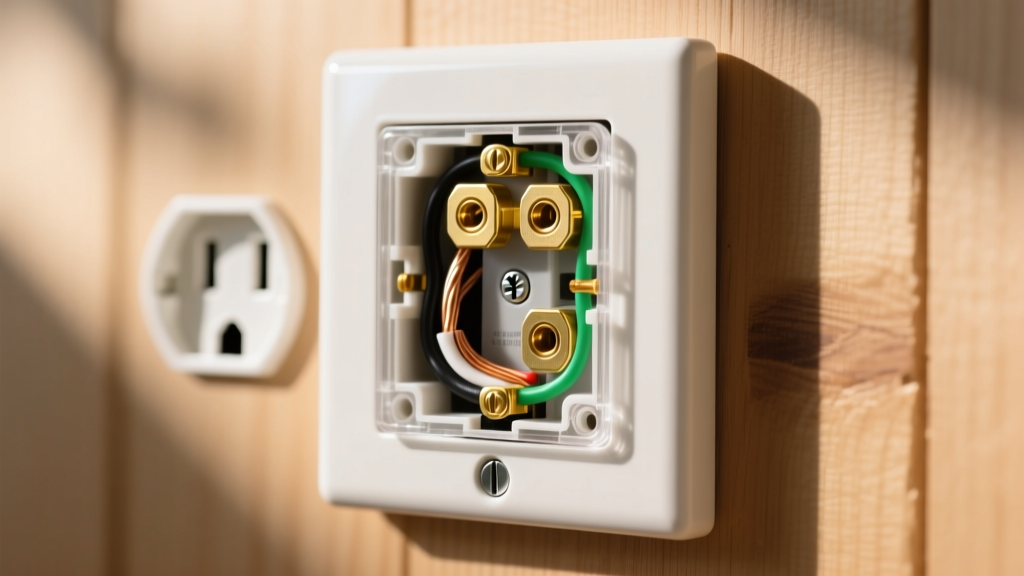
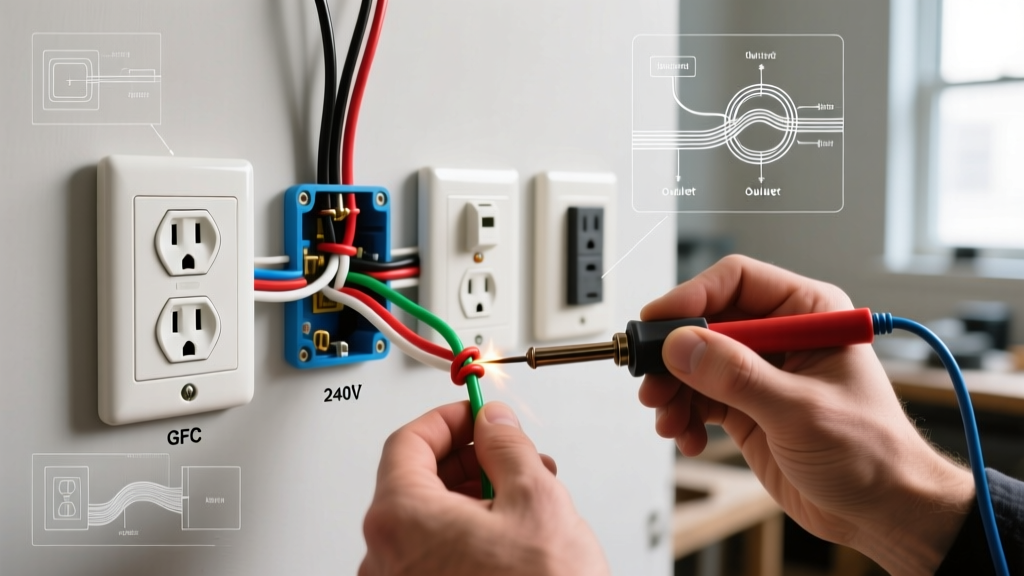
- Identify the Wires: Black (Hot) connects to the brass screw. White (Neutral) connects to the silver screw. Bare/Green (Ground) connects to the green screw.
- Form the Hook: Use needle-nose pliers to bend the stripped wire into a tight, clockwise 'J' hook. The clockwise orientation ensures that tightening the screw pulls the wire loop tighter, rather than pushing it out.
- Seat the Wire: Place the hook under the screw head. Ensure no bare copper is exposed outside the terminal washer, and no insulation is trapped under the screw head.
- Apply Torque: Using your torque screwdriver set to 14 inch-pounds (the standard for most 15A/20A receptacle terminal screws), tighten the brass and silver screws. This satisfies NEC 110.14(D) requirements and prevents future arcing.
Step 5: Secure, Fold, and Test
Carefully fold the wires into the back of the junction box. Push the ground wires in first, followed by the neutrals, and finally the hots. This 'waterfall' folding method prevents pinching. Seat the new receptacle yoke flush against the box ears and tighten the mounting screws. If the box is recessed more than 1/4 inch into the drywall, you must use plastic box extenders (like the Caddy TS100) to close the gap and meet fire code. Restore power at the panel and verify operation with a multimeter.
Comparison Matrix: Choosing the Right Replacement Grade
Not all receptacles are created equal. The Consumer Product Safety Commission (CPSC) notes that commercial-grade hardware significantly reduces failure rates in high-use areas.
| Feature | Builder Grade (Leviton T52) | Commercial Spec (Hubbell HBL5262) | Hospital Grade (Leviton 5262-HG) |
|---|---|---|---|
| Internal Contacts | Thin brass wipers | Thick, high-tension bronze | Massive, ultra-grip copper alloy |
| Yoke Material | Standard Polycarbonate | Nylon (High Impact) | Thermoplastic with steel wrap |
| Best Use Case | Guest bedrooms, low-draw areas | Kitchens, living rooms, home offices | Medical equipment, sump pumps |
| 2026 Avg Cost | $3.00 - $4.00 | $10.00 - $14.00 | $18.00 - $25.00 |
Frequently Asked Questions (Edge Cases)
Can I just replace the faceplate if only the plastic is brown?
No. Brown or black soot marks on the faceplate indicate that arc flash temperatures exceeded 1,000°F inside the box. The internal brass contacts are almost certainly pitted or weakened. The entire receptacle must be replaced, and the wires inspected for annealing.
What if the junction box itself is melted?
If you have an older PVC (plastic) junction box that has warped or melted from a burned outlet, it has lost its structural integrity and UL fire-rating. You must cut it out and install a metal or heavy-duty polycarbonate 'old work' retrofit box (such as the Carlon B114R), ensuring it is securely clamped to the drywall or stud.
Do I need an AFCI or GFCI receptacle when replacing a burned one?
Under current NEC guidelines, if you are replacing a receptacle in a kitchen, bathroom, garage, or exterior wall, it must be upgraded to a GFCI (Ground Fault Circuit Interrupter). Furthermore, if the circuit breaker in your panel does not already provide AFCI (Arc Fault Circuit Interrupter) protection for living areas and bedrooms, installing an AFCI receptacle at the first point of the circuit is highly recommended to prevent the exact series-arcing event that likely caused your outlet to burn in the first place.
Final Safety Verification
Replacing an electrical outlet burned by high resistance is a highly effective way to upgrade your home's safety profile, provided you address the root cause. By eliminating push-in connectors, utilizing a torque screwdriver, and upgrading to commercial-grade tamper-resistant receptacles, you ensure that your electrical infrastructure remains safe, cool, and code-compliant for decades to come. For further reading on residential electrical safety standards, consult the resources provided by the Electrical Safety Foundation International (ESFI).