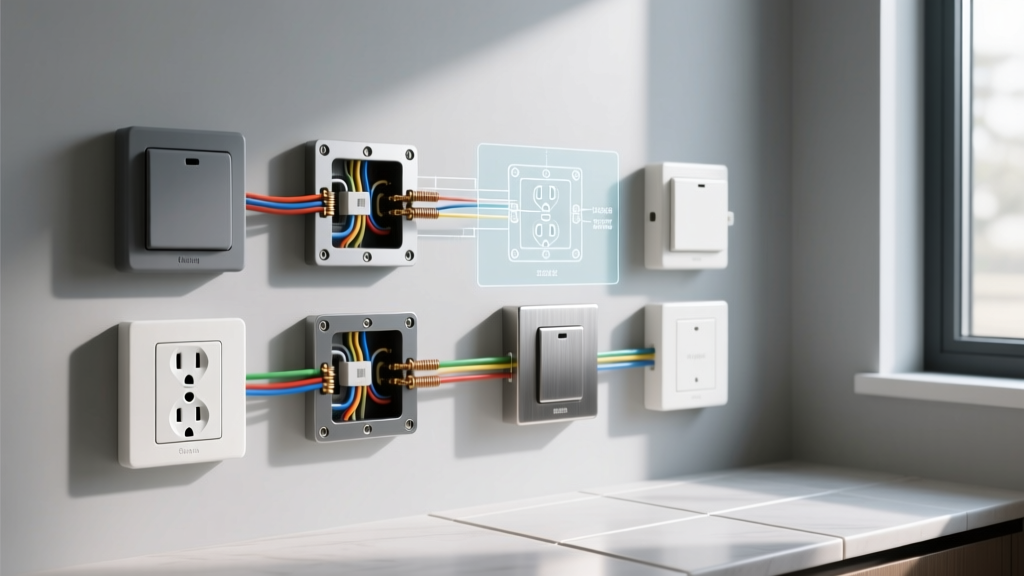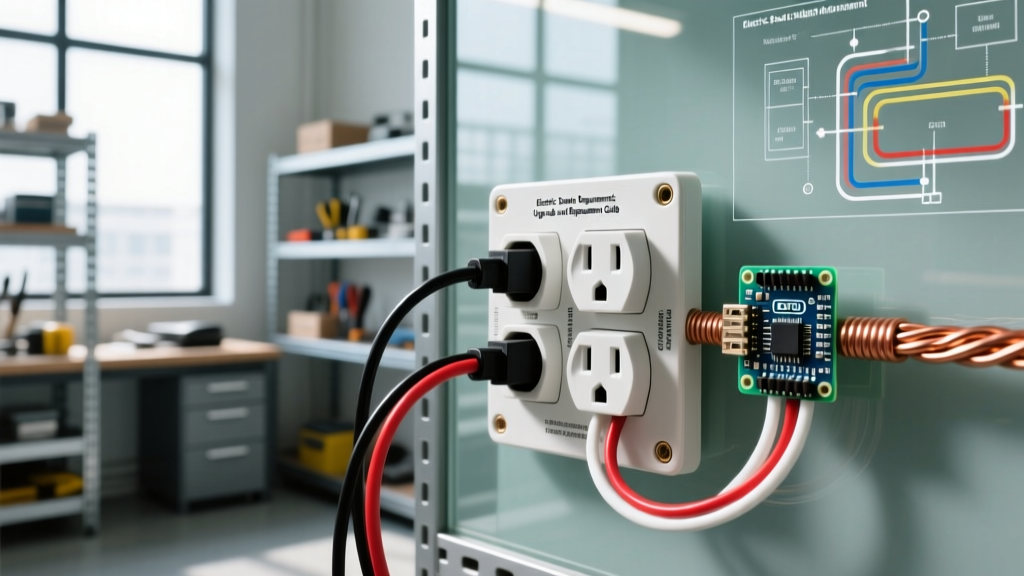

The Modern Electric Stove Outlet Requirement Explained
Upgrading your kitchen appliances often brings a hidden electrical challenge: the electric stove outlet requirement. While older homes built before 1996 typically feature 3-prong NEMA 10-50 receptacles, modern electrical codes and high-efficiency induction ranges demand a safer, more robust 4-prong configuration. According to the National Fire Protection Association (NFPA), the National Electrical Code (NEC) mandates that all new installations utilize a separate equipment grounding conductor, effectively eliminating the dangerous practice of bonding the neutral wire to the appliance chassis.
Whether you are swapping out a vintage coil range for a smart induction cooktop or simply bringing a legacy kitchen up to 2026 safety standards, understanding the precise wiring, breaker sizing, and receptacle specifications is non-negotiable. This guide provides the exact technical parameters, step-by-step upgrade procedures, and edge-case troubleshooting required for a code-compliant installation.
Decoding the NEMA 14-50R Standard
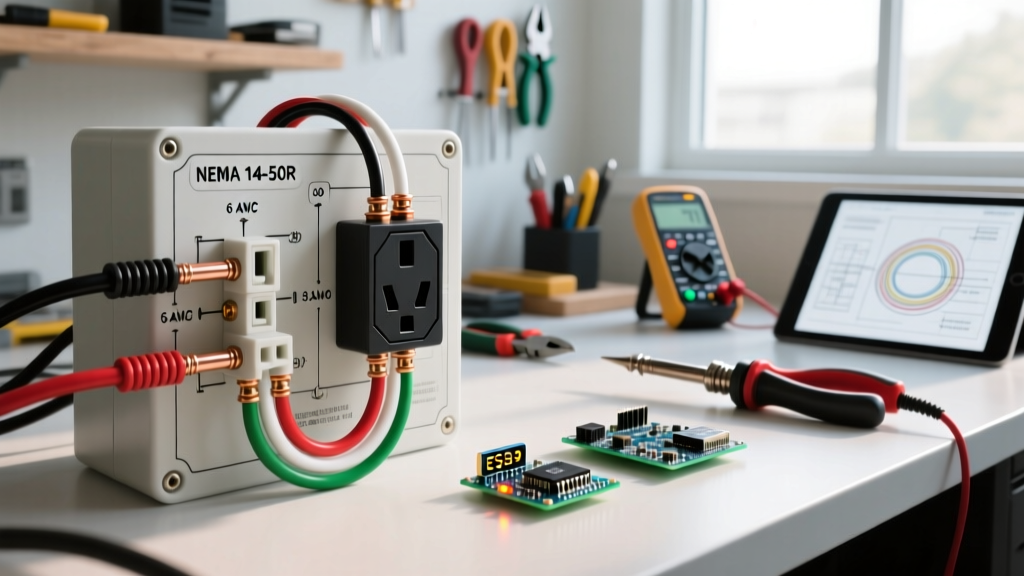
The universal electric stove outlet requirement for residential freestanding ranges is the NEMA 14-50R receptacle. This 4-wire, 240-volt, 50-amp configuration provides two hot legs, a dedicated neutral, and a dedicated ground. The National Electrical Manufacturers Association (NEMA) standardized this design to prevent stray voltage on the appliance chassis, a known risk in older 3-prong systems where the neutral carried return current and was bonded to the metal frame.
Core Technical Specifications
- Breaker Size: 50-Amp, 2-pole (240V)
- Wire Gauge: 6 AWG Copper (6/3 NM-B with ground for concealed runs, or four individual 6 AWG THHN/THWN wires in conduit)
- Receptacle Model Examples: Leviton 279-S00, Hubbell 9450A, or Bryant 9450FR
- Cord Kit: 4-prong, 50A range cord (e.g., GE PRCD20WX or Utilitech 4-Prong Range Cord)
Critical Safety Warning: The Electrical Safety Foundation International (ESFI) warns that failing to separate the neutral and ground at the appliance terminal block during a 3-prong to 4-prong upgrade is a leading cause of severe electrical shock and electrocution hazards in the kitchen.
Legacy vs. Modern: 3-Prong vs. 4-Prong Comparison Matrix
Before tearing into drywall or pulling new wire, it is essential to understand the functional differences between legacy and modern configurations.
| Feature | Legacy 3-Prong (NEMA 10-50) | Modern 4-Prong (NEMA 14-50) |
|---|---|---|
| Wire Count | 3 (Hot, Hot, Neutral/Ground combined) | 4 (Hot, Hot, Neutral, Ground) |
| Chassis Bonding | Neutral bonded to chassis at appliance | Ground bonded to chassis; Neutral isolated |
| NEC Compliance | Grandfathered for existing installs only | Required for all new 2026 installations |
| Shock Risk | High (if neutral fails, chassis becomes live) | Low (dedicated ground path) |
Step-by-Step Upgrade Guide: 3-Prong to 4-Prong Conversion
Upgrading your circuit requires pulling new wire from the main service panel to the kitchen. Do not attempt to adapt a 3-wire cable to a 4-prong receptacle; this violates NEC Article 250 and creates an immediate fire hazard.
Step 1: Panel Assessment and Preparation
Turn off the main breaker. Verify the existing 50A double-pole breaker is in good condition. If your panel uses aluminum bus bars, inspect for oxidation. If you are upgrading from an older 40A breaker, you must replace it with a 50A breaker (e.g., Square D HOM250 or Eaton BR250, depending on your panel brand). Ensure there are two adjacent slots available for the 2-pole breaker.
Step 2: Pulling the New 6/3 NM-B Cable
Run 6/3 NM-B (Romex) cable from the panel to the receptacle location. Secure the cable with staples within 8 inches of the panel and every 4.5 feet along the run. Leave at least 8 inches of slack inside the electrical box. If running through masonry or exposed garage walls, transition to 6 AWG THHN wires inside a 3/4-inch EMT metal conduit.
Step 3: Terminating the Receptacle (Torque Matters)
Strip the outer jacket and individual wire insulation. Connect the bare copper ground to the green grounding screw, the white neutral to the silver terminal, and the two black/red hot legs to the brass terminals. E-E-A-T Pro Tip: NEC 110.14(D) requires mechanical terminals to be torqued to the manufacturer's specifications. Use a calibrated torque screwdriver to tighten the Leviton or Hubbell receptacle lugs to exactly 35-45 in-lbs. Hand-tightening causes arcing and melted receptacles under heavy induction loads.
Step 4: Appliance Cord and Bonding Strap Removal
Attach the 4-prong cord to the range terminal block. Connect the white wire to the center neutral terminal, the green ground wire to the chassis ground screw, and the hot wires to the outer terminals. You must remove the green bonding strap or copper wire that connects the center neutral terminal to the metal chassis. This strap is only used for 3-prong setups. Leaving it in place on a 4-prong system will cause stray current to energize the stove's metal body.
The Induction Range Edge Case: 60-Amp and Hardwire Requirements
As induction technology dominates the 2026 appliance market, the standard 50-amp electric stove outlet requirement is occasionally insufficient. Premium models, such as the Bosch 800 Series or high-output GE Profile dual-fuel ranges, can peak above 12 kW during simultaneous oven and multi-burner use.
- 50-Amp Limit: A 50A circuit provides a maximum continuous load of 12,000 watts (50A x 240V x 80% continuous rule, though ranges use specific NEC Article 220 demand factors).
- 60-Amp Hardwire: If your new range specifies a 60-amp requirement, a NEMA 14-50 plug is inadequate. You must upgrade the breaker to 60A, use 6 AWG THHN in conduit (or 4 AWG NM-B), and hardwire the appliance directly into a junction box using a whip, bypassing the receptacle entirely.
2026 Cost Breakdown: DIY vs. Professional Installation
Upgrading a stove circuit involves heavy-gauge wire and 240-volt panel work. Below is a realistic cost matrix for 2026.
| Upgrade Scenario | Estimated Material Cost | Professional Labor (2026 Rates) | Total Estimated Cost |
|---|---|---|---|
| DIY: Receptacle & Cord Swap (Existing 6/3 wire in wall) | $45 - $85 | $0 | $45 - $85 |
| Pro: Full Circuit Upgrade (Pulling new 6/3 wire, 50A breaker, NEMA 14-50R) | $150 - $250 | $400 - $750 | $550 - $1,000 |
| Pro: Panel Upgrade Needed (Upgrading 100A service to 200A for capacity) | $1,500+ | $1,500 - $2,500 | $3,000 - $4,000+ |
Troubleshooting Common Upgrade Failures
Why is my new 50A breaker tripping immediately?
If the breaker trips the moment you turn it on, you likely have a dead short. The most common cause during a 3-to-4 prong conversion is failing to remove the neutral-to-ground bonding strap on the stove, combined with a wiring error at the receptacle where the neutral and ground are crossed. Disconnect power, verify the bonding strap is removed, and test continuity between the neutral and ground prongs on the plug—they should read infinite resistance (OL).
Can I use aluminum wire for the stove circuit?
While 4 AWG aluminum SER cable is code-compliant for a 50A feeder in some jurisdictions, most modern NEMA 14-50R receptacles are rated for copper only (CU/AL markings vary by brand). Using aluminum wire on a copper-only receptacle lug causes galvanic corrosion, leading to high resistance, overheating, and melted outlets. Stick to 6 AWG copper NM-B for peace of mind and universal compatibility.
Final Verification Checklist
Before sliding the heavy range into place, complete this final verification:
- Confirm the breaker is off.
- Verify the bonding strap on the appliance terminal block is removed.
- Check that all receptacle lugs are torqued to spec with a calibrated driver.
- Turn on the breaker and measure voltage at the receptacle: You should read ~240V across the two hot slots, and ~120V from each hot slot to the neutral and ground.
- Test the stove's digital display and run a burner on high for 5 minutes to ensure the breaker holds under load.
Meeting the correct electric stove outlet requirement ensures your kitchen operates safely, efficiently, and in full compliance with modern electrical codes. When in doubt, always consult a licensed electrician to verify your home's specific panel capacity and local code amendments.