
The True Cost Breakdown: DIY vs. Professional Electrician
Adding a new receptacle to your home is one of the most practical upgrades you can make, whether you are powering a new home office desk, a kitchen island, or a wall-mounted television. However, before picking up a drywall saw, most homeowners want to know the exact cost to add electrical outlet hardware and labor. In 2026, the national average for a licensed electrician to install a single standard outlet ranges from $175 to $350, depending on regional labor rates and wall accessibility.
For the DIY enthusiast willing to learn basic residential wiring, the cost drops dramatically. By sourcing your own materials and investing a few hours of weekend labor, you can complete the same installation for under $50. Below is a detailed cost matrix comparing a professional installation against a DIY approach for a standard 15-amp, 120-volt receptacle on an existing circuit.
| Expense Category | DIY Cost (2026) | Pro Electrician Cost |
|---|---|---|
| Receptacle (Leviton T5262-W 15A TR) | $3.50 | $12.00 (Markup) |
| 12/2 NM-B Wire (Southwire, 25ft) | $14.00 | Included |
| Old-Work Box (Carlon B618R-UPC) | $2.80 | $10.00 |
| Wall Plate & Screws | $1.20 | $5.00 |
| Labor (2-4 Hours) | $0.00 | $150 - $280 |
| Drywall Patching & Paint | $15.00 | $75 - $125 |
| Local Electrical Permit | $50 - $100 | $50 - $100 |
| Total Estimated Cost | $86.50 - $136.50 | $302 - $532 |
Expert Note on Permits: Many beginners forget that the National Electrical Code (NEC) and local municipalities require permits for extending branch circuits. Even as a DIYer, you must pull a homeowner's permit (typically $50-$100) and schedule a rough-in and final inspection. Skipping this can void your home insurance in the event of an electrical fire.
Essential Materials and Tool Shopping List
To keep your costs low while maintaining professional-grade safety, avoid the cheapest builder-grade materials. Invest in mid-tier, UL-listed components. Here is the exact bill of materials for a standard living room or bedroom outlet extension:
- Wire: Southwire 12/2 NM-B Romex. Even if you are extending a 15-amp circuit, 12-gauge wire is universally acceptable and reduces voltage drop over long runs. (Approx. $0.60/foot).
- Receptacle: Leviton T5262-W 15-Amp Tamper-Resistant (TR) Duplex Receptacle. TR shutters are mandated by NEC Article 406.12 to prevent child shock hazards.
- Box: Carlon B618R-UPC 1-Gang Old-Work Box. The flip-clamp wings secure tightly to 1/2-inch drywall without needing a stud.
- Wire Strippers: Klein Tools 11063W Katapult (prevents nicking the copper conductor).
- Voltage Tester: Klein Tools NCVT-4IR Non-Contact Voltage Tester with infrared thermometer.
- Fish Tape: Greenlee 5011 25-foot fiberglass fish tape for routing through wall cavities.
Step-by-Step Beginner Installation Tutorial
Extending an existing circuit requires tapping into a nearby 'donor' outlet. You must ensure the donor circuit has the capacity to handle the additional load (typically not an issue for general lighting and receptacle circuits in living spaces).
Step 1: Power Down and Verify
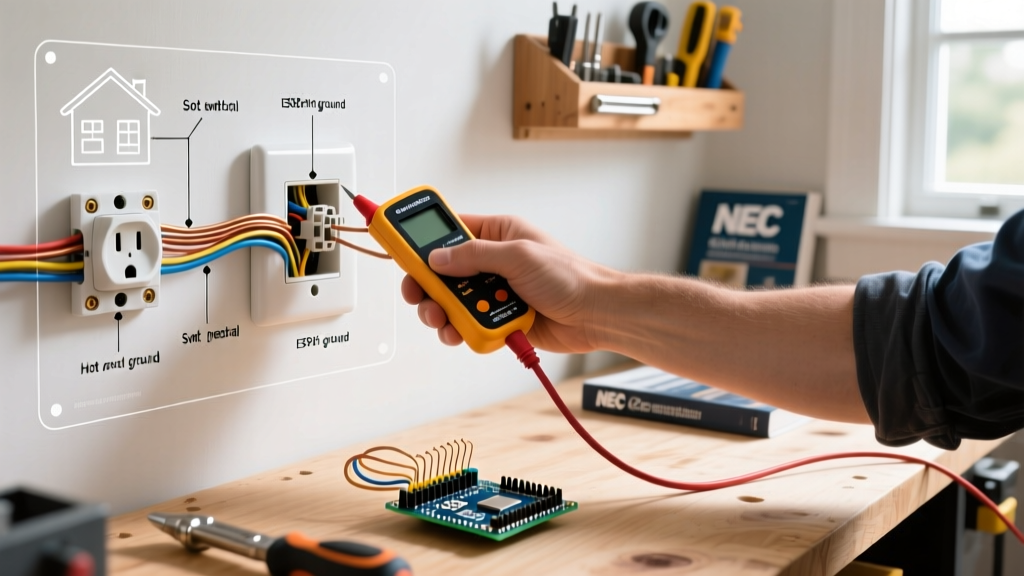
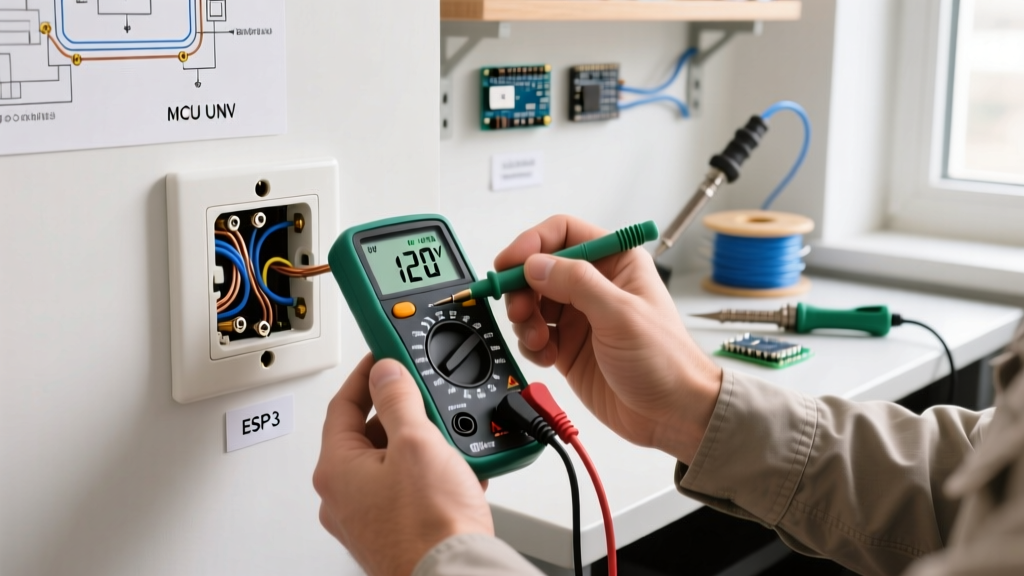
Locate the breaker controlling the donor outlet and switch it to the OFF position. Use your Klein NCVT-4IR to test the top and bottom slots of the donor receptacle. Never assume the wall switch controls the power; always rely on a verified non-contact tester. For maximum safety, the Consumer Product Safety Commission (CPSC) recommends using a lockout/tagout device on your breaker panel to prevent accidental re-energizing while you work.
Step 2: Cut the Drywall and Mount the Box
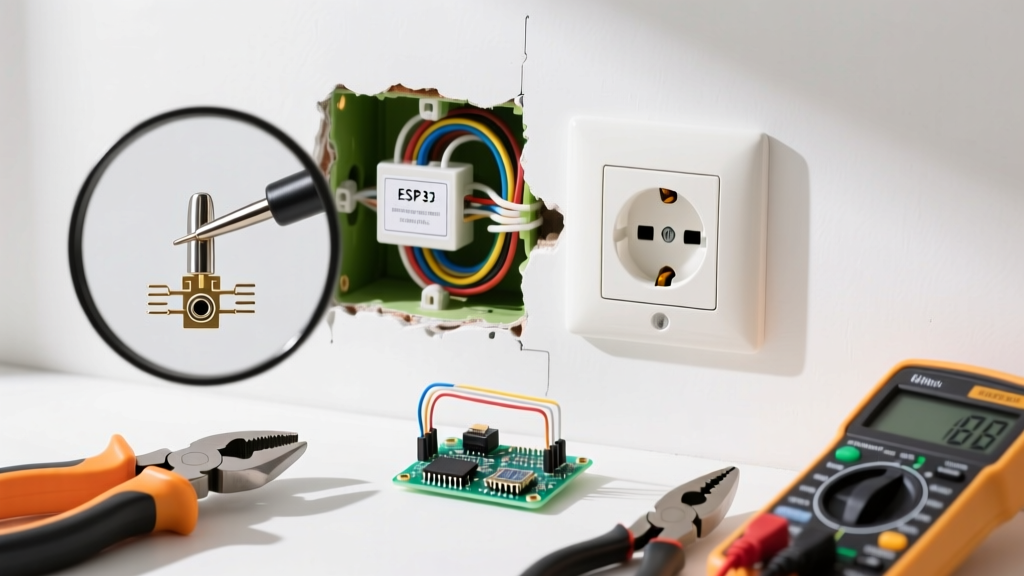
Hold the Carlon old-work box against the wall where you want the new outlet. Trace the outside edge with a pencil. Use a Milwaukee drywall saw to cut along the inside of your traced line. Insert the box into the hole, pull the wing clamps outward, and tighten the mounting screws until the box is rigidly flush against the drywall.
Step 3: Fish the 12/2 NM-B Cable
Remove the donor outlet from its box to expose the cavity. Feed your fiberglass fish tape down from the new outlet hole toward the donor hole. Hook the fish tape, attach your 12/2 Romex (stripped of the outer jacket for the last 2 inches to make it flexible), and pull it back up. Ensure you leave at least 8 inches of cable protruding from both boxes, as required by NEC Article 300.14.
Step 4: Strip and Terminate the Wires
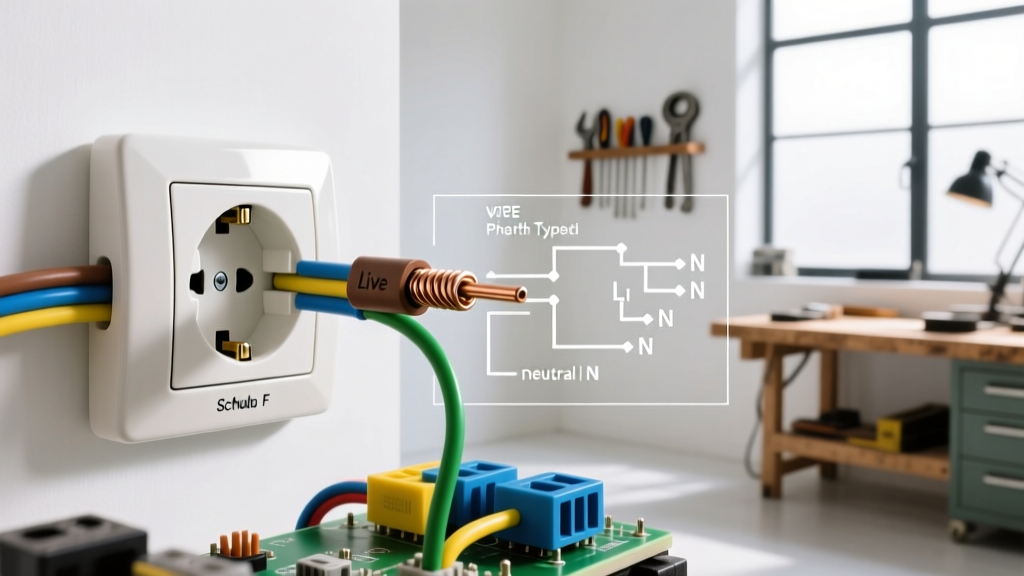
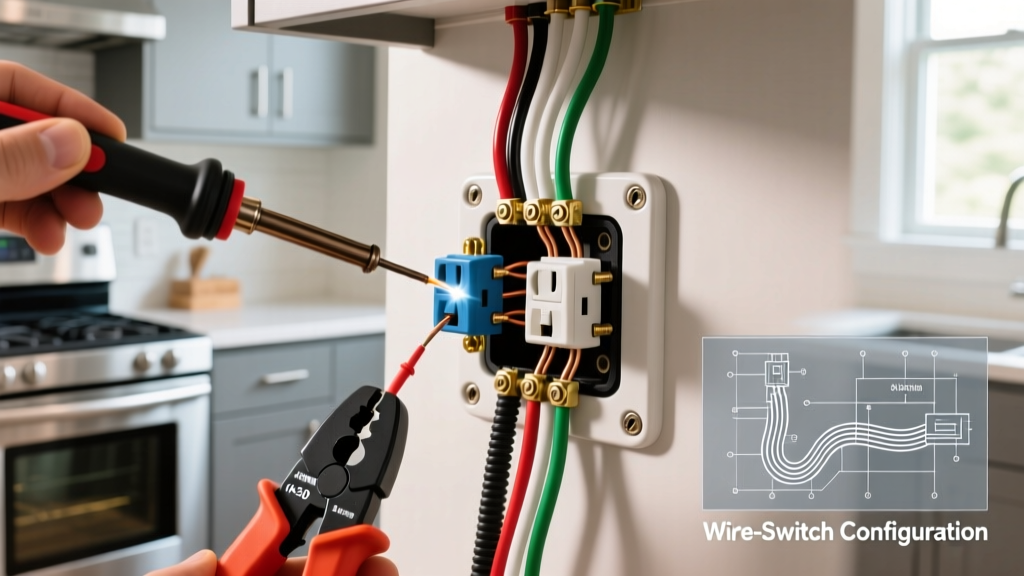
This is where beginners make the most critical errors. Use your wire strippers to remove exactly 3/4-inch of insulation from the black (hot) and white (neutral) wires.
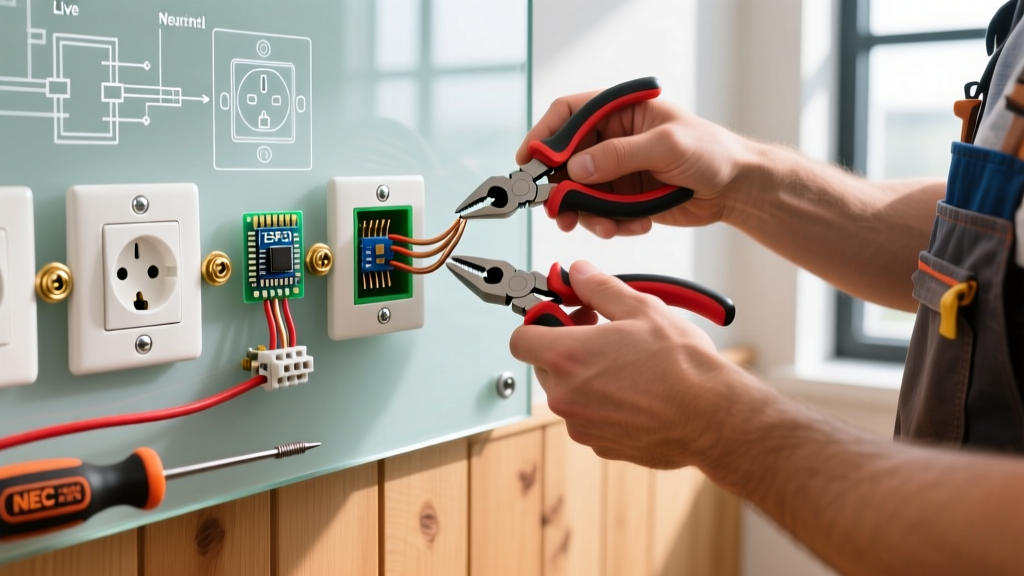
- Form a J-Hook: Use needle-nose pliers to bend the exposed copper into a clockwise hook. This ensures that when you tighten the terminal screw, the hook closes around the screw rather than being pushed out.
- Avoid Backstabbing: Never use the push-in 'backstab' holes on the back of the receptacle. These spring-loaded connections are notorious for loosening over time and causing high-resistance arcing fires. Always use the side terminal screws.
- Connect Ground: Loop the bare copper ground wire around the green grounding screw. If the metal box requires grounding, use a green grounding clip or pigtail to bond the box to the ground wire.
Step 5: Final Inspection and Testing
Carefully fold the wires into the back of the box using a 'Z' fold pattern to avoid pinching the insulation against the drywall edges. Mount the Leviton receptacle, attach the wall plate, and restore power at the breaker. Use a 3-prong receptacle tester (like the Gardner Bender GFI-3501) to verify correct wiring. A solid green light indicates a correctly wired, properly grounded circuit.
Hidden Costs and Edge Cases to Anticipate
While the baseline cost to add electrical outlet hardware is low, older homes present unique challenges that can inflate your budget. Be prepared for the following edge cases:
Knob-and-Tube or Aluminum Wiring
If your home was built before 1950, you may encounter knob-and-tube wiring. The NEC strictly prohibits extending knob-and-tube circuits. You will be forced to run a completely new circuit from the main panel, which can increase DIY material costs to over $250 and may require an electrician's intervention. Similarly, if you find aluminum branch wiring (common in the late 1960s to early 1970s), you must use special CO/ALR rated receptacles and anti-oxidant paste, or hire a pro to install aluminum-to-copper pigtails (Copalum crimps).
AFCI and GFCI Code Requirements
If you are adding an outlet in a kitchen, bathroom, garage, or outdoor location, a standard receptacle is illegal. You must install a GFCI (Ground Fault Circuit Interrupter) receptacle, such as the Leviton 8300-W, which costs around $18. Furthermore, bedrooms and living rooms now require AFCI (Arc Fault) protection. If your donor circuit breaker is not an AFCI breaker, you may need to upgrade the breaker at the panel ($35-$60) to meet modern OSHA and NEC safety standards.
Firebreaks and Plaster Walls
In multi-story homes, horizontal firebreaks (2x4 blocking between studs) can block your fish tape. You may need to cut additional drywall access holes to drill through the firebreaks, increasing your drywall patching time and material costs. Lath and plaster walls (pre-1950s) are notoriously difficult to patch seamlessly, often requiring a professional plasterer, which can add $150+ to your final project cost.
Final Verdict: Is the DIY Route Worth It?
If you have standard 1/2-inch drywall, accessible wall cavities (like an unfinished basement or attic below/above), and a modern copper-wired branch circuit, the DIY cost to add electrical outlet hardware will remain under $100. The educational value and the satisfaction of expanding your home's infrastructure safely are immense. However, if you are dealing with plaster walls, maxed-out breaker panels, or wet locations requiring complex GFCI/AFCI compliance, the $250+ cost to hire a licensed professional is a worthwhile investment in your home's long-term safety and code compliance.