
The Evolution of Dishwasher Electrical Outlet Requirements
Historically, dishwashers were hardwired directly into a concealed junction box, a practice that made servicing the appliance a nightmare for plumbers and electricians alike. Today, the cord-and-plug connection is the industry standard, offering rapid disconnect capabilities and simplified maintenance. However, transitioning to a plug-in setup requires a dedicated dishwasher electrical outlet installed to exacting safety standards. Modern kitchens demand rigorous adherence to the National Electrical Code (NEC), particularly regarding Ground Fault Circuit Interrupter (GFCI) protection and circuit sizing.
As we navigate the 2026 electrical landscape, the proliferation of inverter-driven motors in premium appliances (such as the Bosch 800 Series and Miele G 7000 lines) has introduced new complexities. These advanced motors can cause nuisance tripping on substandard GFCI receptacles due to high inrush currents. This guide provides a comprehensive, professional-grade tool and material checklist to ensure your dishwasher outlet installation is safe, code-compliant, and built to last.
NEC Code Mandates for Modern Installations
Before purchasing materials, it is critical to understand the governing codes. According to the National Fire Protection Association (NFPA), which publishes the NEC, two specific articles dictate dishwasher outlet requirements:
- NEC Article 422.5(A) & 210.8(D): Mandates GFCI protection for all dishwasher outlets, regardless of whether they are hardwired or cord-and-plug connected.
- NEC Article 210.52(B)(1) Exception 2: A kitchen countertop receptacle cannot be used to power a dishwasher. It requires a dedicated circuit.
Expert Insight: While a 15-amp circuit is technically permissible if it serves no other loads, professional electricians universally recommend a 20-amp dedicated circuit utilizing 12/2 NM-B cable. This prevents voltage drop during the heating cycle and accommodates the startup surge of modern inverter pumps without tripping the breaker.
Essential Materials Checklist
Sourcing the correct materials is non-negotiable. Cheap, off-brand receptacles often fail the internal solenoid test within two years when exposed to the high-humidity environment under a kitchen sink. Below is the exact bill of materials (BOM) for a premium, code-compliant installation.
| Material | Exact Specification / Model | Pro-Tip & Code Context | Est. Cost |
|---|---|---|---|
| Wiring | Southwire 12/2 NM-B Romex (w/ Ground) | Required for 20A circuits. Leave 1/2 inch of sheath inside the box. | $0.65 / ft |
| Receptacle | Leviton GFNT2-W SmartlockPro 20A GFCI | Tamper-resistant (TR). SmartlockPro prevents reset if the GFCI is damaged. | $22.00 |
| Electrical Box | Carlon B114B Single-Gang Old Work Box | Non-metallic. Features adjustable wings for secure drywall mounting. | $2.85 |
| Wall Plate | Leviton 1-Gang Mid-Size Nylon Plate | Mid-size covers minor drywall imperfections around the cut-in box. | $1.50 |
| Wire Connectors | IDEAL SureConnect 12-2 AWG Push-In | Faster and more reliable than traditional twist-on wire nuts for solid copper. | $0.40 ea |
The Professional Tool Arsenal
A successful installation relies on precision tools that prevent conductor damage and ensure secure terminations. According to the Electrical Safety Foundation International (ESFI), improper wire stripping and loose connections are leading causes of residential electrical fires.
1. Safety & Verification
- Fluke 1AC-II VoltAlert: A non-contact voltage tester is your first line of defense. Always test the target wires and a known live source to verify the tool's battery and functionality before trusting a 'dead' reading.
- WAC Lighting In-Line GFCI Tester: Essential for verifying correct wiring (Line/Load orientation and ground continuity) immediately after termination.
2. Cable Preparation
- Klein Tools 11055 Wire Stripper: Specifically calibrated for 10-18 AWG solid wire. Using utility knives to strip Romex often nicks the copper conductor, creating a high-resistance hot spot that can melt the receptacle over time.
- Milwaukee Cable Ripper (48-22-3080): Slits the NM-B jacket cleanly without scoring the inner THHN insulation or the bare copper ground wire.
3. Termination & Torque
- Wiha 1000V Insulated Screwdrivers: VDE-certified to protect against accidental contact with live adjacent circuits in crowded under-sink environments.
- Klein Tools 32500 Torque Screwdriver: NEC 110.14(D) requires terminations to be torqued to manufacturer specifications. The Leviton GFNT2-W requires exactly 14 in-lbs of torque on the terminal screws.
Step-by-Step Installation Workflow
With your tools and materials staged, follow this precise workflow to install the dishwasher electrical outlet in the adjacent sink base cabinet (never behind the dishwasher itself, as NEC requires the disconnecting means to be readily accessible).
- De-energize and Verify: Turn off the 20A breaker at the main panel. Use the Fluke 1AC-II to confirm zero voltage at the feed cable.
- Box Preparation: Trace the Carlon B114B box on the cabinet wall or drywall. Cut the opening with a keyhole saw. Feed the 12/2 NM-B cable through the knockout, ensuring exactly 1/4 to 1/2 inch of the outer jacket extends into the box. Secure the box using the integrated drywall clamps.
- Conductor Stripping: Use the Milwaukee ripper to remove the outer jacket. Strip exactly 5/8 inch of insulation from the black (hot) and white (neutral) wires using the Klein 11055. Do not twist the stranded/solid copper; keep it straight for side-wiring or push-in terminations.
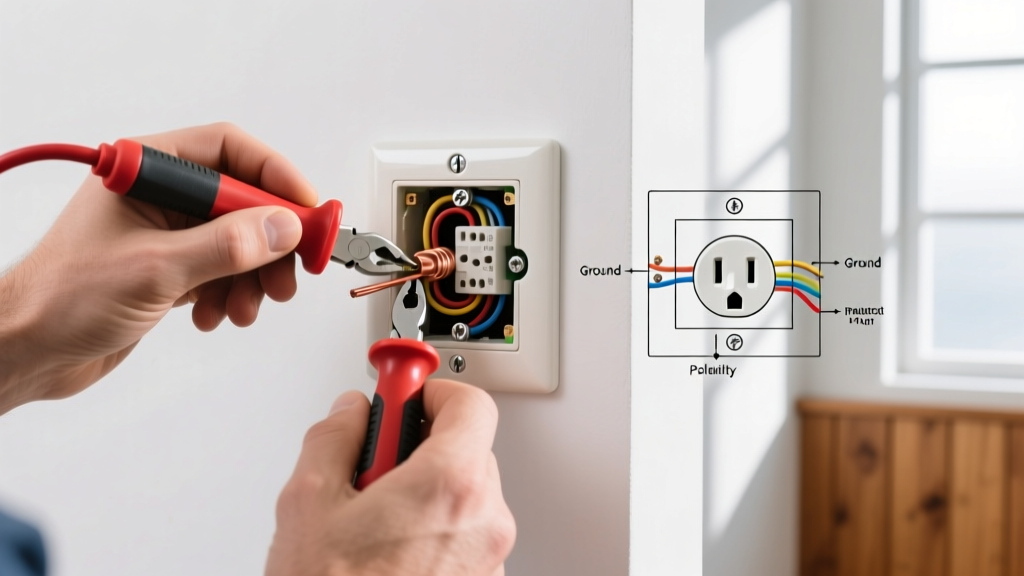
- GFCI Termination: Identify the LINE terminals on the Leviton GFCI (usually marked with a piece of tape over the LOAD terminals from the factory). Connect the black wire to the brass LINE screw and the white wire to the silver LINE screw. Loop the bare copper ground wire around the green grounding screw.
- Torque Application: Set the Klein torque screwdriver to 14 in-lbs. Tighten the terminal screws until the tool clicks. This ensures the connection will not loosen due to the vibration of the dishwasher's drain pump.
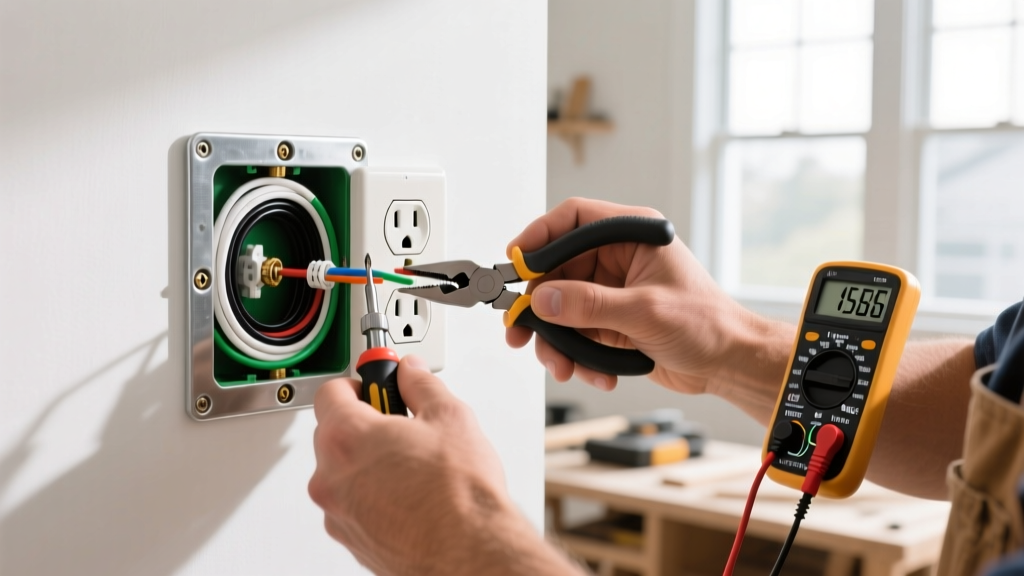
- Box Dressing & Testing: Neatly fold the wires into the back of the box, keeping the ground wire away from the hot terminal screws to prevent short circuits. Mount the GFCI, attach the mid-size nylon wall plate, restore power, and press the 'TEST' and 'RESET' buttons to verify mechanical and electrical function.
Edge Cases and Failure Modes
Even with perfect materials, environmental and appliance-specific variables can cause issues. Here is how to troubleshoot the most common edge cases encountered in the field:
Nuisance Tripping on Inverter Motors
If the newly installed GFCI trips the moment the dishwasher starts its wash cycle, the issue is rarely a true ground fault. High-end European dishwashers use variable-frequency drives (VFDs) that generate high-frequency leakage currents. Cheap GFCIs misinterpret this as a fault. Solution: Ensure you are using a premium GFCI like the Leviton SmartlockPro or Hubbell Commercial grade, which feature advanced digital filtering to ignore harmless high-frequency inverter noise.
Shared Neutral Violations
A common DIY mistake is attempting to share a neutral wire between the dishwasher GFCI and the garbage disposal circuit. GFCI receptacles monitor the exact current differential between the hot and neutral conductors. If the neutral is shared with another circuit returning current, the GFCI will instantly trip. Solution: The 12/2 NM-B cable feeding the dishwasher GFCI must be a completely isolated, dedicated home-run back to the main electrical panel.
Moisture Intrusion Under the Sink
Under-sink environments are prone to condensation and minor plumbing leaks. If water bridges the gap between the LINE and LOAD terminals on the side of the GFCI, it will cause a short or nuisance trip. Solution: Always use the Leviton GFCI's included foam gasket behind the wall plate, and consider applying a thin bead of clear silicone caulk around the top and sides of the wall plate (leaving the bottom open for drainage) to prevent water from running down the cabinet wall into the electrical box.
Conclusion
Installing a dishwasher electrical outlet is not merely about making a physical connection; it is about engineering a safe, reliable power delivery system that complies with modern NEC mandates. By investing in professional-grade tools like torque screwdrivers and precision wire strippers, and selecting high-quality materials like 12/2 NM-B cable and SmartlockPro GFCIs, you ensure the installation will operate flawlessly for the lifespan of the appliance. Always prioritize accessibility, strict circuit isolation, and precise torque specifications to achieve a master-level finish.