
You flip the switch, plug in the lamp, and nothing happens. You check the main electrical panel, and the breaker is firmly in the "ON" position. Dealing with an electrical outlet not working breaker not tripped scenario is one of the most common, yet misunderstood, residential electrical faults. It indicates an open circuit somewhere between the panel and the receptacle, or a hidden upstream interruption. As a DIYer or apprentice, guessing is dangerous and inefficient. You need a systematic, tool-driven approach to isolate the fault safely.
In this 2026 tool and material guide, we break down the exact diagnostic equipment, testing protocols, and replacement materials required to troubleshoot and repair a dead receptacle on an energized circuit.
The Essential Diagnostic Toolkit
To accurately diagnose an open circuit without tripping a breaker, you must move beyond cheap neon voltage testers. You need tools that can differentiate between phantom voltage, open neutrals, and high-resistance connections. Below is the professional-grade toolkit required for this specific troubleshooting path.
| Tool Type | Recommended 2026 Model | CAT Rating | Approx. Price | Primary Diagnostic Use |
|---|---|---|---|---|
| Non-Contact Voltage Tester (NCVT) | Klein Tools NCVT-2 (Dual-Range) | CAT IV | $35 - $40 | Verifying presence of 12-1000V AC without exposing bare wire. |
| True-RMS Digital Multimeter | Fluke 117 Electricians True-RMS | CAT III 600V | $190 - $210 | Measuring exact voltage drops and identifying open neutrals. |
| Receptacle Tester | Southwire 100500T with GFCI Trip | N/A | $15 - $20 | Quick wiring topology check and upstream GFCI tripping. |
| Wire Strippers/Crimpers | Milwaukee 48-22-3005 (6-in-1) | N/A | $25 - $30 | Precision stripping to 5/8" without nicking copper conductors. |
Expert Insight: Always ensure your multimeter is rated for at least CAT III 600V. According to the Occupational Safety and Health Administration (OSHA), using under-rated test equipment on residential branch circuits can result in catastrophic arc flash incidents if a transient voltage spike occurs during testing.
The 4-Step Voltage Tracing Protocol
When the breaker is confirmed ON but the outlet is dead, follow this sequential testing protocol to isolate the failure point.
Step 1: Verify Panel Voltage and GFCI Hunting
Before opening the dead receptacle, use your NCVT to verify the breaker terminal is actually hot. If the breaker is outputting 120V, the fault is downstream. Next, hunt for upstream Ground Fault Circuit Interrupters (GFCIs). A tripped GFCI in a garage, bathroom, or exterior wall frequently cuts power to downstream standard receptacles in bedrooms or living rooms. Use the Southwire receptacle tester on nearby GFCI outlets and press the "TEST" button to reset any hidden tripped devices.
Step 2: The Receptacle Tear-Down and NCVT Sweep
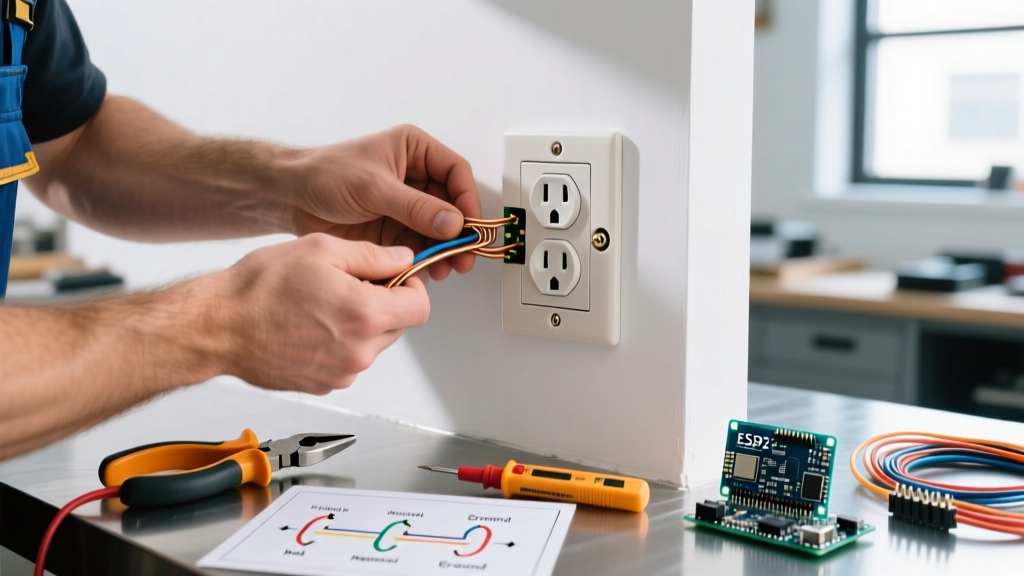
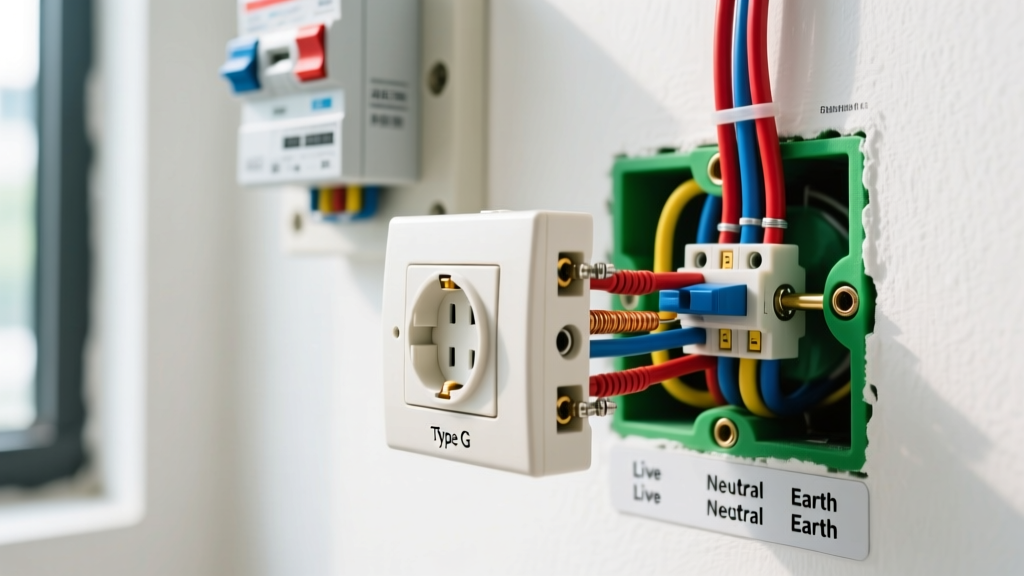
Turn off the breaker (even though it didn't trip, always verify and kill power before physical disassembly). Remove the faceplate and unscrew the receptacle from the junction box. Pull it out gently. Turn the breaker back ON. Use the Klein NCVT-2 to sweep the wires connected to the brass (hot) and silver (neutral) screws. If the NCVT beeps on the incoming hot wire but the outlet provides no power, the receptacle itself has failed internally.
Step 3: Multimeter Topology Testing
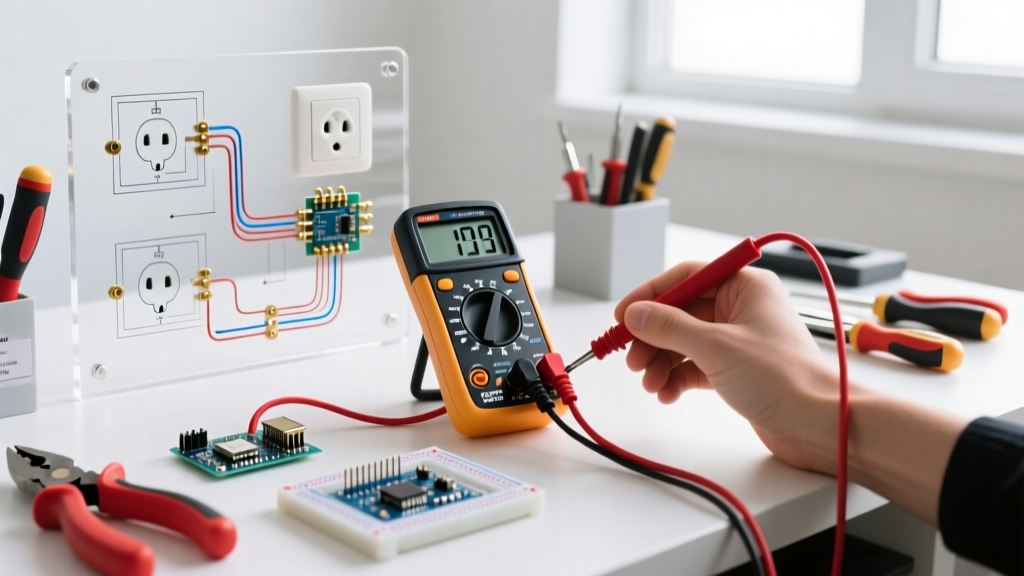
This is where the Fluke 117 earns its keep. With the breaker ON and the receptacle pulled out, perform three specific measurements:
- Hot to Neutral (Brass to Silver): Should read ~120V. If 0V, you have an open neutral or open hot.
- Hot to Ground (Brass to Bare/Green): Should read ~120V. If this reads 120V but Hot-to-Neutral reads 0V, you have definitively identified an open neutral fault.
- Neutral to Ground (Silver to Bare/Green): Should read 0V to 2V. Any reading above 5V indicates a loose neutral connection upstream or shared-neutral overload.
Step 4: Identifying the "Backstab" Failure
The most common cause of an electrical outlet not working breaker not tripped is a failed push-in "backstab" connection. These spring-loaded brass contacts lose tension over years of thermal expansion and contraction (especially if high-draw devices like space heaters or vacuums were used). This creates high resistance, micro-arcing, and eventually a physical disconnect. If the incoming wires are pushed into the back of the receptacle, this is almost certainly your culprit.
Material Upgrades and Repair Specifics
Once the fault is isolated to a failed receptacle or a loose wire nut, do not simply reuse the damaged components. Upgrade your materials to meet modern 2026 safety standards.
Receptacle Replacement
Discard the old receptacle. Purchase a Leviton 5320-WMP (15-Amp Tamper-Resistant Duplex Receptacle), which costs roughly $3 to $4 per unit. The National Electrical Code (NEC) mandates tamper-resistant (TR) shutters in all dwelling unit receptacle locations to prevent childhood shock hazards. For 20-amp circuits (kitchens, bathrooms), use the Leviton 5362-WMP.
Connection Methodology: Side-Wire vs. Lever-Nuts
Never use the backstab push-in connections on the new receptacle. You have two professional options:
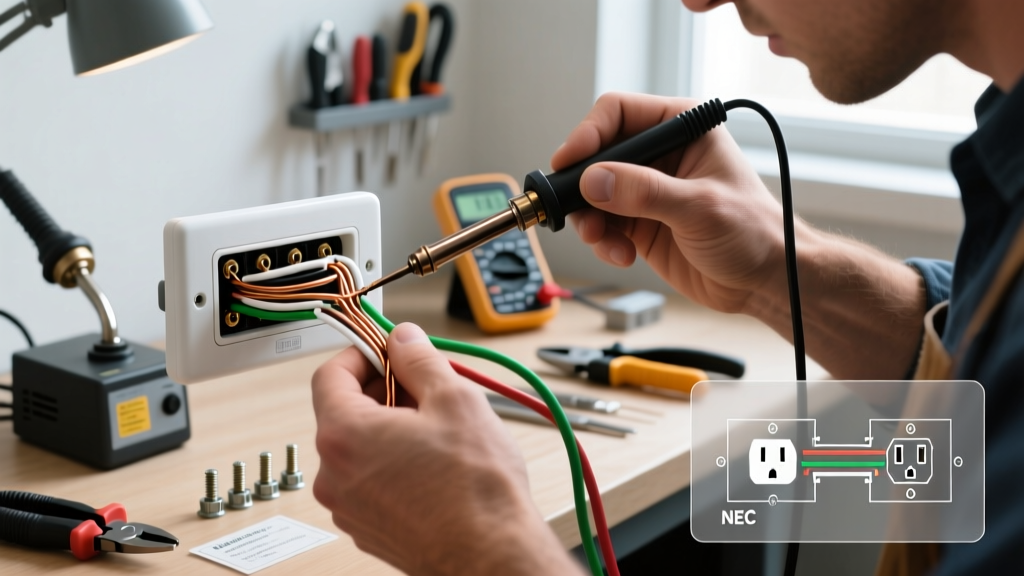
- Side-Wiring (Shepherd's Hook): Strip the wire to exactly 5/8" using your Milwaukee strippers. Form a clockwise loop and wrap it tightly around the terminal screw. Torque the screw until the brass washer bites firmly into the copper.
- Wago 221 Lever-Nuts (Pigtail Method): If the junction box is crowded, use Wago 221-413 3-conductor lever nuts (~$0.60 each). Connect the incoming hot, outgoing hot, and a 6-inch 14 AWG pigtail into one lever nut. Connect the pigtail to the receptacle screw. This eliminates daisy-chain failures where a loose downstream wire kills the current outlet.
Advanced Edge Cases: MWBC and Shared Neutrals
If your multimeter shows erratic voltages (e.g., 90V on Hot-Neutral, but 145V on another outlet on the same circuit), you may be dealing with a Multi-Wire Branch Circuit (MWBC) with a compromised neutral. An MWBC shares a single neutral wire between two hot legs (Phase A and Phase B). If the shared neutral disconnects or loosens at the panel or an upstream junction box, the two circuits form a series 240V circuit, sending dangerous overvoltage to 120V appliances.
If you suspect an MWBC fault, immediately turn off both associated breakers. According to the National Fire Protection Association (NFPA), loose neutrals are a leading cause of residential electrical fires due to the extreme heat generated by unbalanced return currents. Trace the neutral back to the panel and verify the termination torque.
Safety and Compliance Reminders
Troubleshooting live circuits requires strict adherence to safety protocols. Always wear ANSI Z87.1 rated safety glasses and insulated gloves when performing live multimeter testing. Furthermore, the U.S. Consumer Product Safety Commission (CPSC) strongly recommends that any outlet showing signs of thermal damage (brown scorch marks, melted plastic) be replaced immediately, and the connected wiring stripped back to clean, bright copper before re-termination.
By utilizing True-RMS diagnostic tools, understanding voltage topology, and upgrading to modern TR receptacles with lever-nut pigtails, you can permanently resolve an electrical outlet not working breaker not tripped issue, ensuring your home's electrical infrastructure remains safe and reliable for decades to come.