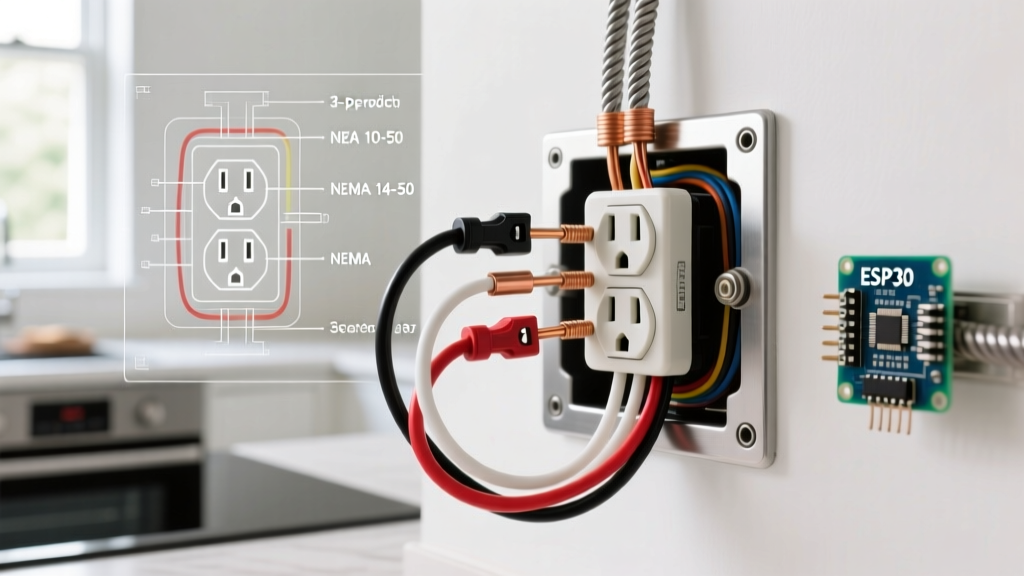

When a receptacle suddenly goes dead, the immediate reaction is often to blame the breaker. However, answering the question of why does an electrical outlet stop working requires a systematic approach that goes far beyond flipping a switch in the panel. Outlets fail due to thermal cycling, upstream daisy-chain interruptions, improper torque, and internal contact fatigue.
As a DIYer or professional electrician, guessing the root cause is dangerous and inefficient. This tool and material guide outlines the exact diagnostic equipment, replacement materials, and testing methodologies required to identify and resolve dead outlet scenarios safely and permanently.
The Essential Diagnostic Toolkit: What You Need Before Opening the Wall
To accurately diagnose a dead receptacle, you must eliminate ghost voltages, verify mechanical tension, and trace circuit continuity. Relying on a cheap $10 multimeter often leads to misdiagnosis. Here is the professional-grade toolkit required for accurate troubleshooting in 2026.
1. Non-Contact Voltage Tester (NCVT)
- Recommended Model: Klein Tools NCVT-2 (Approx. $35)
- Why It Matters: The NCVT-2 features dual-range detection (12-48V and 48-1000V AC). Before unscrewing the faceplate, you must verify the absence of voltage. The dual-range capability ensures you aren't fooled by low-voltage thermostat or doorbell wires running in the same gang box.
2. True-RMS Digital Multimeter (DMM) with LoZ
- Recommended Model: Fluke 117 True-RMS Multimeter (Approx. $190)
- Why It Matters: The Fluke 117 includes a LoZ (Low Impedance) mode. When testing a disconnected wire in a multi-gang box, capacitive coupling can induce a 'ghost voltage' of 40-60V on a dead wire. Standard high-impedance multimeters will read this ghost voltage as 'live,' leading to severe misdiagnosis. LoZ mode bleeds off this phantom voltage, giving you a true 0V reading on dead legs.
3. Calibrated Torque Screwdriver
- Recommended Model: Wera VDE 0.5-5.0 Nm Insulated Torque Driver (Approx. $130)
- Why It Matters: The National Electrical Code (NEC) Section 110.14(D) mandates that terminations be tightened to the manufacturer's specified torque. Loose neutrals cause voltage drops and arcing; overtightened screws strip the brass terminal plates. A calibrated torque tool ensures exact compliance (typically 0.75 to 1.2 Nm for standard 15A/20A receptacles).
5 Core Failure Modes: Why Does an Electrical Outlet Stop Working?
Understanding the physics of receptacle failure helps you target your diagnostic efforts. Here are the five most common reasons an outlet loses power, paired with the specific testing method for each.
1. Backstabbed Push-In Connector Fatigue
Builder-grade receptacles often feature push-in (backstab) terminals. These rely on a small internal spring-steel clip to grip the 14 AWG copper wire. Over years of thermal cycling—expansion when current flows and contraction when it stops—the spring steel loses its tension. The wire eventually backs out just enough to break continuity.
The Fix: Remove the backstabbed wire using a small flathead screwdriver to release the catch. Strip 5/8 inch of insulation using Klein Tools 11063 wire strippers and terminate the wire under the side screw terminal, torqued to spec.
2. Upstream GFCI or Daisy-Chain Interruption
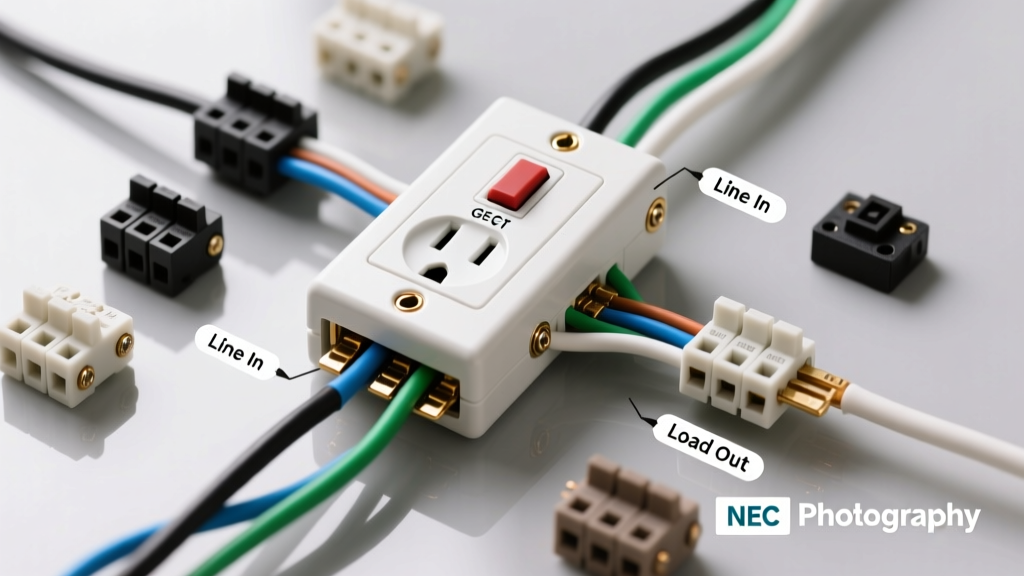
Modern homes wire multiple standard receptacles on the 'LOAD' terminals of a single upstream GFCI (Ground Fault Circuit Interrupter). If a GFCI in the garage, bathroom, or exterior trips, every standard outlet downstream in the daisy-chain will go dead.
The Fix: Use a Gardner Bender GRT-1101 receptacle tester ($15) on all nearby GFCI outlets. If the upstream GFCI has tripped, the tester won't power on. Reset the GFCI. If it trips immediately, you have a ground fault downstream that requires tracing with a tone generator.
3. Multi-Wire Branch Circuit (MWBC) Neutral Failure
If the dead outlet is on an MWBC (two hot wires sharing one neutral), a loose or broken neutral at the panel or an upstream junction box is catastrophic. Without a solid neutral return path, the two 120V legs serialize, pushing 240V across your 120V appliances, instantly destroying electronics.
The Fix: Test the voltage between Hot and Neutral, then Neutral to Ground. If Hot-to-Neutral reads unusually high (e.g., 140V+) or fluctuating, shut off both breakers immediately and inspect the shared neutral bar in the panel.
4. Broken Brass Tab on Split-Receptacles
In kitchens and living rooms, outlets are sometimes 'split'—the top half is always hot, while the bottom half is controlled by a wall switch. This requires snapping the brass (hot) connecting tab on the receptacle. If a previous DIYer accidentally snapped the tab on a standard circuit, or failed to snap it on a switched circuit, half the outlet will appear dead.
The Fix: Inspect the side brass strap. If the circuit requires a split receptacle, use needle-nose pliers to bend the brass tab back and forth until it snaps cleanly off the isolation score line.
5. Arc Fault and Melted Terminal Blocks
High-draw appliances (space heaters, window AC units) pulling 12-15A continuously can cause cheap residential receptacles to overheat. The thermoplastic face melts, and the internal contacts carbonize, creating high resistance and eventual open-circuit failure.
The Fix: Visual inspection. If the plastic face is discolored (yellow/brown) or smells of ozone/melamine, the outlet and the mating plug on the appliance must both be destroyed and replaced.
Material Selection: Choosing the Right Replacement Receptacle
When an outlet fails, never replace it with the cheapest builder-grade option. Upgrading to commercial or hospital-grade receptacles drastically increases the lifespan of the termination. According to the National Fire Protection Association (NFPA), electrical distribution and lighting equipment is a leading cause of home structure fires, often stemming from poor receptacle contact tension.
| Grade | Example Model | Approx. Cost | Material & Build Quality | Best Application |
|---|---|---|---|---|
| Residential / Builder | Leviton 5252-W | $1.50 - $2.50 | Thin brass contacts, standard nylon face. Prone to thermal fatigue. | Low-draw areas (bedrooms, hallways). |
| Commercial Spec | Leviton 5262-W | $5.00 - $7.00 | Thick brass contacts, glass-filled nylon face. High clamp force. | Kitchens, living rooms, home offices. |
| Hospital Grade | Hubbell HBL5262 | $18.00 - $24.00 | Oversized phosphor bronze contacts, polycarbonate body. Extreme grip. | Medical equipment, heavy shop tools, sump pumps. |
Note: Ensure all replacement receptacles in dwelling units meet the 2026 NEC Article 406.4(D) requirement for Tamper-Resistant (TR) shutters to prevent pediatric shock hazards.
Step-by-Step Diagnostic Workflow
Follow this exact sequence to isolate the failure point safely. The Electrical Safety Foundation International (ESFI) strongly advises against working on live circuits without proper PPE and testing verification.
- Verify the Dead State: Plug a lamp into the suspect outlet. Confirm it is dead. Test a known-live outlet with the same lamp to rule out a blown bulb.
- NCVT Sweep: Run the Klein NCVT-2 over the faceplate. If it beeps, voltage is present at the terminals, indicating a failed internal contact rather than a circuit-wide outage.
- Panel & GFCI Check: Inspect the main panel for tripped AFCI/GFCI breakers (look for the illuminated LED or flag). Check all upstream wet-area GFCIs.
- De-energize and Lockout: Turn off the branch circuit breaker. Use a breaker lockout device to prevent accidental re-energizing while you work.
- Pull and Inspect: Remove the faceplate and unscrew the receptacle. Pull it gently from the gang box. Look for melted plastic, burnt wire insulation, or loose backstabbed wires.
- Verify Zero Energy: Use the Fluke 117 in LoZ mode to test Hot-to-Neutral, Hot-to-Ground, and Neutral-to-Ground. All must read 0.00V.
- Terminate and Torque: If replacing the receptacle, form a proper J-hook on the stripped 14 AWG or 12 AWG wire. Loop it clockwise around the terminal screw. Tighten with the Wera torque screwdriver until it clicks at the manufacturer's specified Nm rating.
Safety Warning: Never assume a wire is dead just because the wall switch is off or the breaker appears to be in the 'OFF' position. Miswired circuits and shared neutrals are common in older homes. Always verify zero energy with a calibrated multimeter before touching bare copper. For comprehensive home electrical safety guidelines, refer to the Consumer Product Safety Commission (CPSC) Electrical Safety Center.
Conclusion
Understanding why an electrical outlet stops working is fundamentally about understanding mechanical wear, thermal dynamics, and circuit topology. By abandoning cheap testers in favor of True-RMS multimeters with LoZ capabilities, and by upgrading builder-grade materials to commercial-spec receptacles, you eliminate the root causes of receptacle failure. Always prioritize NEC torque specifications and tamper-resistant safety standards to ensure your electrical system remains reliable and safe for decades.