
Understanding the Danish Electrical Outlet (Type K)
The Danish electrical outlet, universally known as the Type K socket, is a unique electrical standard used almost exclusively in Denmark, Greenland, and the Faroe Islands. Operating at 230V and 50Hz, the Type K system is instantly recognizable by its three-pin configuration: two round pins for line and neutral, and a distinct semi-circular (flat-topped) pin for earth ground. According to the IEC World Plugs database, the Type K standard (DS 60884-2-D1) was designed to prevent the insertion of incompatible plugs, ensuring a dedicated grounding path for high-draw appliances.
As of 2026, the undisputed market leader for Danish wall sockets is the LK FUGA® system by Lauritz Knudsen (Schneider Electric). Unlike standard monolithic outlets found in North America or the UK, the LK FUGA system is highly modular, separating the wall box, the functional chassis, and the decorative faceplate into interchangeable components.
⚠️ CRITICAL LEGAL WARNING (Danish Electrical Code):
Under the Danish Stærkstrømsbekendtgørelsen (Strong Current Regulations), only a certified electrician (el-installatør) is legally permitted to install new circuits, run new wall boxes, or alter the fixed wiring inside the wall. Homeowners are legally allowed to replace an existing faceplate or swap a damaged Type K socket module only if the wall box and existing wiring remain completely untouched and undisturbed. Always consult the Danish Safety Technology Authority (Sikkerhedsstyrelsen) for the latest compliance updates.
Anatomy of the LK FUGA® Modular System
Before touching a wire, you must understand the modular architecture of Danish outlets. A standard Danish electrical outlet installation consists of four distinct layers:
- The Wall Box (Dåse): Typically a 70mm or 68mm flush-mounted plastic or metal box embedded in the drywall or masonry.
- The Chassis (Indsats): The functional electrical module. For a standard outlet, this is the 1-module Type K 13A or 16A receptacle with screw or push-in terminals.
- The Frame (Ramme): The structural border that snaps onto the chassis. Frames come in 1-module, 1.5-module, 2-module, and multi-gang configurations.
- The Cover (Tangent/Dæksel): The visible outer faceplate, available in various colors, materials, and smart-home integrations.
Tools and Materials Required
To safely replace an existing Type K module, you need specialized, VDE-rated tools. Standard hardware store tools are insufficient for 230V European circuits.
| Item | Specification / Model | Estimated Cost (2026) |
|---|---|---|
| Type K Socket Module | LK FUGA® Indstiks 13A/16A w/ Earth | 150 - 220 DKK ($22 - $32 USD) |
| Smart Socket (Optional) | LK FUGA® Zigbee Energy Monitor | 450 - 600 DKK ($65 - $85 USD) |
| Voltage Tester | CAT III / CAT IV Multimeter (e.g., Fluke 117) | ~$200 USD |
| Screwdrivers | VDE Insulated 1000V (Flathead & Pozidriv PZ1) | $25 - $40 USD |
| Wire Strippers | Automatic, calibrated for 1.5mm² / 2.5mm² solid copper | $35 - $50 USD |
Step-by-Step Installation Guide
This guide assumes you are performing a legal, like-for-like replacement of an existing LK FUGA Type K module in a pre-wired 70mm wall box.
Step 1: Isolate and Verify Power (Lockout/Tagout)
Navigate to your main distribution board (tavle). Switch off the specific miniature circuit breaker (MCB) for the room. More importantly, ensure the main HPFI (High-sensitivity Fault Current Interrupter) relay is not tripped. Use your CAT III multimeter to test the existing outlet. Insert the probes into the Line and Neutral slots. The reading must be exactly 0.0V. Never rely solely on a non-contact voltage pen, as they can yield false negatives in dense masonry walls.
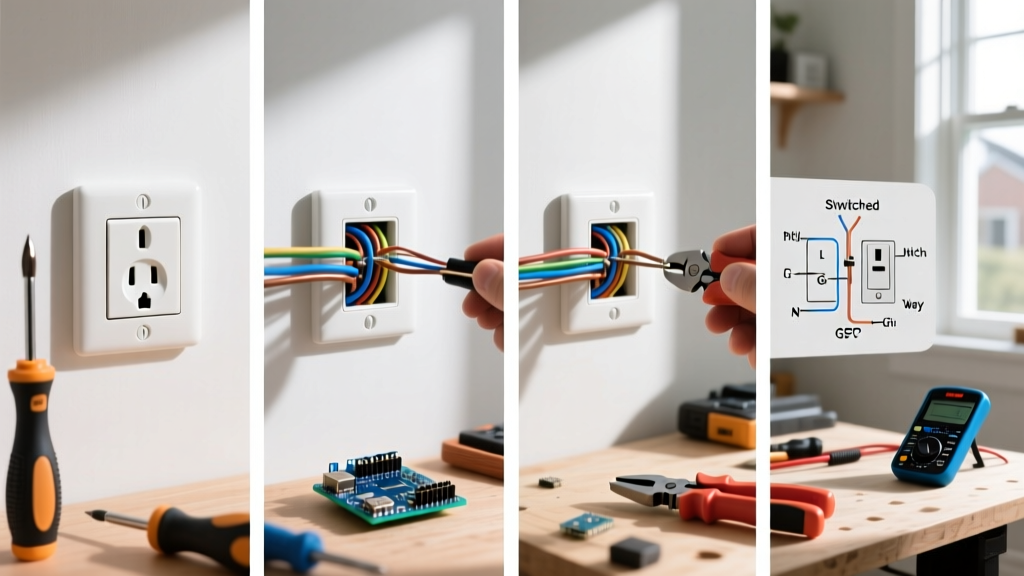
Step 2: Remove the Existing FUGA Cover and Chassis
Insert a flathead VDE screwdriver into the small pry slots located on the bottom edge of the FUGA frame. Gently twist to pop the frame off the wall. Unscrew the two M3 mounting screws securing the chassis to the wall box claws. Carefully pull the chassis out, ensuring you do not stretch or damage the stiff 1.5mm² or 2.5mm² solid copper wires behind it.
Step 3: Inspect and Prepare the Wiring
Danish wiring color codes harmonized with the EU in the late 1990s, but older homes may present legacy colors.
- Phase (L): Brown (Modern) / Black or Grey (Legacy)
- Neutral (N): Blue (Modern) / Red or White (Legacy)
- Earth (PE): Yellow/Green striped (Modern) / Bare copper or Yellow (Legacy)
Using your automatic wire strippers, re-strip the ends of the solid copper wires to exactly 12mm. If the copper shows signs of oxidation or previous screw-crush damage, snip the end back to fresh, clean metal. A poor connection here will cause high-resistance arcing and eventual thermal failure.
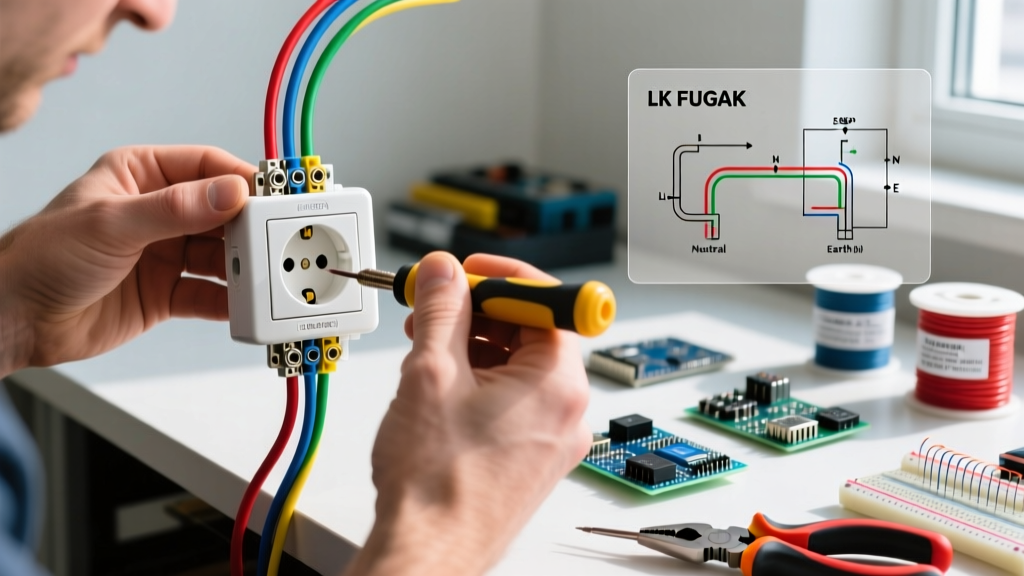
Step 4: Terminate the Wires to the Type K Chassis
Modern LK FUGA Type K modules feature a combination of screw-clamp and push-in terminals. For the most secure, vibration-resistant connection, use the screw terminals.
- Earth (PE): Insert the Yellow/Green wire into the terminal marked with the earth symbol (⏚) or 'PE'. Tighten the Pozidriv screw to 1.2 Nm. Give the wire a firm tug to verify the grip.
- Neutral (N): Insert the Blue wire into the 'N' terminal. Tighten securely.
- Phase (L): Insert the Brown wire into the 'L' terminal. Ensure no bare copper is visible outside the terminal housing to prevent short-circuit risks.
Step 5: Mount the Chassis and Frame
Carefully fold the wires in a zigzag pattern back into the 70mm wall box. Do not force them, as bending solid copper below a 15mm radius can cause micro-fractures. Seat the chassis into the box and tighten the two lateral expansion claws until the module sits perfectly flush against the drywall. Snap the decorative frame and cover plate onto the chassis until you hear the distinct FUGA click.
Step 6: Re-energize and Test
Turn the MCB back on. Use a multimeter to verify 230V (±10%) between Phase and Neutral, and 230V between Phase and Earth. Finally, press the 'Test' button on your distribution board's HPFI relay. It should instantly trip, cutting power to the circuit and confirming your earth ground path is continuous and functional.
Type K vs. Other European Standards
Why does Denmark maintain its own standard while the rest of Europe largely uses Schuko? The table below highlights the physical and safety differences.
| Feature | Danish Type K | Schuko (Type F) | French/Belgian (Type E) |
|---|---|---|---|
| Earth Mechanism | Semi-circular male pin on plug | Female side-clips on plug | Male protruding pin in socket |
| Pin Diameter (L/N) | 4.8 mm | 4.8 mm | 4.8 mm |
| Max Rated Current | 13A (Standard) / 16A | 16A | 16A |
| Child Safety Shutters | Standard on modern FUGA | Optional / Region dependent | Optional / Region dependent |
Troubleshooting Common Edge Cases
The HPFI Relay Trips Immediately
If the main HPFI breaker trips the moment you plug an appliance into your newly installed Danish electrical outlet, you likely have an earth leakage issue. This occurs if the Phase wire is accidentally touching the metal wall box (if using an older metal dåse) or if the appliance itself has a faulty ground. Use a megohmmeter (insulation tester) at 500V DC to test the insulation resistance between the Phase conductor and the Earth ground; it must read >1 MΩ.
Dealing with Legacy 2-Wire Systems (No Earth)
Many Danish homes built before 1994 feature 2-wire systems (Phase and Neutral only, no Earth). You cannot legally or safely install a grounded Type K socket on a 2-wire system. If you are replacing a broken outlet in an ungrounded wall box, you must install a specific 2-pole ungrounded module (Type C compatible) or upgrade the entire circuit to include a dedicated earth wire, which requires a certified electrician to pull new 3-core (1.5mm² or 2.5mm²) halogen-free cable back to the distribution board.
Final Thoughts on Danish Electrical Safety
Working with a Danish electrical outlet requires respect for the unique Type K geometry and the strict modularity of the LK FUGA system. By adhering to precise 12mm strip lengths, utilizing VDE-rated tools, and understanding the critical role of the HPFI relay, you ensure a safe, code-compliant installation. Always remember that when in doubt regarding the fixed wiring, Danish law mandates the use of a certified professional to protect both property and human life.