
The Hidden Dangers of a Burnt Electrical Outlet
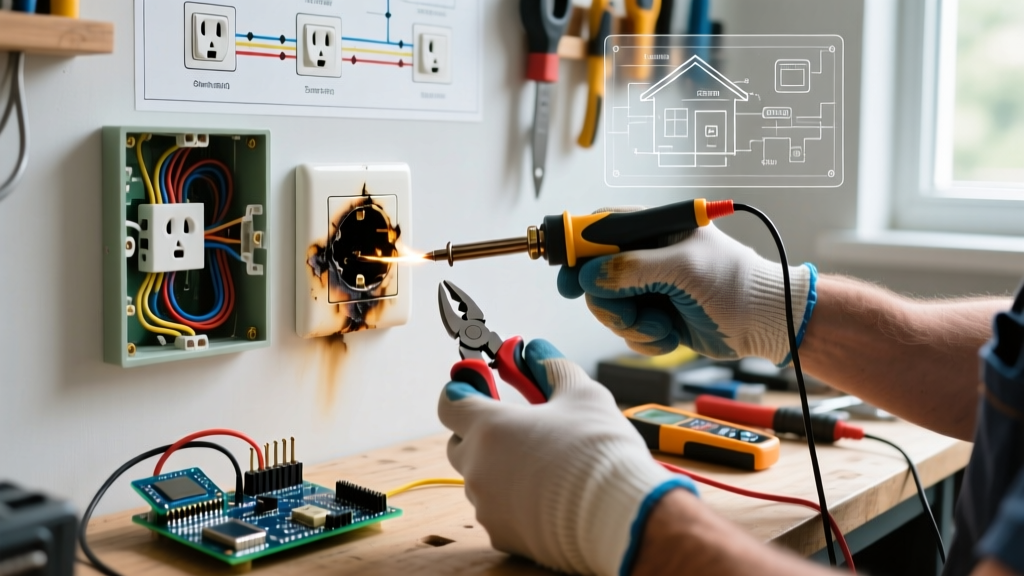
Discovering a burnt electrical outlet in your home or workspace is an immediate red flag that demands urgent intervention. According to the National Fire Protection Association (NFPA), electrical distribution and lighting equipment are consistently among the top causes of home structure fires. A discolored, melted, or charred receptacle faceplate is the visible symptom of a severe underlying thermal event—usually a high-resistance connection generating localized temperatures exceeding 200°F (93°C).
Ignoring a scorched receptacle or simply swapping the cover plate without addressing the internal wiring failure is a critical safety hazard. This comprehensive upgrade and replacement guide will walk you through the exact failure modes, the diagnostic process, and the professional-grade steps required to replace the outlet while upgrading your circuit's safety profile to meet modern electrical standards.
Diagnostic Matrix: Why Did Your Outlet Burn?
Before purchasing replacement parts, you must identify the root cause of the thermal damage. The U.S. Consumer Product Safety Commission (CPSC) warns that faulty wiring and degraded connections are primary culprits in electrical fires. Review the diagnostic matrix below to pinpoint your specific failure mode.
| Visual Symptom | Probable Root Cause | Technical Mechanism | Danger Level |
|---|---|---|---|
| Brown/Black soot marks around one specific plug slot | Internal Receptacle Failure | Fatigued internal brass contacts failing to grip the plug prongs, causing arcing. | Critical |
| Melting on the back of the outlet body near the terminal screws | Loose Terminal Connection | Vibration or thermal cycling loosened the side-wire screw, increasing resistance (I²R heating). | Critical |
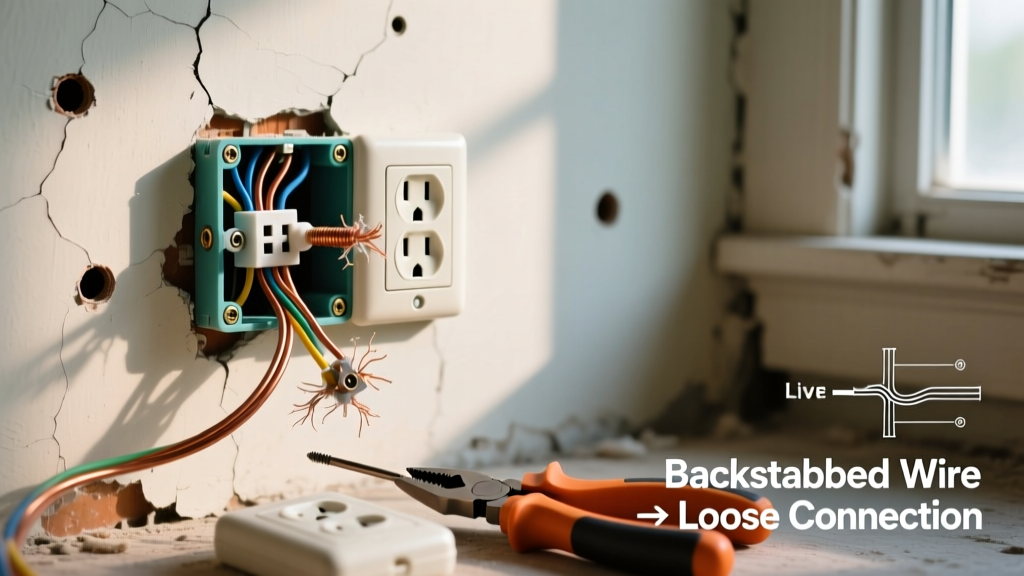
| Burn marks on the drywall or cover plate, but outlet looks intact | Push-In (Backstab) Connection Failure | Spring-loaded backstab connectors lose tension over time, creating a high-resistance hotspot. | High |
| Entire outlet melted with a distinct fishy or acrid chemical smell | Severe Circuit Overload | Continuous current draw exceeding the 15A/20A rating without tripping the breaker. | Extreme |
Essential Tools and 2026 Upgrade Materials
To execute a code-compliant replacement, you must move beyond basic homeowner tools. Modern electrical codes strictly enforce connection integrity. Here is the precise bill of materials and tooling required for a professional-grade upgrade.
Diagnostic & Safety Tooling
- Non-Contact Voltage Tester: Klein Tools NCVT-3 (~$25). Essential for verifying the circuit is dead before unfastening the yoke.
- True-RMS Multimeter: Fluke 117 or Klein MM600 (~$60-$180). Required to test for phantom voltages and verify proper grounding.
- Wire Strippers: Klein 11055 (10-18 AWG) or 11063W (~$25). Clean strips prevent nicking the copper conductor, which creates future break points.
Upgrade Materials
- Commercial-Grade Receptacle: Hubbell 5262-X (15A, 125V, Duplex, Tamper-Resistant). Priced around $6.50. Commercial-grade units feature thicker brass internal contacts and glass-filled nylon faces that resist melting far better than $1.50 residential builder-grade models.
- Wiring Connectors: WAGO 221-412 Lever Nuts (~$0.50 each). If you need to pigtail wires due to short cable lengths or daisy-chaining, lever nuts provide a superior, vibration-proof connection compared to twisted wire nuts.
- Calibrated Torque Screwdriver: Klein 695 or Wiha 61081 (~$80-$120). Note: NEC 110.14(D) mandates the use of a calibrated torque tool for terminations.
Step-by-Step Replacement and Upgrade Protocol
Follow this exact sequence to safely remove the damaged unit and install the upgraded receptacle. The Electrical Safety Foundation International (ESFI) emphasizes that proper lockout/tagout procedures at the breaker panel are non-negotiable.
Phase 1: Isolation and Extraction
- Kill the Circuit: Turn off the corresponding breaker at the main panel. Place a piece of tape over the breaker to prevent accidental re-energizing.
- Verify Zero Energy: Insert the NCVT-3 into the top and bottom slots of the burnt outlet. Follow up by testing a known live circuit to confirm the tester's battery and sensor are functioning.
- Remove the Yoke: Unscrew the top and bottom mounting screws. Gently pull the receptacle out of the junction box. Warning: If the plastic junction box itself is warped or melted, stop immediately. You will need to cut the drywall and replace the old-work box.
- Inspect the Conductors: Examine the exposed copper. If the insulation is brittle, cracked, or melted back more than 1/2 inch, the wire must be cut back to clean copper, and pigtailing is mandatory.
Phase 2: Preparation and Pigtailing
Never use the push-in (backstab) terminals on a new receptacle. Furthermore, if the outlet is in the middle of a daisy chain (line and load wires present), do not use the receptacle's internal brass jumpers to pass current to the next outlet. This places the full downstream load on the receptacle's internal bus bar.
- Strip exactly 5/8 inch of insulation from the 14 AWG (or 12 AWG) conductors.
- Use WAGO 221 lever nuts to combine the incoming line, outgoing load, and a 6-inch 14 AWG THHN pigtail wire.
- Repeat for the neutral (white) wires and the bare/green ground wires.
Phase 3: Termination and Torque
This is where most DIY failures occur. A loose connection will arc and burn just like the one you are replacing.
- Form the Shepherd Hook: Use needle-nose pliers to bend the stripped end of your pigtail into a tight hook. The hook must wrap clockwise around the terminal screw so that tightening the screw pulls the wire tighter rather than pushing it out.
- Seat the Wire: Ensure no bare copper is exposed outside the terminal washer, and no insulation is trapped under the washer.
- Apply Torque: Set your calibrated torque screwdriver to the manufacturer's specification (usually printed on the back of the Hubbell or Leviton receptacle, typically between 0.75 Nm and 1.2 Nm, or 7-14 in-lbs). Tighten until the tool clicks.
- Grounding: Terminate the ground pigtail to the green grounding screw using the same clockwise hook and torque procedure.
Phase 4: Mounting and Testing
Carefully fold the wires into the back of the junction box in a Z-pattern to avoid pinching. Mount the new commercial-grade receptacle using the provided 6-32 machine screws. Ensure the yoke sits perfectly flush against the drywall or plaster ring. Restore power at the breaker and use your True-RMS multimeter to verify 120V across the hot and neutral slots, and 120V across the hot and ground slots.
Advanced Upgrades: Moving Beyond Standard 15A Receptacles
If your burnt outlet was caused by a specific environmental factor or heavy appliance usage, a simple like-for-like replacement is a missed opportunity for a critical safety upgrade.
Upgrade to GFCI or AFCI Protection
If the burnt outlet is located in a kitchen, bathroom, garage, or outdoor setting, the 2023 NEC requires Ground Fault Circuit Interrupter (GFCI) protection. Upgrading to a 15A Tamper-Resistant GFCI receptacle (e.g., Leviton GFTNL-W, ~$22) adds a layer of shock protection. If the outlet is in a bedroom or living area, ensure the upstream breaker is an AFCI (Arc Fault Circuit Interrupter) breaker, which is specifically designed to detect the exact high-resistance arcing conditions that cause outlets to burn.
Upgrading to a 20A Circuit
If the outlet frequently powers high-draw equipment (space heaters, server racks, heavy power tools) and shows signs of thermal stress, the circuit may be undersized. Upgrading requires running a new 12 AWG home run to the panel, installing a 20A breaker, and installing a 20A receptacle (NEMA 5-20R, featuring a T-shaped neutral slot). Never simply swap a 15A breaker for a 20A breaker without verifying that the entire circuit is wired with 12 AWG copper.
Edge Cases: When the Damage Extends Beyond the Receptacle
Sometimes, a burnt electrical outlet is the victim of a larger systemic issue. Be prepared to handle these edge cases:
Aluminum Wiring Warning: If you pull the outlet out and discover dull gray or silver wiring instead of copper, your home likely has 1970s-era aluminum branch wiring. Aluminum expands and contracts at a different rate than brass terminal screws, making loose connections and subsequent fires highly probable. Standard copper-rated receptacles cannot be used. You must use CO/ALR rated receptacles or, ideally, have a licensed electrician perform Alumiconn or COPALUM pigtailing repairs.
Furthermore, if the heat from the receptacle has scorched the wooden stud behind the drywall or melted the PVC junction box, the structural integrity and fire-rating of the wall assembly are compromised. In these scenarios, cut a 6-inch drywall access hole, replace the junction box with a metal old-work box, and treat the scorched wood with a fire-retardant encapsulant before patching.
By diagnosing the exact failure mode, utilizing commercial-grade materials, and adhering strictly to torque specifications, you transform a hazardous burnt electrical outlet into a robust, code-compliant connection that will safely serve your home for decades.