
The Physics of a Buzzing Receptacle
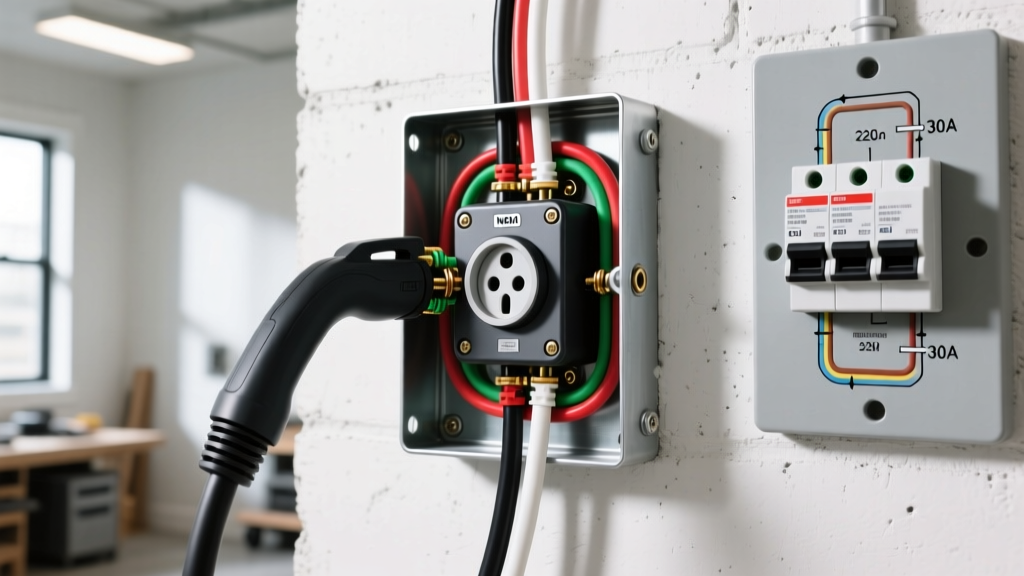
A buzzing electrical outlet is never a symptom to ignore. While it may manifest as a minor auditory annoyance, it frequently indicates a high-resistance connection, a failing internal component, or an active arc fault that can ignite surrounding drywall. According to the National Fire Protection Association (NFPA), electrical distribution and lighting equipment are consistently among the leading causes of residential structure fires. Understanding the exact physics behind the sound is the first step in proper diagnosis.
In North American residential systems, alternating current (AC) operates at 60Hz. This means the voltage sine wave crosses zero 120 times per second, creating a pulsing electromagnetic field. If the buzzing is a low, steady 60Hz hum, it may simply be magnetostriction—where nearby ferrous metals or transformer laminations vibrate in response to the magnetic field. However, if the sound is a high-pitched whine, a sharp crackle, or an erratic sizzle, you are likely dealing with plasma arcing across a degraded connection or a failing solid-state component inside a GFCI/AFCI receptacle.
Acoustic Profiling: Identifying the Frequency
Before removing the faceplate, perform an acoustic profile. The specific pitch and cadence of the noise will dictate your testing methodology:
- Low 60Hz Hum: Usually benign. Caused by heavy inductive loads (like vacuum cleaners or large power tools) drawing high current through the branch circuit, or a doorbell transformer mounted directly behind the drywall.
- High-Pitched Whine (10kHz - 15kHz):strong> Almost exclusively associated with the internal high-frequency switching power supplies found in modern GFCI, AFCI, and smart receptacles. When the internal electrolytic capacitors degrade, they emit an audible piezoelectric whine.
- Erratic Crackling or 'Bacon Sizzle': This is the sound of series arcing. Electrons are jumping across a microscopic gap in a loose wire termination, superheating the surrounding air and vaporizing copper. This requires immediate intervention.
Essential Diagnostic Toolkit for 2026
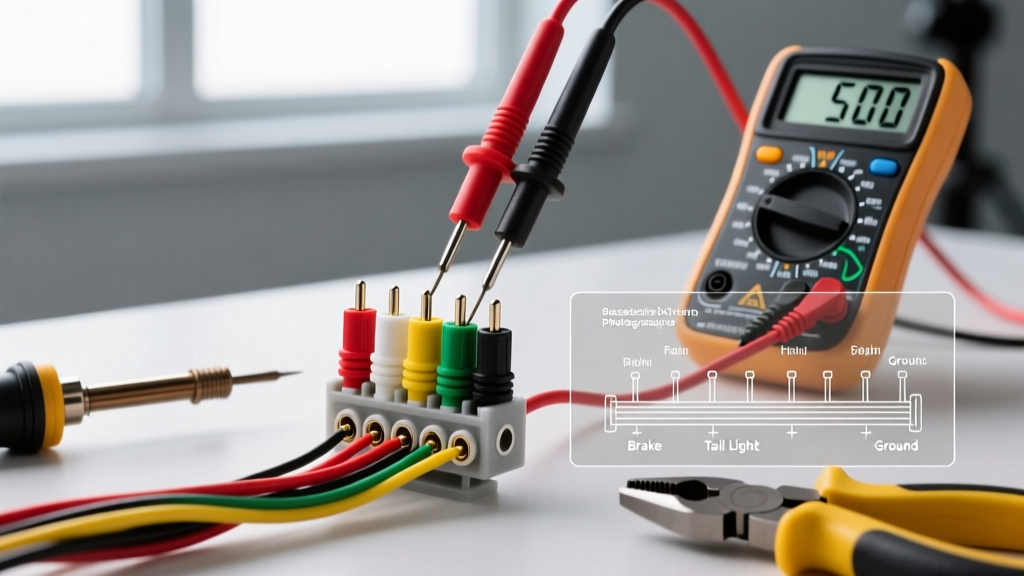
To safely and accurately test a buzzing electrical outlet, bypass basic neon testers and rely on calibrated diagnostic equipment. The Occupational Safety and Health Administration (OSHA) mandates the use of properly rated testing equipment for all electrical troubleshooting. Ensure your multimeter carries a CAT III 600V or CAT IV 600V safety rating.
| Tool | Model Recommendation | Approx. Cost (2026) | Purpose |
|---|---|---|---|
| True RMS Multimeter | Fluke 117 | $199.00 | Measuring voltage drop and continuity under load. |
| Thermal Imager / IR Thermometer | Etekcity LaserGrip 774 | $35.00 | Detecting I²R heating anomalies at terminals. |
| Torque Screwdriver | Klein 32308 | $110.00 | Ensuring NEC-compliant terminal screw tension. |
| Non-Contact Voltage Tester | Klein Tools NCVT-3 | $28.00 | Verifying de-energized state before physical tear-down. |
Step-by-Step Diagnostic Testing Protocol
Follow this systematic approach to isolate the root cause of the buzzing. Always prioritize safety by verifying the absence of voltage before touching any bare conductors.
Phase 1: Thermal Profiling Under Load
Arcing and high-resistance connections generate heat according to the formula P = I²R (Power equals current squared times resistance). Plug a 1500W resistive load (like a space heater) into the suspect outlet. Allow it to run for 5 minutes. Aim your IR thermometer at the receptacle face. A healthy outlet will remain within 2°F to 3°F of ambient room temperature. If the area around a specific slot registers 15°F or more above ambient, you have localized resistive heating, confirming a poor internal termination.
Phase 2: Voltage Drop Testing
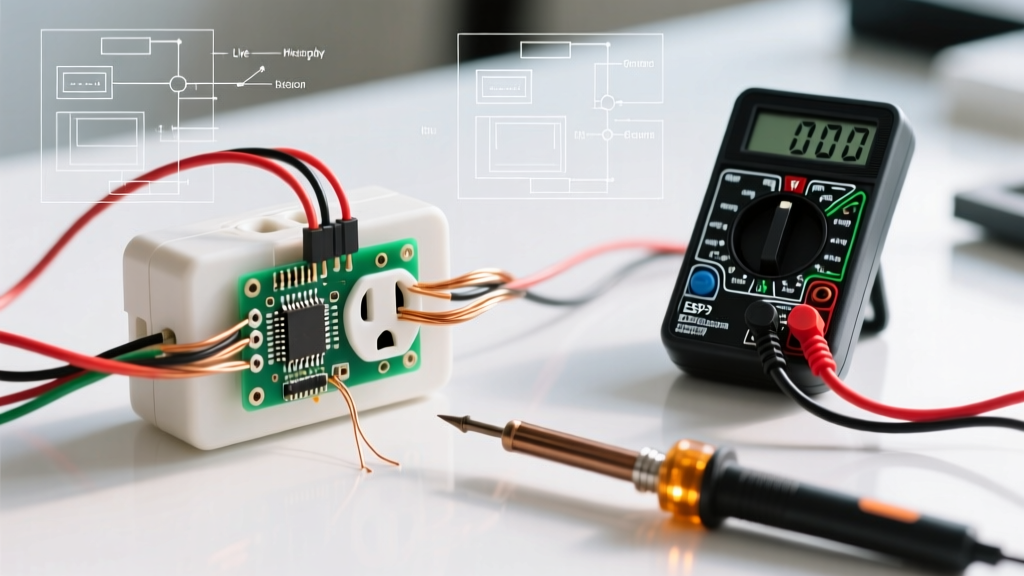
With the 1500W load still running, use your Fluke 117 to measure the voltage directly at the receptacle slots. Compare this reading to the voltage at the main service panel. A voltage drop exceeding 3% (3.6V on a 120V circuit) under a 12.5A load indicates a severe restriction in the branch circuit, often caused by a loose backstabbed connection or a corroded wire nut upstream.
Phase 3: Physical Tear-Down and Termination Inspection
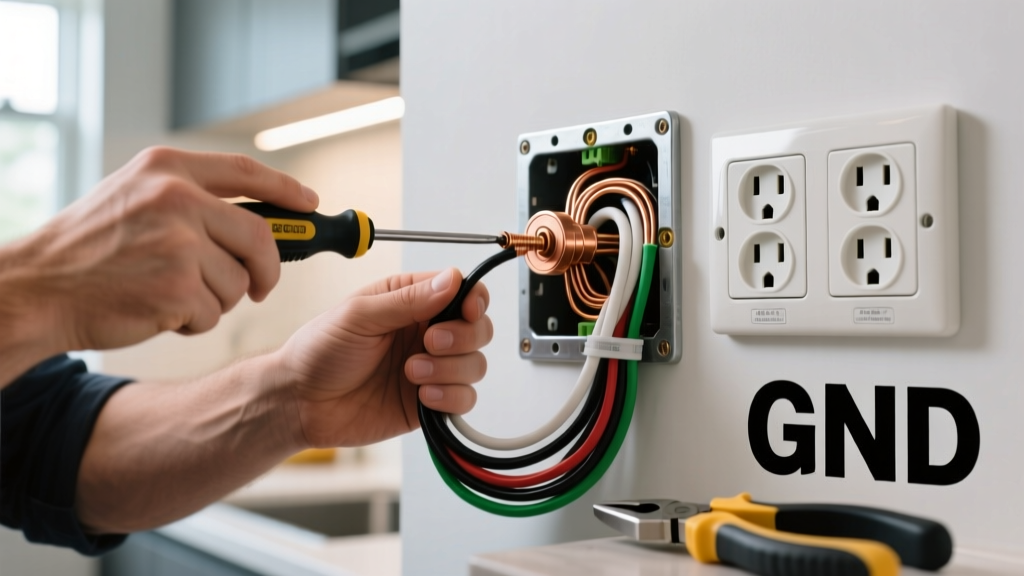
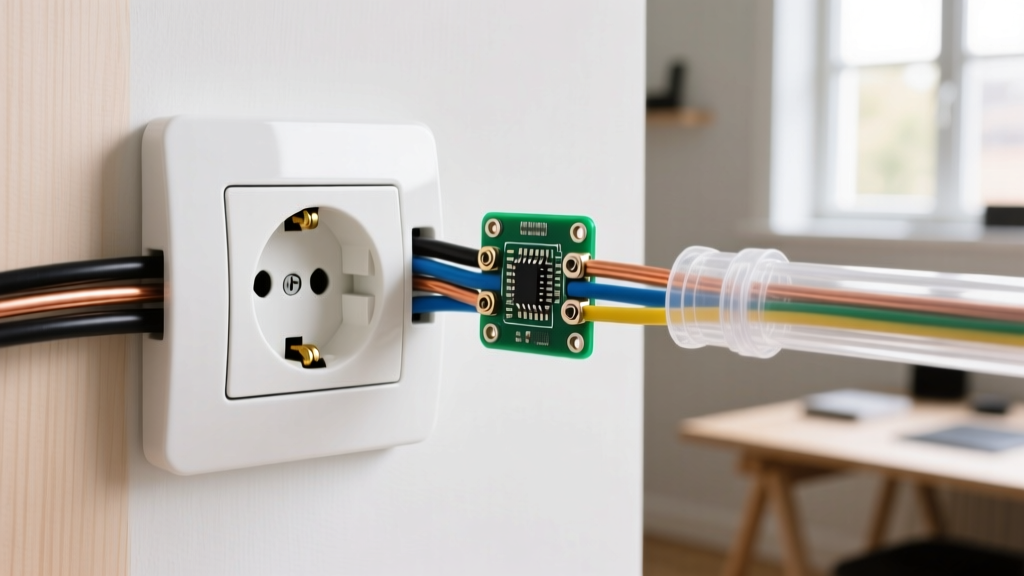
Turn off the breaker and verify with your NCVT-3. Remove the receptacle from the gang box. Inspect the wiring method. If the wires are pushed into the rear 'backstab' holes, you have found the most common culprit of outlet buzzing. The internal leaf springs in backstab terminals lose their tension over years of thermal expansion and contraction cycles, leading to micro-arcing.
Common Failure Modes and Edge Cases
When diagnosing a buzzing electrical outlet, electrical professionals must look beyond simple loose wires. Modern electrical systems introduce complex edge cases that require specific remediation strategies.
The Backstab Termination Epidemic
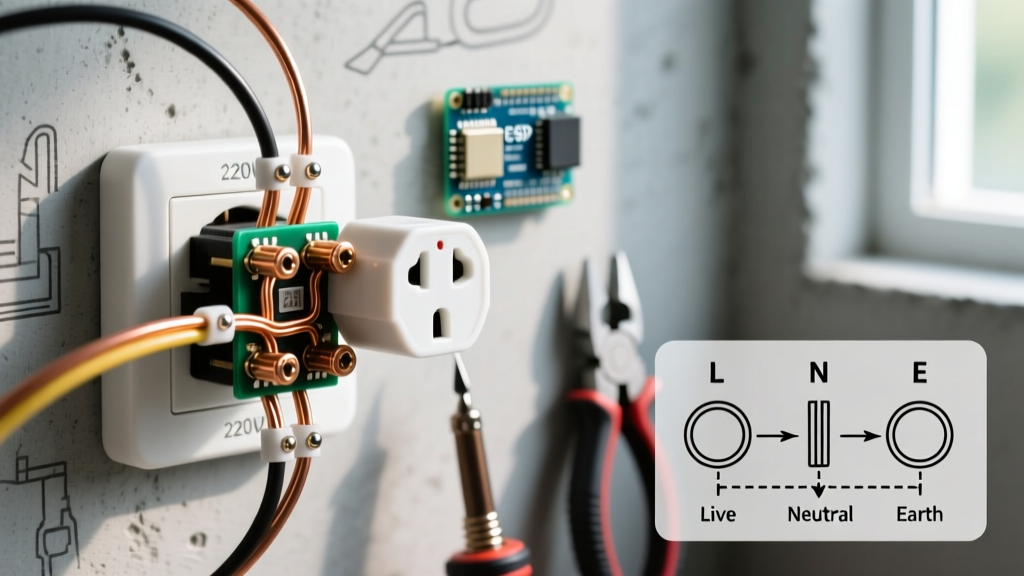
While the National Electrical Code (NEC) permits push-in backstab connections for 14 AWG solid copper wire, it is widely considered a deprecated practice in the industry. The U.S. Consumer Product Safety Commission (CPSC) has historically noted the correlation between push-in terminals and residential electrical fires. The Fix: Cut off the backstabbed ends, strip the wire to 3/4 inch, and terminate using the side-screw terminals. For optimal safety, use a calibrated torque screwdriver set to 14 in-lbs for 14 AWG wire and 16 in-lbs for 12 AWG wire to ensure perfect mechanical compression without stripping the brass screw head.
Failing GFCI and Smart Receptacles
As of 2026, smart receptacles (like the Leviton Decora Smart series) and combination AFCI/GFCI devices contain miniature logic boards. These boards use high-frequency switching power supplies to step down 120V AC to 3.3V DC for their internal microprocessors. When the surface-mount electrolytic capacitors on these boards dry out and fail, the switching frequency drops into the audible range, resulting in a persistent, high-pitched whine. The Fix: There is no component-level repair for these devices. The entire receptacle must be replaced. Ensure the replacement matches the specific line/load requirements of your circuit.
Aluminum Wiring Creep (1965-1973 Homes)
If you are inspecting an older home, the buzzing may be caused by aluminum branch wiring. Aluminum has a higher coefficient of thermal expansion than copper and is subject to 'cold creep' under pressure. Over time, the wire deforms and loosens from standard brass terminal screws, creating a high-resistance arcing gap. Standard copper-rated receptacles are illegal and dangerous to use with aluminum wire. The Fix: You must either install CO/ALR (Copper-Aluminum Revised) rated receptacles, which feature specialized indium-plated steel screws, or pigtail the aluminum wire to copper using AlumiConn lug connectors before connecting to a standard receptacle.
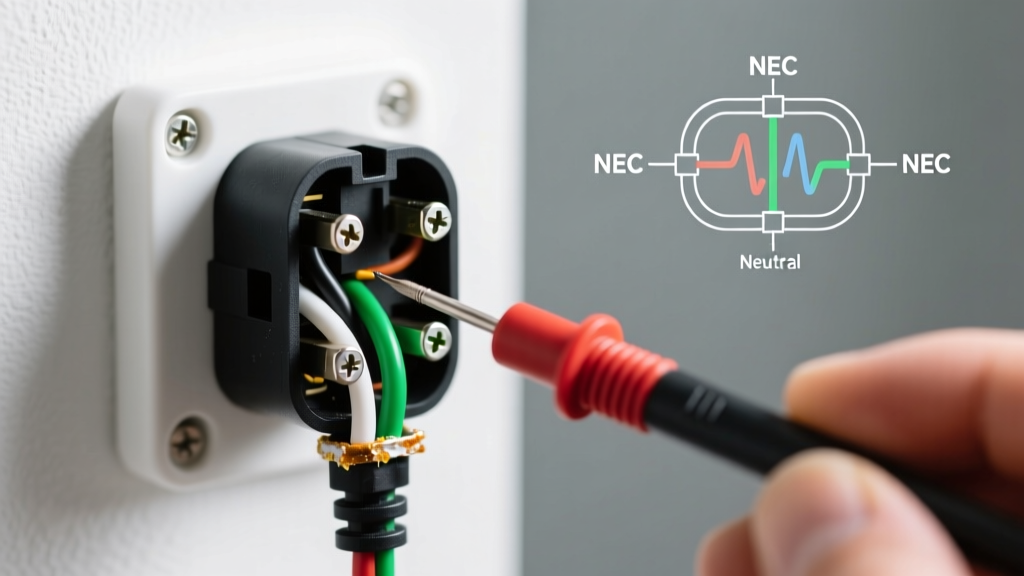
NEC Code Reference: According to NEC 110.14(B), terminals must be identified for the material of the conductor. Furthermore, NEC 406.4(D) mandates that any replacement receptacle in areas requiring ground-fault protection must be a listed GFCI device, even if no equipment grounding conductor is present in the box. Always ensure your replacement hardware carries a current UL or ETL listing mark.
When to Escalate to a Licensed Professional
While replacing a standard duplex receptacle is a manageable DIY task, certain symptoms dictate an immediate call to a licensed electrician. If the buzzing persists after the receptacle has been replaced, the fault lies upstream in the branch circuit wiring, a junction box, or the breaker panel itself. Additionally, if your multimeter readings show erratic voltage fluctuations (swinging between 110V and 130V), you may have a failing neutral connection at the utility transformer or main service drop. This condition can destroy 120V appliances and requires immediate utility intervention.
Summary
A buzzing electrical outlet is a critical warning sign that demands systematic investigation. By utilizing acoustic profiling, thermal imaging, and precise voltage drop testing, you can accurately differentiate between benign electromagnetic hum and catastrophic arc faults. Always prioritize side-wire terminations over backstab connections, torque your terminal screws to manufacturer specifications, and replace failing solid-state GFCIs promptly. Proper inspection not only eliminates the noise but ensures the long-term safety and code compliance of your home's electrical infrastructure.