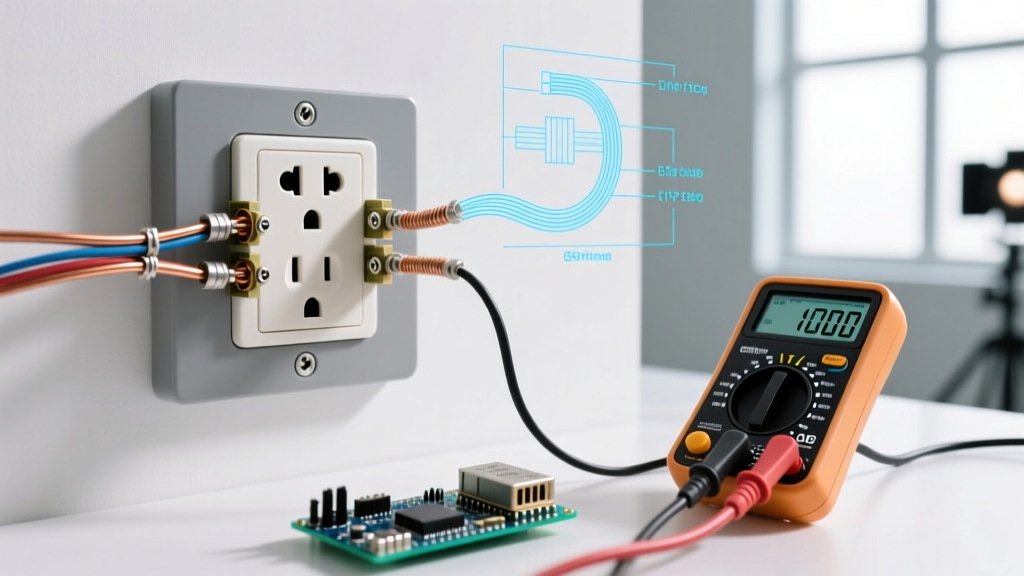

The True Price to Install an Electrical Outlet in 2026
When planning a home renovation, adding a dedicated workspace, or upgrading an older property, understanding the price to install an electrical outlet is critical for accurate budgeting. In 2026, the national average cost to install a standard 15-amp or 20-amp receptacle ranges from $135 to $285 when hiring a licensed electrician. However, this baseline figure is highly deceptive if your project involves complex wiring scenarios, panel upgrades, or strict adherence to the latest National Electrical Code (NEC) mandates.
At ElectricalFlux, we believe in complete transparency. The final invoice is rarely just about the cost of the plastic receptacle and the electrician's hourly rate. It is dictated by the physical routing of the cable, the condition of your existing electrical panel, and local permit requirements. According to industry data from Forbes Home, labor typically accounts for 60% to 75% of the total project cost, while materials make up the remainder. Below, we dissect the real-world pricing matrices and the five most common wiring scenarios that dictate your final out-of-pocket expenses.
2026 Outlet Installation Cost Matrix
Before diving into specific wiring scenarios, it is essential to understand the baseline costs associated with different receptacle types. The table below outlines the average material and labor costs for common installations in 2026.
| Outlet Type | Material Cost | Labor Cost | Total Average Price |
|---|---|---|---|
| Standard 15A (Tamper-Resistant) | $3 - $8 | $125 - $175 | $128 - $183 |
| 20A Dedicated (Kitchen/Garage) | $5 - $12 | $180 - $250 | $185 - $262 |
| GFCI (Wet Locations) | $18 - $35 | $150 - $220 | $168 - $255 |
| AFCI/GFCI Dual Function | $35 - $55 | $160 - $240 | $195 - $295 |
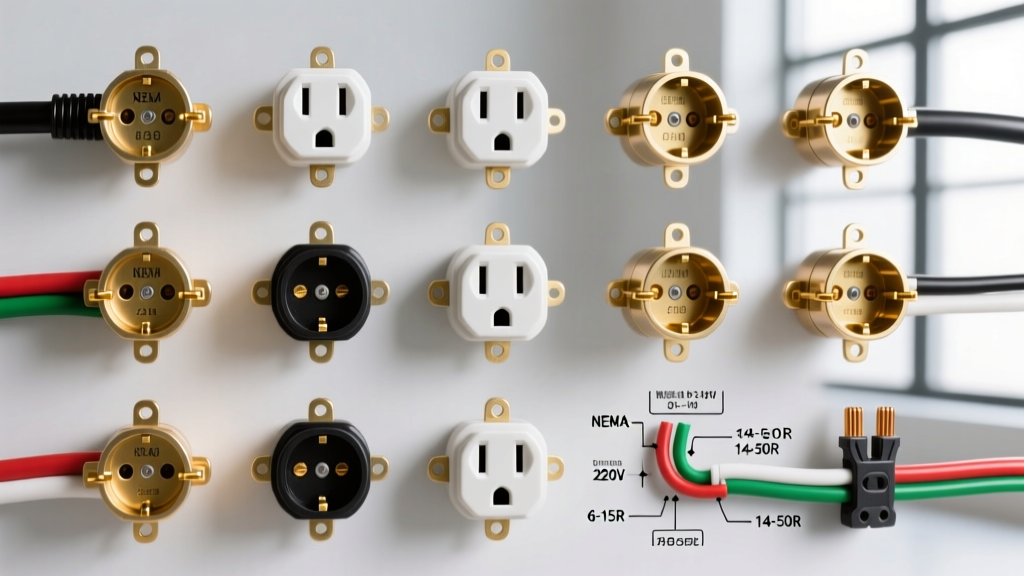
| 240V (EV Charger / Dryer) | $15 - $60 | $450 - $1,100 | $465 - $1,160 |
Note: Material costs reflect retail pricing for premium residential-grade components, such as the Leviton Decora series or Eaton specification-grade receptacles. Labor rates assume a standard licensed electrician billing between $85 and $150 per hour in 2026.
5 Common Wiring Scenarios That Alter the Final Price
The physical act of terminating wires on a brass and silver screw takes an electrician less than five minutes. The cost driver is how those wires get from the panel to the wall box. Here are the five most common wiring scenarios we see in the field, and how they impact the price to install an electrical outlet.
Scenario 1: Tapping an Existing 15A Lighting Circuit
The Scenario: You need a single outlet in a living room for a reading lamp, and there is an existing switch loop or ceiling fixture nearby. The electrician cuts an old-work box (like the Carlon B114R) into the drywall, drops a fish tape, and pulls 14/2 NM-B Romex from the existing junction.
Cost Impact: Low ($125 - $180). Because the circuit already exists and the wire run is typically less than 15 feet through an open attic or accessible crawlspace, labor is minimal. Code Warning: Under the 2023 and 2026 NEC updates, you cannot tap a lighting circuit to feed receptacles in kitchens, bathrooms, or laundry areas. This scenario is strictly for general living spaces.
Scenario 2: Pulling a New 20A Dedicated Circuit
The Scenario: You are installing a new kitchen island, a high-draw garage workbench, or a window AC unit. This requires a dedicated 20-amp circuit. The electrician must install a new 20A breaker (e.g., Square D HOM120CP), drill through top plates and wall studs using a 3/4-inch spade bit, and pull 12/2 NM-B copper cable back to the new receptacle location.
Cost Impact: Moderate to High ($250 - $450). The price increases significantly due to the labor-intensive nature of fishing wires through finished walls, drilling structural framing, and ensuring the new breaker does not exceed the panel's 80% continuous load capacity. If your panel is full, adding a tandem breaker or a subpanel will add $150 to $800 to the project.
Scenario 3: Upgrading to GFCI/AFCI per Modern NEC Codes
The Scenario: You are replacing an old outlet in a bedroom, hallway, or bathroom. The National Electrical Code (NFPA 70) now mandates Arc-Fault Circuit Interrupter (AFCI) protection for nearly all 120V, 15A and 20A branch circuits in living spaces, and Ground-Fault Circuit Interrupter (GFCI) protection for wet locations.
Cost Impact: Variable ($175 - $350). If your panel already has an AFCI breaker, the electrician simply installs a standard tamper-resistant (TR) receptacle. However, if the panel lacks AFCI protection, the electrician must either install a dual-function AFCI/GFCI receptacle at the first outlet in the circuit to protect downstream devices (adding $35-$50 in materials) or replace the standard breaker in the panel with an AFCI breaker (adding $45-$85 in materials plus 30 minutes of panel labor).
Scenario 4: Exterior Weather-Resistant (WR) Installation
The Scenario: Installing an outdoor outlet for holiday lights, landscaping tools, or an EV trickle charger. This requires routing power through the exterior wall, using UV-rated and moisture-rated components.
Cost Impact: High ($300 - $550). Exterior installations demand specialized materials. The electrician must use Underground Feeder (UF-B) cable or THWN-2 wires inside liquid-tight flexible metallic conduit (LFMC) if exposed. The receptacle itself must be WR-rated, and it must be housed in an extra-duty, in-use weatherproof cover (such as the TayMac MX1000). Sealing the penetration with high-grade silicone and drilling through masonry or thick exterior insulation adds substantial labor time.
Scenario 5: The 'No Equipment Ground' GFCI Workaround
The Scenario: You live in a pre-1960s home with ungrounded (2-prong) wiring. You want to replace a 2-prong outlet with a modern 3-prong outlet to plug in a laptop or TV, but pulling a new ground wire through the plaster walls is cost-prohibitive.
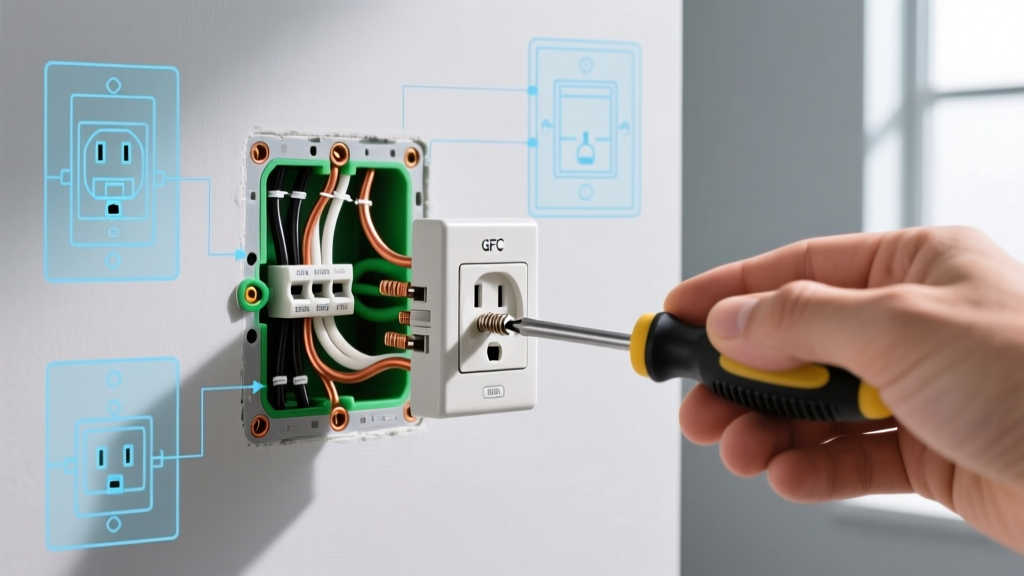
Cost Impact: Low ($140 - $190). Per NEC Article 406.4(D)(2)(c), you are legally permitted to replace an ungrounded receptacle with a GFCI receptacle. The GFCI protects the user from lethal ground faults, even without a physical ground wire. The electrician will install the GFCI, apply the included 'No Equipment Ground' and 'GFCI Protected' stickers to the faceplate, and test it with a solenoid tester. This saves the homeowner thousands of dollars in whole-house rewiring costs while maintaining safety and code compliance.
Hidden Costs and Edge Cases to Anticipate
When requesting quotes from local contractors, the baseline price to install an electrical outlet rarely includes the ancillary work required to make the installation legal and cosmetically sound. Be prepared for the following edge cases:
- Drywall Repair and Patching: Electricians are not drywall finishers. If fishing a wire requires cutting access holes in your ceiling or walls, expect to pay a handyman or drywall contractor an additional $150 to $300 per patch to mud, sand, and paint.
- Knob-and-Tube or Aluminum Wiring: If your home was built before 1972, you may have aluminum branch wiring. Standard copper receptacles will cause galvanic corrosion and create a severe fire hazard. The electrician must use CO/ALR rated receptacles or pigtail the wires using Ideal Industries Alumiconn connectors, adding $25 to $40 per connection in labor and specialized materials.
- Permit and Inspection Fees: Any new circuit run from the panel requires a municipal electrical permit. Depending on your local jurisdiction, permit fees range from $50 to $150. Never skip this step; unpermitted work can void your homeowner's insurance in the event of an electrical fire.
- Panel Upgrades: If your main service panel is maxed out (e.g., a 100-amp panel in a modern home with multiple HVAC units and EV chargers), adding a new outlet circuit might trigger a mandatory panel upgrade to 200 amps, a project that typically costs between $2,500 and $4,500.
Expert Pro-Tip: Always ask your electrician for an 'all-in' quote that specifies whether drywall patching, permit fees, and GFCI/AFCI code upgrades are included. Data from HomeGuide indicates that 34% of homeowner disputes with electricians stem from undisclosed ancillary fees discovered on the final invoice.
DIY vs. Professional Installation: Is It Worth the Savings?
Given the labor-heavy pricing, many DIY enthusiasts consider tackling outlet installations themselves. Here is a pragmatic framework to help you decide:
When to DIY
If you are simply swapping an existing, grounded 15A receptacle for a newer tamper-resistant model or a smart Wi-Fi outlet, the physical risk is low. Provided you turn off the breaker, verify the power is dead with a non-contact voltage tester (like the Klein Tools NCVT-2), and correctly identify the line and load wires, you can save $150 in labor. The material cost for a premium Leviton Decora outlet is under $5.
When to Hire a Professional
You must hire a licensed electrician if the project involves:
1. Running new cable from the main service panel.
2. Upgrading a 2-prong ungrounded system.
3. Installing 240V outlets for heavy machinery or EV chargers.
4. Working in wet locations where improper GFCI wiring can result in fatal electrocution.
The cost of a professional is an investment in life safety, fire prevention, and code compliance. A single reversed hot/neutral connection or an improperly torqued terminal screw can cause an arc fault that burns down a home.
Final Thoughts on 2026 Pricing
The price to install an electrical outlet is not a static number; it is a reflection of your home's existing infrastructure and the stringent safety codes of 2026. By understanding the difference between a simple swap and a dedicated circuit pull, you can accurately forecast your renovation budget. Always prioritize safety and code compliance over the lowest bid, and ensure your contractor is pulling the necessary permits to protect your home's long-term value.