
The Unique Aruba Electrical Grid: 127V and Dual Receptacles
When inspecting electrical infrastructure in the Caribbean, Aruba presents a unique landscape for electricians, DIYers, and property managers. Unlike the standard 120V grid in the United States or the 230V systems in Europe, Aruba's local utility, WEB Aruba (Water- en Energiebedrijf), supplies power at 127V and 60Hz. While 127V is close enough to run most North American 120V appliances without immediate damage, the 7-volt differential can cause sensitive electronics to run hotter, reducing their lifespan if surge protection is inadequate.
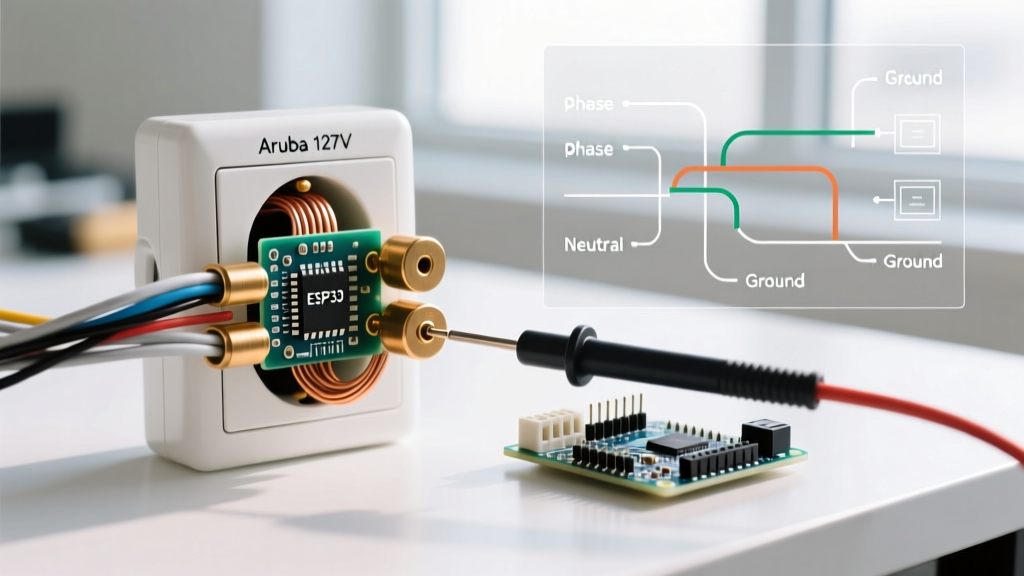
Furthermore, the standard Aruba electrical outlet is frequently a hybrid design. Due to the island's heavy reliance on both North American and European tourism, many properties utilize dual-standard receptacles that accept both Type F (Schuko, CEE 7/4)Type A/B (NEMA 1-15 and NEMA 5-15) plugs. Inspecting and testing these hybrid outlets requires a specific protocol to ensure the internal bus bars are not compromised, the grounding paths are intact, and the voltage is stable under load.
Essential Tools for Aruba Outlet Inspection
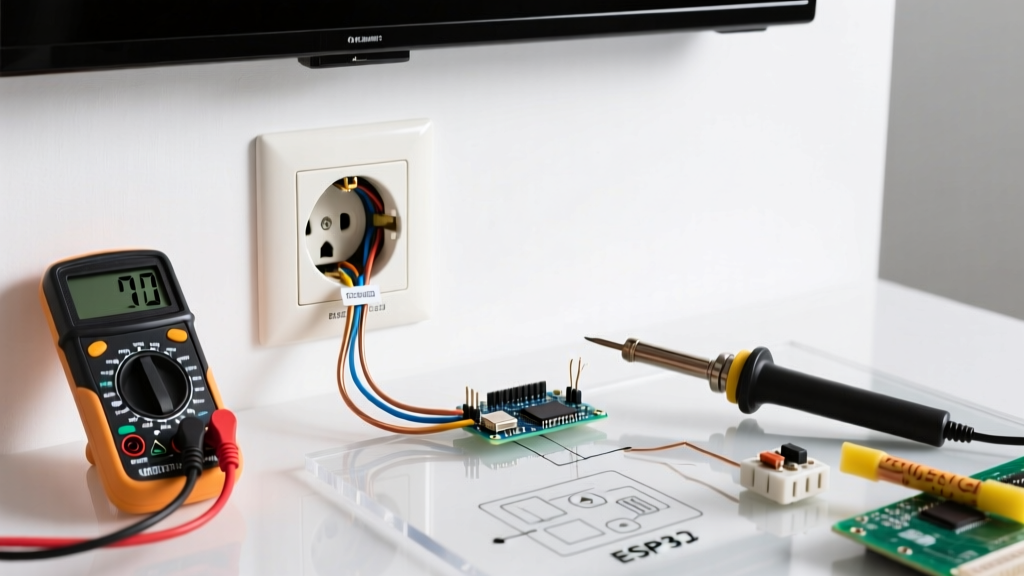
Before opening a faceplate or inserting test probes, gather the following professional-grade tools. Island grids, especially those integrating heavy solar inverter loads and commercial HVAC compressors, often suffer from harmonic distortion. Therefore, a standard average-responding multimeter will give you inaccurate readings.
- True RMS Multimeter: A model like the Fluke 117 True RMS is mandatory for accurately reading the 127V grid, especially on non-linear loads. For more on why True RMS matters, refer to Fluke's electrical testing guidelines.
- Non-Contact Voltage Tester (NCVT): A dual-range NCVT (e.g., Klein Tools NCVT-2) to verify the presence of voltage before removing the faceplate.
- Receptacle Tester with GFCI Trip: A standard NEMA 5-15 plug tester (like the Gardner Bender GFI-3511) to quickly verify polarity and ground on the Type A/B side of the hybrid outlet.
- Slot Tension Gauge: To check for worn-out internal contacts, a common issue in high-turnover rental properties.
Step 1: Visual Inspection and Coastal Corrosion Check
Aruba's marine environment is unforgiving on electrical components. The combination of high humidity, salt spray, and constant trade winds accelerates galvanic corrosion. Before testing voltage, perform a rigorous visual inspection of the Aruba electrical outlet.
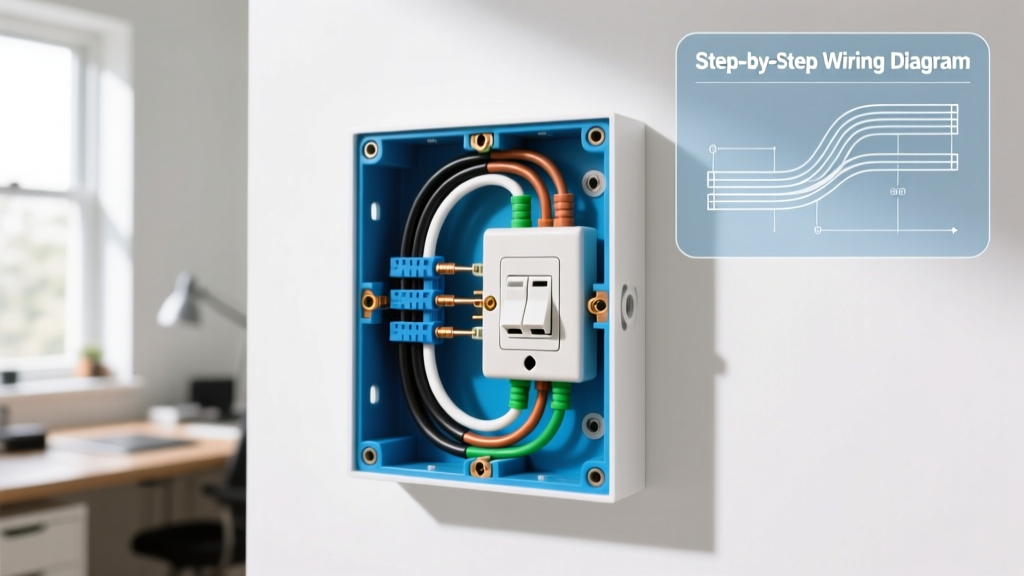
- Remove the Faceplate: Turn off the breaker at the main distribution panel. Use your NCVT to confirm the circuit is dead. Unscrew the faceplate and inspect the terminal screws.
- Check for Copper Sulfate Buildup: Look for a green or white crusty residue around the brass terminal screws or the internal bus bars. This is copper sulfate, a byproduct of salt-air corrosion. If present, the connection has high resistance and is a severe fire hazard.
- Inspect the Hybrid Contact Tension: In combo Schuko/NEMA outlets, the internal leaf springs that grip the plug blades can fatigue. Insert a NEMA 5-15 plug and gently pull. If it slides out with less than 2 lbs of force, the receptacle must be replaced immediately to prevent arc faults.
- Verify Wire Gauge and Termination: Ensure the wiring is 12 AWG copper (standard for 20A circuits) and that no stranded wires are fraying. Backstabbed connections (push-in terminals) should be rejected in favor of side-terminal screw connections or pigtailing.
Step 2: Multimeter Voltage Testing Protocol
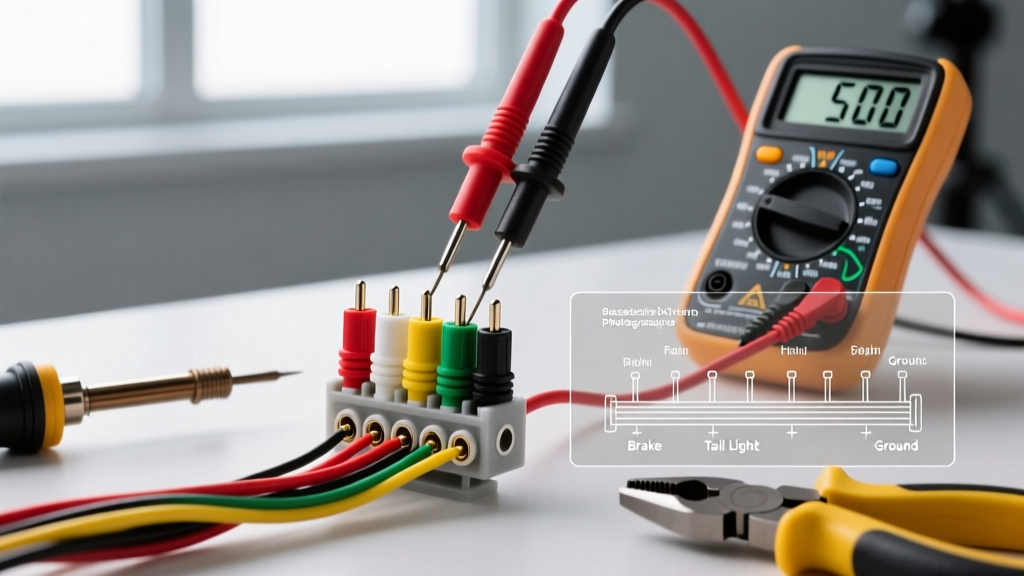
Once the visual inspection is complete and the faceplate is safely removed (or if you are testing via the receptacle slots), restore power to the circuit. Set your True RMS multimeter to AC Voltage (V~).
Voltage Reading Troubleshooting Matrix
| Test Point | Expected Reading | Fault Indication & Root Cause |
|---|---|---|
| Line to Neutral (Hot slot to Neutral slot) | 125V - 129V | <122V: Severe voltage drop (undersized wire or overloaded circuit). >132V: Utility transformer tap issue or lost neutral on a split-phase system. |
| Line to Ground (Hot slot to Ground hole/clip) | 125V - 129V | 0V: Open ground (missing equipment grounding conductor). >200V: Cross-phase fault or severe grounding grid failure. |
| Neutral to Ground (Neutral slot to Ground hole/clip) | 0V - 2.0V | >3.0V: Shared neutral overload, loose neutral at the panel, or improper neutral-ground bond at a subpanel. |
Note: Always measure Line-to-Ground. In older Aruban properties, it is common to find 'bootleg grounds' where a jumper wire connects the neutral terminal to the ground screw to fool a basic plug-in tester. A multimeter reading of 0V between Line and Ground exposes this dangerous NEC violation immediately.
Step 3: Grounding Integrity in Dual-Standard Outlets
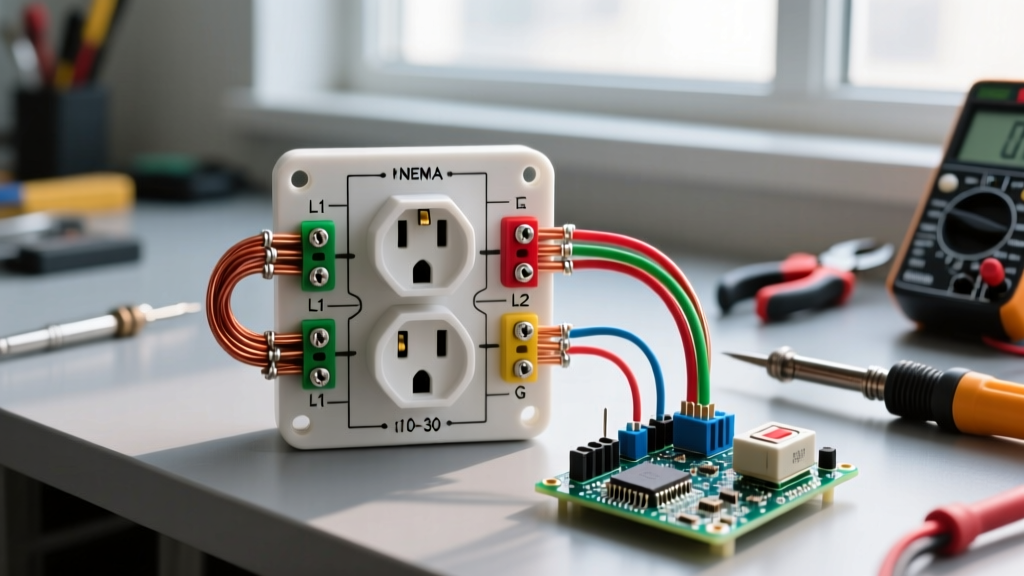
Testing the ground on an Aruba electrical outlet requires understanding the physical differences between the supported plug types. The NEMA 5-15 side utilizes a dedicated third round pin for the equipment grounding conductor (EGC). The Type F (Schuko) side, however, relies on two metal grounding clips located on the outer rim of the recessed circular cavity.
When inspecting these Schuko clips, you must verify they are mechanically bonded to the internal ground bus. Use your multimeter's continuity mode (with the power OFF) to test from the NEMA ground hole to the Schuko side clips. You should read less than 0.5 ohms of resistance. If the resistance is infinite, the outlet's internal ground bridge has failed, meaning any European appliance plugged into the Schuko side will have no fault protection. Adherence to proper grounding protocols is critical for life safety, as outlined by the NFPA 70 National Electrical Code.
Common Failure Modes in Aruban Coastal Properties
Through years of field inspections in areas like Palm Beach, Eagle Beach, and Oranjestad, specific failure modes appear repeatedly in Aruban electrical systems:
1. The 50Hz / 60Hz Appliance Mismatch
While the Aruba electrical outlet provides 127V, it operates at 60Hz. Many European expats or property developers import 230V/50Hz appliances (like washing machines or heavy power tools) and use step-down transformers. While the transformer handles the voltage, it does not change the frequency. A 50Hz motor running on Aruba's 60Hz grid will run 20% faster, overheat, and eventually burn out the windings. Always verify the nameplate Hz rating of any hardwired appliance.
2. GFCI Nuisance Tripping from Solar Inverters
As of 2026, Aruba has seen massive adoption of residential rooftop solar. Grid-tied solar inverters can introduce high-frequency leakage currents and harmonic noise back into the branch circuit. Standard GFCI receptacles often interpret this high-frequency noise as a ground fault, leading to constant nuisance tripping. If you are testing a GFCI outlet that trips without a load, check the main panel for solar inverter feedback and consider upgrading to a high-immunity GFCI receptacle designed for solar-integrated grids.
3. Salt-Induced Neutral Degradation
Because neutral wires carry unbalanced current, they generate heat. In coastal Aruban environments, this heat combined with salt air causes the neutral terminal to oxidize much faster than the hot terminal. This creates a high-resistance neutral, resulting in the 'Neutral to Ground' voltage reading spiking above 3V. This condition can destroy the control boards of modern HVAC units and smart home hubs.
Safety Directive: Working on island electrical grids requires strict adherence to lockout/tagout (LOTO) procedures. Grid fluctuations and shared neutral configurations in older multi-family villas can result in back-fed voltage even when a local breaker is switched off. Always verify dead with a Category III or IV rated True RMS meter before making physical contact with any conductor. For comprehensive safety standards, consult OSHA's electrical safety guidelines.
Final Verification and Reassembly
Once your Aruba electrical outlet has passed the visual inspection, voltage matrix testing, and ground continuity checks, reassemble the receptacle. Ensure the faceplate sits flush against the wall. If the outlet box is recessed more than 1/4 inch into the drywall or masonry, you must install a non-combustible box extender to prevent arc flashes from bridging the gap to the faceplate. Finally, label the breaker panel accurately, noting if the circuit serves dual-standard receptacles, ensuring future maintenance is performed with the correct safety parameters in mind.