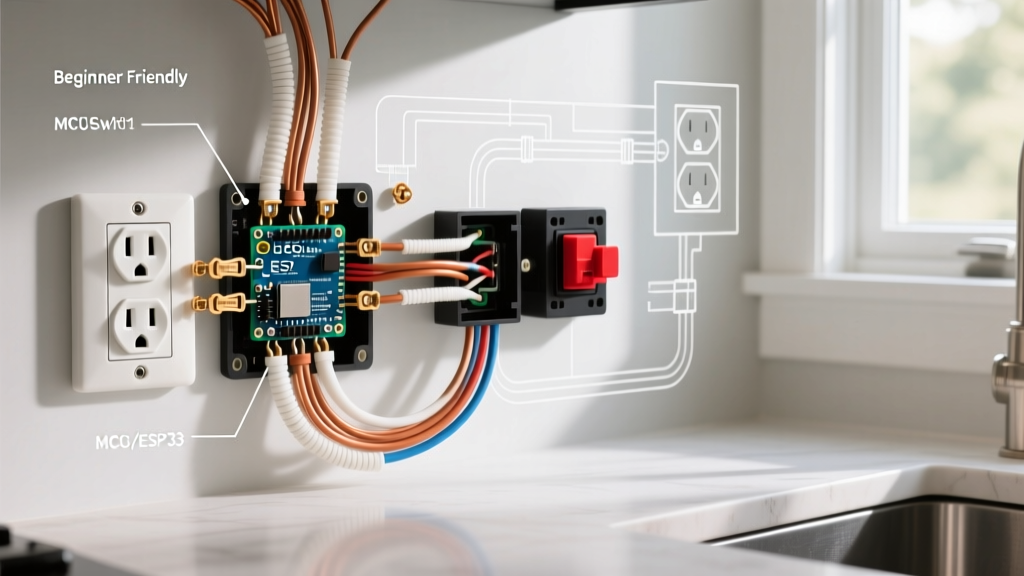

The Power Draw Problem: Why ARK Demands a Dedicated Circuit
In the DIY and home lab community, a dedicated high-amperage receptacle built specifically to feed a top-tier gaming rig running notoriously demanding titles is colloquially known as an ARK Survival electrical outlet. With the release of ARK: Survival Ascended and its heavy reliance on Unreal Engine 5's Nanite and Lumen rendering technologies, modern flagship GPUs (like the RTX 4090 and the upcoming 2026 RTX 50-series) are routinely pushed to 100% utilization for hours on end. This results in massive continuous power draws and severe transient power spikes.
A standard 15-amp bedroom circuit, shared with overhead lighting, a space heater, or a vacuum cleaner, is entirely inadequate for this workload. When a GPU experiences a microsecond power excursion—often spiking to 200% or even 300% of its base TDP under the ATX 3.1 standard—a shared 15A breaker will trip, abruptly ending your gaming session and risking data corruption. To solve this, we must design, inspect, and wire a dedicated 20-amp circuit specifically engineered for high-draw gaming environments.
Pre-Installation Inspection: Evaluating Your Panel Capacity
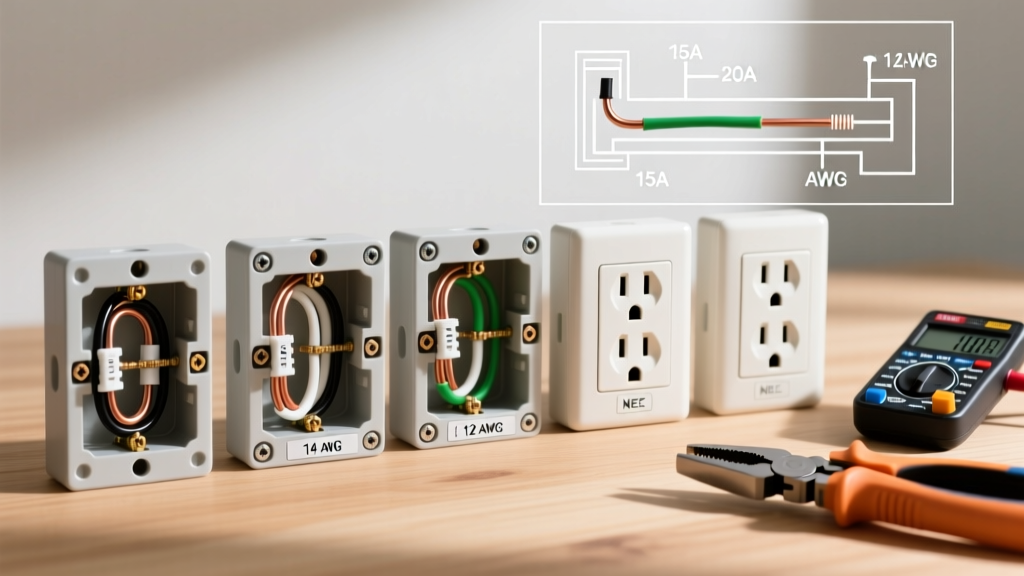
Before pulling any 12 AWG wire, you must inspect your main electrical panel to ensure you have the physical space and the thermal capacity to support a new 20-amp breaker. According to the National Fire Protection Association (NFPA), continuous loads must not exceed 80% of a breaker's rated capacity. While a gaming PC is technically a non-continuous load (under NEC Article 100 definitions, as it is not expected to run at maximum draw for 3 uninterrupted hours), the sheer heat generated in a densely packed panel requires careful calculation.
Step 1: The Bus Bar and Main Breaker Audit
- Check the Main Rating: Most modern homes have a 200A main breaker. If your home is older and has a 100A service, adding high-draw circuits requires a professional load calculation.
- Physical Space: Ensure you have at least one open single-pole slot on the bus bar. If the panel is full, you may need to install a tandem breaker (if the panel manufacturer allows it) or upgrade to a sub-panel.
- Thermal Imaging: Use a thermal camera (like the FLIR C5) to scan the panel while the house is under normal load. Any breaker exceeding 104°F (40°C) above ambient room temperature indicates a failing connection or an overloaded bus bar.
Materials Bill of Materials (BOM) for a 20A Gaming Circuit
Building a reliable ARK Survival electrical outlet requires commercial-grade components. Do not use builder-grade receptacles, as their internal contacts degrade quickly under heavy, sustained thermal loads.
| Component | Specification | Recommended Model (2026) | Est. Cost |
|---|---|---|---|
| Circuit Breaker | 20A Single-Pole | Square D HOM120CP or Eaton BR120 | $6.50 |
| Wire | 12 AWG THHN/THWN-2 (Copper) | Southwire Simpull (Black/White/Green) | $0.85/ft |
| Receptacle | 20A Duplex, Commercial Spec | Leviton 5362-W or Hubbell 5262 | $5.50 |
| Wall Plate | 1-Gang Nylon, Oversized | Leviton 426W1 | $1.25 |
| Torque Tool | Insulated Torque Screwdriver | Klein Tools 32510 | $45.00 |
Step-by-Step Wiring Procedure
Always shut off the main breaker before working inside the panel. Verify the bus bar is dead using a non-contact voltage tester and a multimeter. The U.S. Consumer Product Safety Commission (CPSC) strongly recommends treating all panel work with extreme caution, and if you are unsure, hiring a licensed electrician is the safest route.
- Run the 12 AWG Cable: Route 12/2 NM-B (Romex) or individual 12 AWG THHN wires through conduit from the panel to the outlet location. Secure the cable every 4.5 feet and within 12 inches of the receptacle box using proper cable staples.
- Terminate at the Panel: Connect the bare copper ground to the ground bus bar. Connect the white neutral to the neutral bus bar. Connect the black hot wire to the new 20A breaker, and snap the breaker into the bus bar.
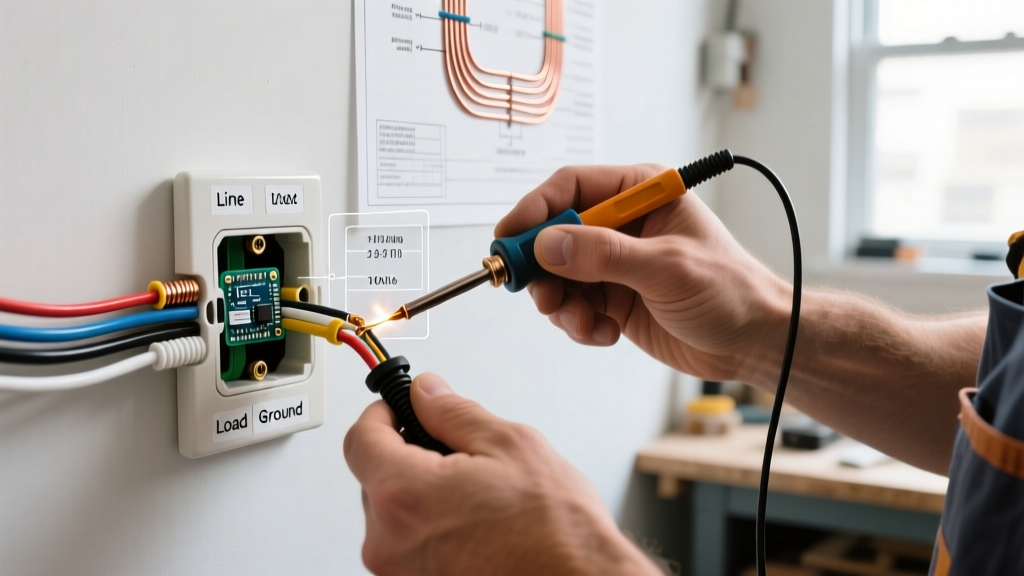
- Prepare the Receptacle Wires: Strip exactly 3/4 inch of insulation from the black, white, and ground wires. Do not nick the copper conductor, as this creates a weak point that can snap under thermal expansion.
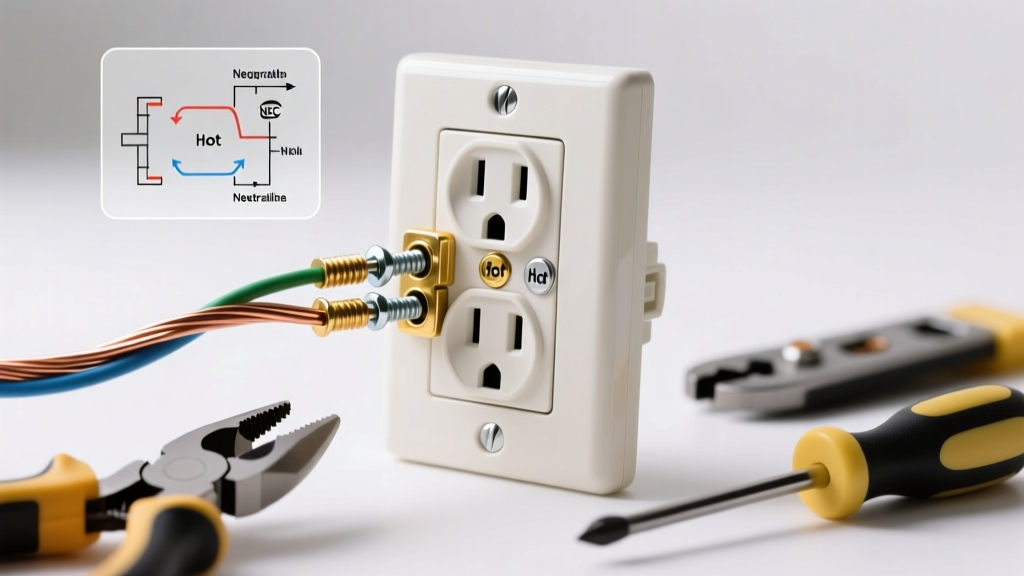
- Side-Wire the Receptacle (Critical): Never use the "backstab" push-in holes on the back of the receptacle. They rely on a small spring-loaded contact that will loosen over time under the heavy 600W+ loads of a gaming PC, causing arcing and melting. Instead, loop the wire clockwise around the side terminal screws.
- Apply Proper Torque: NEC 110.14(D) requires electrical connections to be torqued to the manufacturer's specifications. Use your torque screwdriver to tighten the terminal screws to exactly 14 in-lbs (check the stamp on the back of the Leviton 5362-W). This prevents loose connections that lead to voltage drop and heat.
- Secure and Test: Push the wires neatly into the box, mount the receptacle, and install the nylon wall plate. Restore power at the main breaker, then flip the new 20A breaker to the ON position.
Expert Insight: Why a 20A receptacle and not a 15A? While standard PC power supplies use a 15A NEMA 5-15P plug, a 20A receptacle (NEMA 5-20R) features thicker internal brass contacts and a heavier gauge steel yoke. This superior build quality dissipates heat much more effectively during marathon ARK: Survival Ascended sessions, drastically reducing the risk of receptacle degradation.
Testing & Verification: Ensuring Clean Power
Once the ARK Survival electrical outlet is wired, you must verify its performance under load. A simple $10 receptacle tester will only confirm basic polarity; it will not tell you if the circuit suffers from excessive voltage drop when the GPU demands 40 amps of instantaneous current from the power supply's primary side.
Load Testing Matrix
Plug in a high-draw device (or your gaming PC running a FurMark stress test combined with Prime95 to simulate maximum ARK gameplay loads). Use a true-RMS multimeter (like the Fluke 117) or a plug-in power meter to measure the voltage at the receptacle under three distinct states.
| System State | Expected Voltage (120V Nominal) | Acceptable Drop | Action Required if Failing |
|---|---|---|---|
| Idle (Desktop) | 120V - 122V | < 1.0% | None. Circuit is healthy. |
| Moderate Load (Browsing/Video) | 118V - 120V | 1.0% - 3.0% | Monitor. Normal for long wire runs. |
| Maximum Load (ARK Ascended 4K) | 115V - 118V | 3.0% - 5.0% | Check panel terminations for loose torque. |
| Transient Spike (GPU Power Excursion) | > 112V | < 5.0% instantaneous | Upgrade wire to 10 AWG or shorten run. |
According to the U.S. Department of Energy, maintaining proper voltage levels is critical for the longevity of sensitive electronics. If your voltage drops below 114V under heavy gaming loads, your PC's Power Supply Unit (PSU) will have to draw higher amperage to compensate for the missing wattage (Watts = Volts x Amps). This increased amperage generates excess heat in both the wall wiring and the PSU's internal components, severely shortening their lifespan.
Integrating a Pure Sine Wave UPS
No ARK Survival electrical outlet setup is complete without an Uninterruptible Power Supply (UPS). However, not all UPS units are created equal. High-end gaming PCs utilize Active Power Factor Correction (APFC) power supplies. If you plug an APFC power supply into a budget UPS that outputs a "simulated" or "stepped" sine wave on battery power, the PSU may interpret the jagged voltage waveform as a power fault and immediately shut down, defeating the purpose of the UPS.
UPS Sizing for Flagship Rigs
- Calculate Total VA: A rig with an RTX 4090 (450W) and an i9-14900K (250W) plus monitors draws roughly 800W under peak load. Multiply by 1.5 to account for PFC inefficiencies, requiring a minimum 1200VA / 750W UPS.
- Select Pure Sine Wave: Look for models like the CyberPower CP1500PFCLCD or the APC Back-UPS Pro 1500VA. These output a flawless sine wave that perfectly mimics the grid power provided by your newly installed 20A dedicated outlet.
- Surge Protection Ratings: Ensure the UPS has a high Joule rating (minimum 1000 Joules) and a low clamping voltage (330V or lower) to protect your rig from lightning-induced surges entering through the grid.
Troubleshooting Common Installation Edge Cases
Even with meticulous installation, you may encounter edge cases when powering extreme hardware configurations.
- Nuisance Tripping on Startup: High-wattage PSUs (1200W+) have massive internal capacitors. When you flip the switch on the back of the PSU, the inrush current can briefly exceed 40 amps, tripping a standard 20A breaker. Solution: Upgrade to a breaker with a higher magnetic trip threshold (often labeled as HACR type) or ensure your PSU features a dedicated inrush current limiter (NTC thermistor).
- Receptacle Heat: If the faceplate feels warm to the touch after three hours of ARK: Survival Ascended, the terminal screws were likely not torqued to spec, or the wire insulation was stripped too far back, exposing bare copper to ambient air. Solution: Turn off the breaker, remove the receptacle, and re-terminate using a calibrated torque screwdriver.
- Shared Neutral Feedback: If you wired a Multi-Wire Branch Circuit (MWBC) to save space and accidentally placed both hot wires on the same phase leg, the shared neutral will carry the sum of both currents instead of the difference, leading to a melted neutral wire. Solution: Always use a double-pole breaker with a handle tie for MWBCs to ensure the hot legs are on opposite phases (240V across them).
Final Verdict
Building a dedicated ARK Survival electrical outlet is not just about preventing a tripped breaker; it is about providing clean, stable, and abundant power to a high-end gaming ecosystem. By utilizing 12 AWG copper, commercial-grade 20A receptacles, and rigorous torque-tested terminations, you ensure that your hardware operates at peak efficiency, safeguarding your investment and your save files for years to come.