
The True Scope of Wiring an Electrical Switch
Replacing or installing a wall switch seems like the quintessential beginner home improvement task. However, the reality of wiring an electrical switch extends far beyond matching colored wires to brass screws. According to the National Fire Protection Association (NFPA), electrical distribution and lighting equipment are consistently among the leading causes of home structure fires. As we navigate the 2026 housing landscape, where smart home integration and updated National Electrical Code (NEC) mandates intersect with aging infrastructure, the decision to tackle this project yourself or hire a licensed electrician carries significant safety and financial implications.
This comprehensive analysis breaks down the exact costs, tool requirements, code compliance hurdles, and hidden failure modes associated with switch wiring, providing a definitive framework to help you decide which route is safest for your specific scenario.
The DIY Route: Materials, Margins, and Mistakes
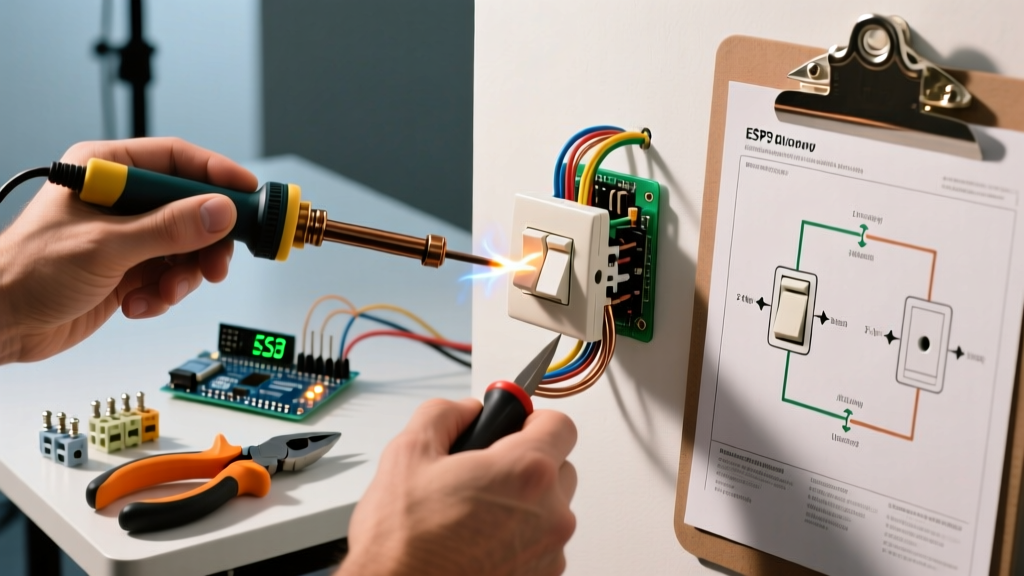
For a standard like-for-like single-pole switch replacement, the DIY route is highly cost-effective. The physical act of wiring an electrical switch in an existing, properly grounded junction box requires minimal material investment but demands strict adherence to safety protocols.
Essential Tooling and Material Costs
A successful DIY installation requires more than a flathead screwdriver. To ensure safe, code-compliant terminations, you need specialized tools:
- Voltage Tester: Fluke 1AC-II VoltAlert (approx. $35). Never rely on a multimeter alone if you are not trained; a non-contact voltage tester is your first line of defense.
- Wire Strippers: Klein Tools 11055 (approx. $28). Clean strips prevent nicking the copper conductor, which creates a weak point prone to snapping under the screw head.
- The Switch: A standard Leviton Decora 5601-2WS single-pole switch costs around $3.50. If upgrading to smart lighting, a Lutron Caséta PD-6ANS dimmer runs about $65.
Total DIY material costs generally range from $15 to $110, depending on whether you are installing a basic toggle or a Wi-Fi-enabled smart switch.
Common DIY Failure Modes
The most critical mistake DIYers make is utilizing the 'push-in' (backstab) wiring holes on the back of the switch rather than the side screw terminals. Push-in connections rely on a tiny internal metal tang to grip the wire. Under the thermal cycling of daily use—where wires heat up under load and cool down—these tangs can loosen, leading to micro-arcing, melted plastic housings, and eventually, electrical fires. Always use the side screw terminals, wrapping the wire clockwise around the screw so that tightening the screw pulls the loop tighter.
Expert Warning: Over-torquing the terminal screws is just as dangerous as under-torquing. Stripping the brass threads or crushing the copper wire compromises the connection. While pros use calibrated torque screwdrivers, DIYers should tighten firmly until snug, then add a quarter-turn, ensuring no bare copper is exposed outside the terminal pad.
The Professional Route: Labor, Liability, and Code Compliance
Hiring a licensed electrician shifts the burden of liability, code compliance, and troubleshooting away from the homeowner. In 2026, electrical labor rates reflect a nationwide shortage of skilled tradespeople, making professional services a premium investment.
2026 Pricing Breakdown
Electricians rarely charge just for the five minutes it takes to swap a switch. You are paying for the service call, the diagnostic assessment of your home's wiring health, and the guarantee that the work meets the latest NEC standards.
- Hourly Rates: $95 to $175 per hour, depending on your metropolitan area.
- Minimum Service Fees: Most licensed contractors enforce a minimum trip charge of $150 to $250, which typically covers the first hour of labor and standard materials.
- Permitting: If wiring an electrical switch is part of a larger room addition or remodel, pulling a local permit ($50–$150) and scheduling an inspector adds to the timeline and cost.
The Code Compliance Advantage
Professionals are bound by NEC 110.14(D), which mandates that terminals be torqued to the manufacturer's specifications. Licensed electricians carry calibrated torque screwdrivers (like the Wiha 2850-60, a $130 tool) to ensure every termination is mathematically perfect. Furthermore, pros carry millions in liability insurance. If a DIY wiring error causes a fire three years down the line, your homeowner's insurance may deny the claim due to unpermitted, unlicensed electrical work.
Head-to-Head Comparison Matrix
| Feature | DIY Installation | Professional Electrician |
|---|---|---|
| Average Cost (Single Switch) | $15 – $110 (Materials only) | $150 – $275 (Labor + Materials) |
| Time Investment | 45 – 90 minutes (including learning) | 15 – 30 minutes (on-site) |
| NEC Torque Compliance | Rarely (done by feel) | Guaranteed (calibrated tools) |
| Warranty / Liability | None (Homeowner assumes risk) | 1-Year Labor Warranty + Insurance |
| Diagnostic Capability | Limited to visual inspection | Can identify hidden faults & code violations |
Critical Edge Cases: When DIY Becomes Dangerous
While swapping a standard single-pole switch in a modern home is generally safe for a careful DIYer, several edge cases require immediate professional intervention. The Consumer Product Safety Commission (CPSC) strongly advises against amateur electrical work when aging infrastructure or complex circuits are involved.
1. The Missing Neutral (NEC 404.2(C))
If you are upgrading to a smart switch (like a smart dimmer or Wi-Fi relay), the device usually requires a neutral wire to power its internal radio receiver. In homes built before the 2011 NEC update, switch loops were often wired using only a hot and a switched-hot wire, with no neutral present in the box. While older smart switches offered 'no-neutral' workarounds, they often cause LED bulbs to flicker or ghost. Rewiring a switch loop to pull a neutral from the ceiling fixture or panel is a complex task that strictly requires a professional.
2. Multi-Wire Branch Circuits (MWBC)
If you open a switch box and find two hot wires (typically one black, one red) connected to a double-pole breaker, you are dealing with an MWBC. These circuits share a single neutral wire. If a DIYer attempts to rewire this and accidentally separates the hot legs onto the same phase, or fails to install a NEC-mandated handle tie on the breaker, the shared neutral can become overloaded, melt, and start a fire inside the wall. The U.S. Fire Administration (USFA) frequently cites improper handling of shared neutrals in post-fire investigations.
3. Aluminum Wiring Remediation
Homes built between the mid-1960s and early 1970s often contain solid aluminum branch wiring. Aluminum expands and contracts at a different rate than copper and oxidizes rapidly, leading to high-resistance connections. Standard copper-rated switches will eventually fail catastrophically when paired with aluminum wire. A professional must either use specialized CO/ALR rated switches or perform a copper pigtail remediation using approved crimp systems (like the COPALUM system).
Step-by-Step Safety Checklist for DIYers
If your scenario falls into the safe DIY category (like-for-like replacement, copper wiring, grounded box), follow this strict operational sequence:
- Kill the Power: Turn off the breaker at the main panel. Do not rely solely on the wall switch being in the 'off' position.
- Verify Zero Voltage: Test the non-contact voltage tester on a known live circuit first to ensure the battery is working, then test the target switch wires.
- Document the Wiring: Take a high-resolution photo of the existing wiring before disconnecting anything. Note which wire is on the brass screw (hot) and which is on the green screw (ground).
- Inspect the Box: Ensure the junction box is securely mounted and not overcrowded. NEC box-fill calculations dictate how many wires can safely occupy the space without causing heat buildup.
- Terminate Properly: Form a tight 'shepherd's hook' with your wire strippers, loop clockwise, and tighten the terminal screw firmly.
- Test and Secure: Turn the breaker back on, test the switch function, then turn the breaker off again to safely tuck the wires back into the box and mount the wall plate.
Final Verdict: Which Path Should You Take?
Wiring an electrical switch is a highly contextual task. If you are simply replacing a worn-out single-pole toggle in a modern, copper-wired home with clear, accessible wiring, the DIY route saves you upwards of $200 and takes less than an hour. However, if you are dealing with 3-way/4-way configurations, upgrading to smart switches in older homes, or encounter aluminum wiring and ungrounded boxes, the professional route is not just a luxury—it is a critical safety requirement. By understanding the exact costs and hidden failure modes outlined above, you can approach your next electrical project with confidence and a strict commitment to safety.