
The High Stakes of Rough-In Inspections: Structural Integrity Meets Electrical Code
When an electrical inspector walks onto your job site for a rough-in inspection, they aren't just looking at wire strippers and torque screwdrivers. One of the most common reasons for a failed rough-in—and subsequent structural callbacks—involves the physical routing of cables through framing. Drilling holes in joists for electrical wiring is a critical intersection where the National Electrical Code (NEC) and the International Residential Code (IRC) overlap. If you violate structural spacing rules, the building inspector will fail the framing; if you violate cable protection rules, the electrical inspector will fail the wiring. In 2026, with tighter building envelopes and stricter enforcement of firestopping, precision is non-negotiable.
This guide provides the exact mathematical limits, code references, and field-tested techniques required to drill joists compliantly, protect your cables, and pass inspection on the first attempt.
The Dual Code Dilemma: IRC vs. NEC
Electricians often mistakenly believe that the NEC governs all aspects of their work. However, the NEC explicitly defers to structural codes when it comes to the physical alteration of framing members.
- IRC (International Residential Code): Governs the structural integrity of the joist. Section R502.8 dictates exactly where, how large, and how many holes you can drill without compromising the floor's load-bearing capacity.
- NEC (National Electrical Code): Governs the protection of the cable. Article 300.4 dictates how close a cable can be to the edge of a framing member before it requires physical protection (like a steel nail plate) against drywall screws and finish nails.
To pass inspection, your drilling strategy must satisfy both codes simultaneously. You can review the foundational structural requirements via the ICC Digital Codes Portal for IRC Chapter 5, and the electrical protection requirements via the NFPA 70 NEC Standard.
Dimensional Limits by Joist Type: The Inspector's Matrix
Not all joists are created equal. The rules for a traditional solid-sawn 2x10 are vastly different from those for an engineered I-joist. Below is the compliance matrix inspectors use in the field.
| Joist Type | Max Hole Diameter | Edge Clearance (Top/Bottom) | Prohibited Zones & Restrictions |
|---|---|---|---|
| Solid Sawn Lumber | 1/3 of actual joist depth | Minimum 2 inches from top and bottom edges | No holes in the middle third of the span's bottom edge (tension zone). Never notch the bottom third. |
| Engineered I-Joists | Varies by web depth (usually 1.5" to 4") | Minimum 6 inches from bearing points/ends | NEVER drill the flanges. Holes must be centered in the web. Stagger multiple holes by at least 2x the diameter. |
| Open Web Trusses | N/A (Route through existing webs) | N/A | Never drill or cut the wooden chords or metal webbing. Route cables through the pre-existing open spaces. |
Crunching the Numbers: Solid Lumber Example
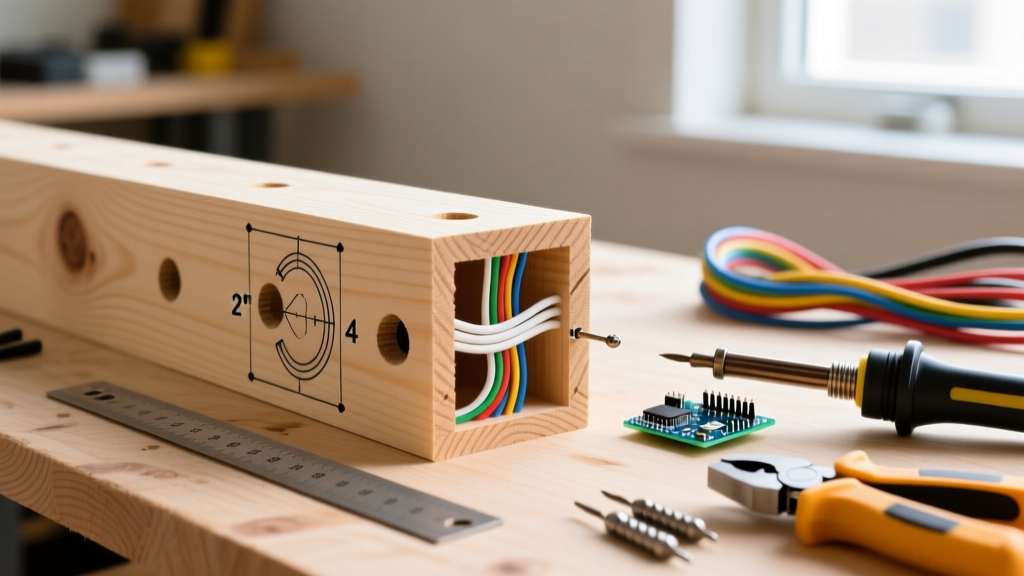
Let's apply the IRC R502.8.1 formula to a standard 2x10 floor joist. A nominal 2x10 has an actual depth of 9.25 inches.
- Maximum Hole Diameter: 9.25" / 3 = 3.08 inches. (This is plenty of room for standard NM-B cables, but limits large conduit runs).
- Safe Drilling Zone: You must leave 2 inches at the top and 2 inches at the bottom. 9.25" - 4" = 5.25 inches of vertical safe zone.
- Inspector Tip: Always drill dead center in that 5.25" safe zone (approx. 4.625" from the bottom edge) to maximize NEC 300.4 edge clearance and avoid nail plates.
Engineered I-Joists: The Zero-Tolerance Zone
Engineered I-joists (like those from Boise Cascade or Weyerhaeuser) are highly efficient but unforgiving. The top and bottom flanges carry the bending stresses; the OSB or plywood web handles the shear. According to the APA (The Engineered Wood Association), cutting or drilling a flange instantly voids the manufacturer's warranty and compromises the floor system.
I-Joist Drilling Protocol
- Web Only: Holes must be drilled exclusively through the vertical web.
- Bearing Clearance: You must maintain a minimum of 6 inches from any bearing point (where the joist rests on a wall or beam) to the edge of the hole.
- Spacing: If running multiple cables (e.g., a 12/2 and a 14/2), do not drill one massive hole. Drill two separate holes, maintaining a minimum distance between them equal to twice the diameter of the larger hole.
- Pre-Drilled Knockouts: Many modern I-joists come with factory-stamped, scored knockouts in the web. Use them. Inspectors love seeing factory-approved routing because it eliminates guesswork.
NEC 300.4(A)(1): When to Use Steel Nail Plates
Even if your hole is structurally compliant under the IRC, it might violate the NEC if it's too close to the edge of the framing member. NEC 300.4(A)(1) states that if a cable is run through a hole that is less than 1.25 inches (1-1/4") from the nearest edge of the wood member, it must be protected by a steel plate or sleeve.
Field Reality Check: In a 2x4 stud (actual width 3.5"), a hole drilled perfectly in the center leaves exactly 1.75" of clearance on each side. If your drill wanders even half an inch, you drop below the 1.25" threshold. Always keep a bucket of Arlington Industries NP1 or Oatey 39100 steel nail plates on site. At roughly $1.50 each, they are the cheapest insurance against a failed inspection and a future drywall screw through a live 120V conductor.
Fireblocking and Draftstopping: The Hidden Trap
In multi-story homes or garages with living spaces above, certain joist bays and top plates act as fireblocks (IRC R302.11). When you drill through these members to run wiring, you are breaching a fire-rated barrier.
The Compliance Fix: You must seal the penetration. Inspectors will actively look for unsealed penetrations in top plates and rim joists. Use an intumescent firestop caulk like 3M Fire Barrier Sealant CP 25WB+ or Hilti CP 606. A standard tube costs about $12 and covers dozens of penetrations. Apply a 1/2-inch bead around the cable where it exits the drilled hole to satisfy the fire marshal.
Tools of the Trade for Clean, Compliant Holes
Inspectors notice jagged, splintered holes. Rough holes can damage NM-B cable sheathing during the pull, leading to a failed insulation resistance test or a visible code violation if the sheathing is torn back past the joist. Invest in the right hardware:
- The Drill: The Milwaukee 2815-20 M18 FUEL Super Hawg (approx. $389 bare tool). Its low-RPM, high-torque gearing prevents the bit from binding and snapping your wrist when drilling dense LVL beams or stacked 2x10s.
- The Bit: Greenlee 832D 3/4" Ship Auger Bit (approx. $35). Ship augers feature a single spur that scores the wood before cutting, leaving a perfectly smooth, glass-like hole that won't abrade cable jackets. Avoid standard spade bits for long joist runs; they wander and create rough edges.
- The Right-Angle Attachment: For tight joist bays where a Super Hawg won't fit, the Milwaukee 49-22-8510 Right Angle Attachment allows you to use standard augers with a standard 18V drill in spaces as tight as 4 inches.
The Inspector's Walkthrough: 5 Common Failure Modes
Before you call for your rough-in inspection, walk the site and check for these five specific violations that trigger immediate red tags:
- Notching the Bottom Flange: Electricians sometimes notch the bottom of a joist to make a cable turn. This is strictly prohibited by the IRC in the tension zone and will require structural reinforcement (like Simpson Strong-Tie LSTA straps) signed off by an engineer.
- Overstuffing Holes: The NEC does not specify a strict 'fill capacity' for wood holes like it does for conduit, but inspectors will fail a hole if cables are jammed so tightly that they are deformed or the sheathing is stripped. Rule of thumb: If you can't easily slide a finger alongside the cables in the hole, drill a second hole.
- Missing Nail Plates on Top Plates: When drilling down through double top plates to drop a wire into a wall cavity, the hole is almost always within 1.25" of the edge. Nail plates are mandatory here.
- Drilling I-Joist Flanges for Low-Voltage: Running Cat6 or coax through the flange of an I-joist is just as illegal as running 12/2 Romex. Low voltage does not grant structural exemptions.
- Unsealed Fireblocks: Failing to apply firestop caulk where cables penetrate the top plate of a garage ceiling or the rim joist of a conditioned space.
Final Thoughts on Compliance
Mastering the art of drilling holes in joists for electrical wiring requires a shift in mindset. You are not just a wire puller; you are a temporary structural engineer and a fire-safety technician. By respecting the 1/3 depth rule for solid lumber, treating I-joist flanges as untouchable, and proactively applying steel nail plates and firestop sealants, you transform a potential inspection nightmare into a textbook rough-in. Keep your auger bits sharp, your code book handy, and your nail plates within reach.