
The Physics of Circuit Tracing: Why Cheap Tools Fail
When a circuit goes dead, or you need to map an unmarked breaker panel in a commercial remodel, guessing is not an option. Tearing open drywall to find a single faulted junction box costs hundreds of dollars in labor and repair. This is where professional electrical wire tracing tools become indispensable. However, the market is flooded with sub-20 dollar novelty testers that rely on basic capacitive coupling, leading to false positives, phantom voltage readings, and total failure when facing shielded cables.
To select the right tool for 2026, you must understand the physics of how these devices operate. Standard non-contact voltage testers and basic breaker finders use capacitive sensing. They detect the alternating electric field radiating from an energized conductor. While fine for bare Romex in open stud bays, capacitive sensors are easily confused by parallel runs, static buildup, and phantom voltage. Professional-grade electrical wire tracing tools, on the other hand, utilize inductive tone generation, conductive signal injection, and Time Domain Reflectometry (TDR) to map circuits with pinpoint accuracy, regardless of the surrounding environment.
2026 Tool Matrix: Tone Generators vs. Capacitive Sensors vs. TDRs
Before purchasing, match the tool technology to your specific application. The table below breaks down the primary technologies used in modern electrical wire tracing tools.
| Technology Type | Best Application | 2026 Price Range | Max Tracing Depth | Conduit Compatibility |
|---|---|---|---|---|
| Capacitive Sensor | Basic breaker ID, open stud bays | $25 - $60 | 2 inches | Poor (Fails in EMT/MC) |
| Inductive Tone Generator | De-energized wire mapping, telecom | $80 - $280 | 6 inches | Moderate (Requires ground) |
| Conductive Signal Injector | Underground faults, deep wall tracing | $150 - $400 | 10+ feet | Excellent (Bypasses shielding) |
| Time Domain Reflectometry | Finding exact open/short fault distances | $200 - $600 | N/A (Measures length) | N/A (Requires direct lead access) |
Top Tier Electrical Wire Tracing Tools Reviewed
1. Fluke Networks IntelliTone Pro 200 (The Professional Standard)
Priced around $260 in 2026, the Fluke IntelliTone Pro 200 is the undisputed king of low-voltage and de-energized line tracing. While often associated with IT and telecom, electrical contractors rely on its digital and analog toning capabilities to trace 120V and 240V circuits that have been locked out and de-energized. The digital mode rejects noise and false signals from nearby active power lines, a massive issue in dense commercial panels. The analog mode allows you to hear the signal strength peak, making it incredibly easy to follow a wire through a chaotic junction box. Its primary limitation is that it cannot trace an actively energized high-voltage line due to safety interlocks and signal drowning.
2. Klein Tools ET45 Breaker Finder (Best Value for Residential)
For residential electricians and DIYers mapping sub-panels, the Klein Tools ET45 (approximately $55) offers exceptional value. It functions as both a non-contact voltage tester and a breaker finder. The transmitter plugs into a standard 120V receptacle, modulating a high-frequency signal onto the branch circuit. The receiver then scans the breaker panel, identifying the correct breaker via an LED and audible alert. While highly effective on standard NM-B (Romex) cable, the ET45 struggles with heavily shielded environments and will occasionally misidentify adjacent breakers if the panel bus bars are exceptionally noisy.
3. Amprobe AT-3500 Underground and Deep Wall Tracer
Retailing for roughly $180, the Amprobe AT-3500 is designed for heavy-duty commercial and outdoor applications. It utilizes a conductive signal injection method that allows it to trace wires buried underground or hidden deep behind plaster and lathe. By physically clipping the transmitter to the wire and a dedicated ground stake, the AT-3500 pushes a powerful signal that can be traced up to 10 feet away. This is the go-to electrical wire tracing tool for locating faults in landscape lighting runs, sprinkler solenoid wires, and buried feeder cables.
The Faraday Cage Edge Case: Armored Cable and Metal Conduit
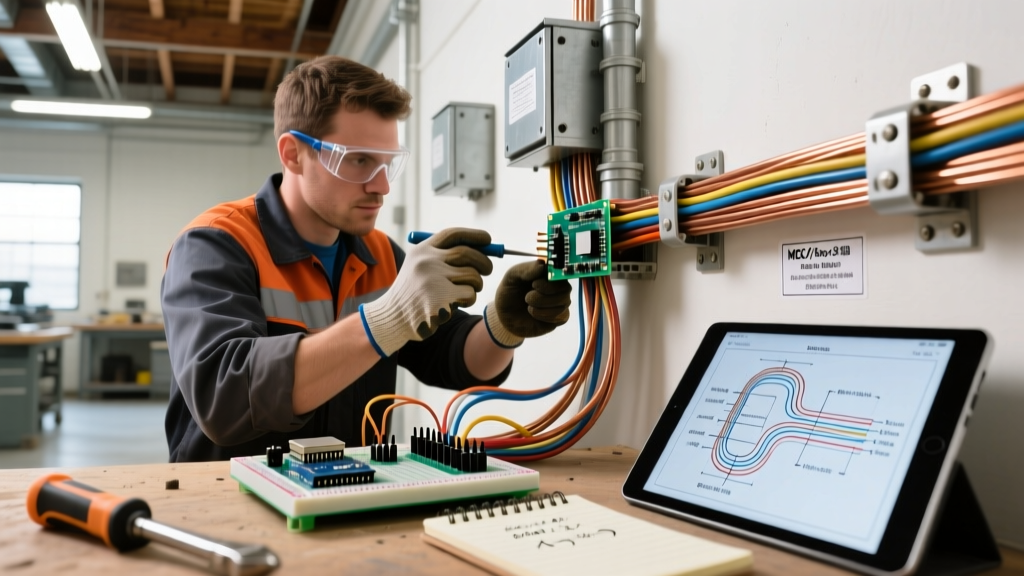
The most common failure mode for amateur wire tracing occurs when dealing with Metal-Clad (MC) cable, Armored Cable (AC/BX), or EMT metal conduit. These metallic sheaths act as a Faraday cage, completely blocking the electric field that standard capacitive sensors rely upon. If you attempt to use a basic non-contact tester on an MC cable circuit, the tool will read dead, even if the wire is fully energized.
Expert Insight: To trace circuits inside metal conduit or MC cable, you must abandon capacitive sensing. De-energize the circuit, lock it out, and use an inductive tone generator clipped directly to the conductor. Alternatively, use a GFI signal injector that forces a pulsing current through the ground wire, which can be traced along the metal sheath using a magnetic field detector.
Advanced Fault Finding: Time Domain Reflectometry (TDR)
When a wire breaks inside a wall or underground, finding the exact location without destroying the property requires a Time Domain Reflectometer (TDR). A TDR sends a high-frequency pulse down the conductor. When the pulse hits an impedance mismatch (such as an open break or a dead short), it reflects back to the unit. By measuring the time it takes for the echo to return, the TDR calculates the exact distance to the fault. Modern handheld TDRs, like those from Megger or Fluke, can pinpoint a severed neutral wire inside a wall to within 12 inches, saving hours of exploratory demolition.
Step-by-Step Breaker Identification Protocol
To safely and accurately map an unknown circuit using a transmitter/receiver breaker finder, follow this strict protocol:
- Verify Voltage: Use a calibrated digital multimeter (DMM) to confirm the receptacle or fixture is receiving the correct voltage (e.g., 120V AC).
- Connect Transmitter: Plug the tone transmitter into the target receptacle. Ensure the transmitter LED indicates a solid connection and signal modulation.
- Scan Panel Perimeter: Before opening the panel, scan the outside of the breaker box to check for extreme electromagnetic interference (EMI) that could cause false positives.
- Isolate and Scan: Open the panel dead-front (wearing appropriate PPE). Hover the receiver over the breakers. The correct breaker will yield a distinct, high-pitched confirmation tone and a solid LED indicator.
- Double-Check Adjacent Poles: Scan the breakers immediately above, below, and across the bus bar to ensure the signal is not bleeding over into adjacent circuits.
- Verify De-energization: Switch off the identified breaker. Return to the receptacle and verify with your DMM that voltage has dropped to zero.
Safety and Compliance: NFPA 70E and OSHA
Tracing circuits often requires working inside live electrical panels. According to the NFPA 70E standard for electrical safety in the workplace, any interaction with exposed energized parts requires a detailed shock and arc flash risk assessment. You must wear appropriate PPE, including voltage-rated gloves and arc-rated face shields, depending on the incident energy level of the panel.
Furthermore, when utilizing tone generators that require de-energizing a circuit, you must adhere to strict Lockout/Tagout (LOTO) procedures. The OSHA LOTO guidelines mandate that simply flipping a breaker is insufficient; the breaker must be physically locked in the OFF position to prevent accidental re-energization while you are tracing the downstream wiring. Always treat every conductor as live until proven dead with a properly rated CAT III or CAT IV multimeter, in accordance with NFPA 70 (National Electrical Code) testing standards. Investing in high-quality electrical wire tracing tools is not just about convenience; it is a critical component of a safe, efficient, and code-compliant workflow.