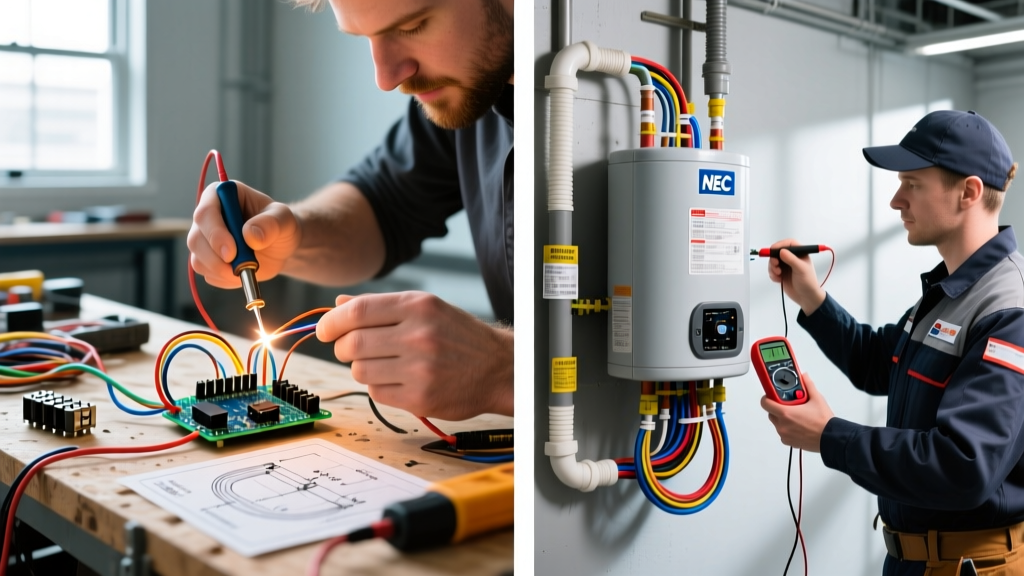

The True Cost and Risk of Wiring an Electric Water Heater
Upgrading or replacing a residential electric water heater is a rite of passage for many homeowners. However, the electrical rough-in and final connection involve 240-volt circuits that carry enough amperage to cause fatal electrocution or catastrophic electrical fires if mishandled. When deciding between a DIY approach and hiring a licensed professional, the decision hinges on more than just upfront labor costs. It requires a deep understanding of the National Electrical Code (NEC), panel capacity limitations, and the specific failure modes that plague amateur installations.
In this comprehensive analysis, we break down the exact material costs, code mandates, and edge cases involved in wiring an electric water heater in 2026, helping you make an informed, safety-first decision.
NEC Code Alert: Under NEC Article 422.13, storage-type water heaters with a capacity of 120 gallons or less must have a branch-circuit rating not less than 125% of the nameplate load. This is a non-negotiable baseline for both DIYers and professionals.
The Core Electrical Mathematics: Sizing the Circuit
Before touching a single wire, you must calculate the required circuit size. Most standard 40-to-50-gallon residential electric water heaters (such as the Rheem Performance Platinum 50 Gal) utilize dual 4500-watt heating elements. Because the thermostats are interlocked, only one element runs at a time.
Calculating Amperage and Breaker Size
- Base Amperage: 4500W ÷ 240V = 18.75 Amps.
- NEC 125% Rule: 18.75A × 1.25 = 23.43 Amps.
- Required Breaker: The next standard breaker size above 23.43A is 30 Amps.
- Required Wire: 10 AWG copper (specifically 10/2 NM-B with ground for indoor, dry locations).
Attempting to wire a 4500W element on a 20A breaker with 12 AWG wire is a severe code violation and a primary cause of melted wire insulation and panel fires.
Material Costs vs. Professional Labor (2026 Pricing)
Understanding the financial breakdown is critical. Below is a realistic look at what you will spend in the current market, assuming your electrical panel has adequate physical space and amperage capacity for a new 30A double-pole breaker.
| Installation Component | DIY Material Cost | Professional Service Cost |
|---|---|---|
| 30A Double-Pole Breaker (Siemens/Square D) | $12 - $18 | Included in labor/parts markup |
| 10/2 NM-B Romex (up to 50 ft) | $75 - $90 | Included in labor/parts markup |
| Flexible Metal Whip & THHN Wires | $35 - $50 | $45 - $65 |
| Permit & Inspection Fees | $75 - $150 | $100 - $200 (handled by pro) |
| Licensed Electrician Labor (2-4 hours) | N/A | $350 - $650 |
| Total Estimated Cost | $197 - $308 | $495 - $915 |
While the DIY route saves roughly $300 to $600 in labor, this margin vanishes instantly if your panel requires an upgrade, a subpanel installation, or if you fail the municipal inspection and must pay for a re-inspection.
The DIY Route: Hidden Risks and Edge Cases
If you possess intermediate electrical experience, running a dedicated 10/2 circuit from the panel to the water heater location is physically straightforward. However, the devil is in the details. According to the Consumer Product Safety Commission (CPSC), improper electrical connections remain a leading cause of residential fires.
Common DIY Failure Modes
- Missing Cable Connectors: Running NM-B Romex directly through the metal knockout on the water heater tank without a proper Romex connector (clamp) allows the sharp metal edge to slice into the wire insulation over time, causing a dead short to the tank chassis.
- Undertorqued Lugs: Modern electrical codes increasingly mandate the use of a calibrated torque screwdriver (like the Klein Tools 69010) for breaker and terminal connections. Hand-tightening 10 AWG wires often results in loose connections that arc, generate immense heat, and eventually melt the breaker bus bar.
- Panel Bus Bar Overload: Just because you have two open slots in your 100-Amp panel does not mean you have the capacity for a 30A load. Adding a water heater to an already taxed panel without performing an NEC Article 220 load calculation can cause the main breaker to trip constantly or overheat the main service drop.
The Professional Route: What You Are Actually Paying For
When you hire a licensed master or journeyman electrician, you are not merely paying for someone to strip wires. You are paying for liability transfer, code compliance, and diagnostic foresight.
Load Calculations and Panel Upgrades
A professional will evaluate your home's total connected load. If you have a 100A service with an electric range, electric dryer, and central AC, adding a 30A water heater will likely exceed the 83% continuous load safety threshold of your main breaker. A pro will recognize the need for a heavy-up (upgrading to a 200A panel) or the installation of an automated energy management system (like a SPAN smart panel or a load-shedding device) to legally and safely accommodate the new appliance.
The Disconnect Requirement
NEC Article 422.31 requires a means to disconnect the water heater from all ungrounded conductors. While a breaker located within sight of the heater (or capable of being locked in the OFF position) satisfies this, many professionals prefer installing a dedicated 30A pull-out disconnect box or a heavy-duty toggle switch adjacent to the unit. This ensures maintenance personnel can verify a zero-energy state without walking back to the basement panel.
Edge Case: Heat Pump Water Heaters (HPWH)
The landscape of water heating is shifting rapidly. If you are installing a modern Heat Pump Water Heater (such as the Bradford White AeroTherm or Rheem ProTerra), the wiring parameters change drastically. The U.S. Department of Energy notes that HPWHs are significantly more efficient but possess complex internal electronics.
- Voltage Variations: Many newer HPWH models operate on standard 120V, 15A or 20A circuits to run the compressor, utilizing advanced heat exchange rather than massive 240V resistive elements.
- Hybrid Models: Some 240V hybrid models still require a 30A circuit for the backup resistive elements, but the internal control boards are highly sensitive to voltage drops and poor grounding. A shared neutral or a high-impedance ground path caused by amateur wiring will cause the unit's logic board to throw fault codes and void the manufacturer's 10-year warranty.
Step-by-Step Best Practices for the Final Connection
Whether you are a DIYer pulling your own permit or a homeowner verifying your contractor's work, the final connection at the tank must follow this sequence:
- Shut Off Main Power: Turn off the main breaker and verify zero voltage at the bus bars using a non-contact voltage tester and a multimeter.
- Install the Whip: Use a 3/4-inch flexible metal conduit (FMC) whip pre-loaded with 10 AWG THHN wires (Black, Red, Green/Bare). This provides physical protection and vibration isolation near the tank.
- Make the Tank Connections: Connect Black to L1, Red to L2, and the Ground wire to the designated green grounding screw on the tank's junction box. Never use the tank's plumbing pipes as a substitute for an equipment grounding conductor.
- Torque to Spec: Use a torque screwdriver set to the manufacturer's specified inch-pound rating (usually 40-45 in-lbs for standard 30A breakers) to secure the wires at the panel.
- Label the Panel: Clearly update the panel directory. Do not just write 'Water Heater'; write 'Water Heater - 50 Gal' to assist future troubleshooting.
Frequently Asked Questions
Can I use a 30A plug and receptacle instead of hardwiring?
While some local jurisdictions allow a NEMA 6-30R receptacle and a matching heavy-duty appliance cord, the National Fire Protection Association (NFPA) and most manufacturers strongly recommend hardwiring. Receptacles in damp basement or garage environments are prone to corrosion, which increases resistance and heat at the plug prongs, creating a severe fire hazard over time.
Do I need GFCI or AFCI protection for a water heater?
Under the latest NEC cycles, standard 240V hardwired residential water heaters generally do not require GFCI or AFCI protection unless the receptacle version is installed in a location that specifically mandates it (like an unfinished basement or garage, depending on local amendments). However, always verify with your local Authority Having Jurisdiction (AHJ), as municipal codes frequently supersede baseline national standards.
Final Verdict: Which Route Should You Take?
Choose the DIY route if: You have prior experience terminating 240V circuits, your panel has ample physical space and verified amperage capacity, you own a torque screwdriver, and you are willing to pull a municipal permit and schedule an inspection.
Hire a professional if: You need to run wire through finished walls, your panel is old (e.g., Federal Pacific or Zinsco), you are upgrading to a complex Heat Pump Water Heater, or you lack the diagnostic tools to perform a whole-home load calculation. The $400 average labor cost is a minor premium to pay for guaranteed code compliance, a passed inspection, and the preservation of your home's insurance coverage.


