
The Methodical Approach to Electrical Home Wiring Faults
Troubleshooting electrical home wiring is rarely about guessing; it is an exercise in systematic isolation. Whether you are dealing with a completely dead receptacle, a breaker that refuses to reset, or lights that dim when the HVAC kicks on, the underlying cause always leaves a measurable signature. In 2026, with the widespread adoption of advanced Arc Fault Circuit Interrupters (AFCIs) and smart panels, diagnosing these issues requires more than a simple neon voltage tester. It demands an understanding of circuit topology, impedance, and modern National Electrical Code (NEC) requirements.
According to the National Fire Protection Association (NFPA), electrical failures and malfunctions account for tens of thousands of residential fires annually. Proper diagnostics not only restore power but prevent catastrophic thermal events. This guide bypasses generic advice and dives straight into the technical realities of residential circuit troubleshooting.
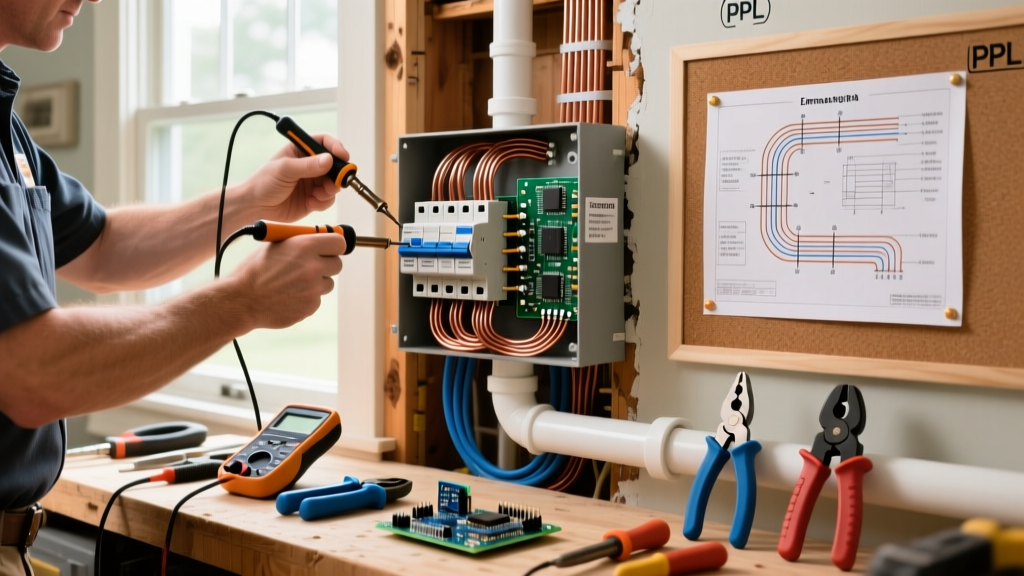
CRITICAL SAFETY DIRECTIVE: Never rely solely on non-contact voltage testers (NCVTs) to confirm a dead circuit. NCVTs like the Southwire 50135 ($28) are excellent for initial screening but are highly susceptible to false negatives due to shielding and false positives from capacitive coupling. Always verify zero voltage with a True-RMS digital multimeter (DMM) or a dedicated solenoid voltage tester before touching any bare conductors.
Core Diagnostic Matrix: Symptoms vs. Solutions
Use this matrix to rapidly narrow down the root cause of your electrical home wiring issues before opening a single junction box.
| Symptom | Probable Root Cause | Primary Diagnostic Tool | Corrective Action |
|---|---|---|---|
| Dead receptacle, breaker NOT tripped | Open neutral, backstabbed connection failure, or upstream GFCI trip | True-RMS Multimeter (LoZ mode) | Check upstream GFCI; torque terminal screws to 14 in-lbs. |
| Breaker trips instantly upon reset | Hard short circuit (hot-to-ground or hot-to-neutral) | Multimeter (Continuity/Ohms) | Isolate loads; divide circuit in half to locate short. |
| Breaker trips after 10-30 minutes | Thermal overload or loose connection generating heat | Thermal Imaging Camera (e.g., FLIR C5) | Measure amp draw; inspect panel lugs for thermal anomalies. |
| Flickering lights on shared circuit | Voltage drop or loose neutral at panel bus bar | Clamp Meter (Voltage & Amps) | Calculate VD%; tighten neutral bar; upgrade wire gauge. |
| Receptacle shows 40V-60V when OFF | Ghost voltage (capacitive coupling from adjacent live wires) | Multimeter with Low-Impedance (LoZ) setting | Verify with LoZ; no repair needed if voltage drops to 0V. |
Deep Dive 1: Ghost Voltages and High-Impedance Traps
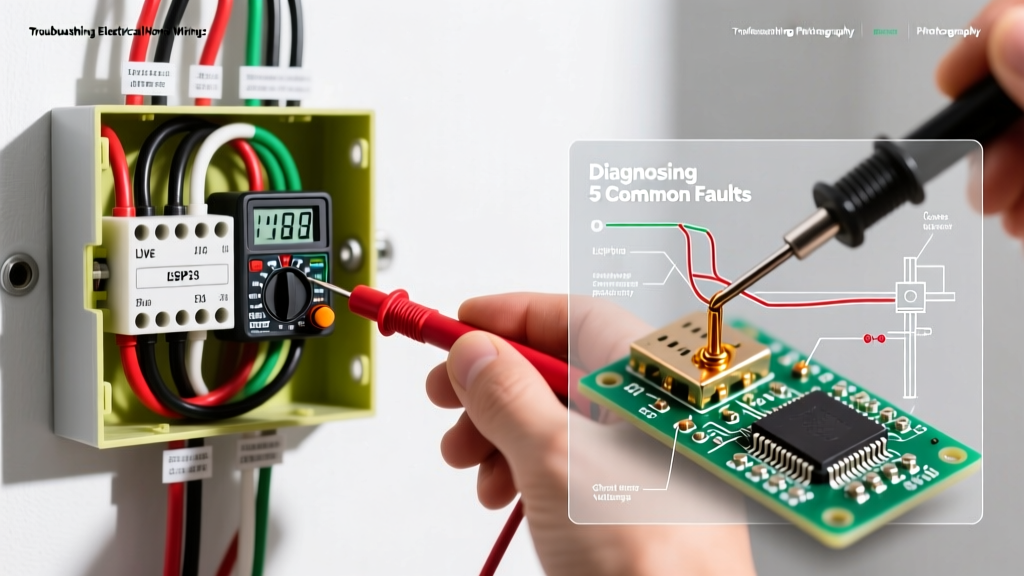
One of the most common points of confusion when troubleshooting electrical home wiring is measuring voltage on a wire that should be dead. Modern DMMs, such as the Fluke 117 ($215), have an input impedance of 10 megohms. This high impedance allows the meter to detect 'ghost voltages'—phantom readings caused by capacitive coupling between energized wires and disconnected wires running in the same Romex cable or conduit.
Step-by-Step Ghost Voltage Isolation
- Initial Reading: Measure hot to ground. If you read between 30V and 80V on a switched-off circuit, suspect ghost voltage.
- Engage LoZ: Switch your DMM to the Low-Impedance (LoZ) mode. This drops the meter's internal impedance to roughly 3 kilohms, intentionally creating a small load that bleeds off phantom capacitive energy.
- Re-measure: If the voltage drops to 0.0V, the wire is genuinely de-energized. If it remains at line voltage (120V), you have a hard fault, likely a miswired switch loop or a backfed neutral.
Deep Dive 2: Decoding AFCI Nuisance Tripping
The NEC now mandates AFCI protection for nearly all 120V, 15A and 20A residential branch circuits. While these breakers (like the Eaton BRCAF120, approx. $48) save lives by detecting parallel and series arcing, they are notorious for nuisance tripping due to harmless electronic noise from appliances, vacuum cleaners, or LED drivers.
Utilizing Diagnostic LED Patterns
Do not immediately replace a tripping AFCI breaker. Modern units feature built-in diagnostic memory. For example, on standard Eaton BR series AFCI/GFCI dual-function breakers, the LED indicator will flash a specific sequence when the handle is moved to the OFF position:
- 1 Flash: Ground Fault (Current leaking to ground, typically >5mA).
- 2 Flashes: Arc Fault (High-frequency signature detected, indicating loose termination or damaged wire insulation).
- 3 Flashes: Overcurrent (Standard thermal or magnetic short-circuit trip).
- 5 Flashes: Neutral Fault (Shared neutral or improper neutral-to-ground bond downstream).
Pro Tip: If you are diagnosing a 5-flash neutral fault, check for 'bootleg' grounds or multi-wire branch circuits (MWBCs) that are sharing a neutral but are not connected to a 2-pole handle-tied breaker. The Electrical Safety Foundation International (ESFI) strongly recommends professional evaluation for any recurring AFCI trips, as they can indicate hidden arcing inside walls.
Deep Dive 3: Voltage Drop and Dimming Lights
If your lights dim when the microwave or air compressor starts, you are experiencing voltage drop. NEC 210.19(A) Informational Note No. 4 recommends that branch circuit voltage drop not exceed 3%, and the total feeder plus branch circuit drop not exceed 5%. For a 120V circuit, a 3% drop means the voltage at the furthest receptacle should not fall below 116.4V under full load.
Calculating the Drop
Use the standard single-phase voltage drop formula: VD = (2 x K x I x L) / CM
- K: Resistivity constant (12.9 for copper at 75°C).
- I: Current in amps (e.g., 15A).
- L: One-way length of the wire run in feet (e.g., 120 ft).
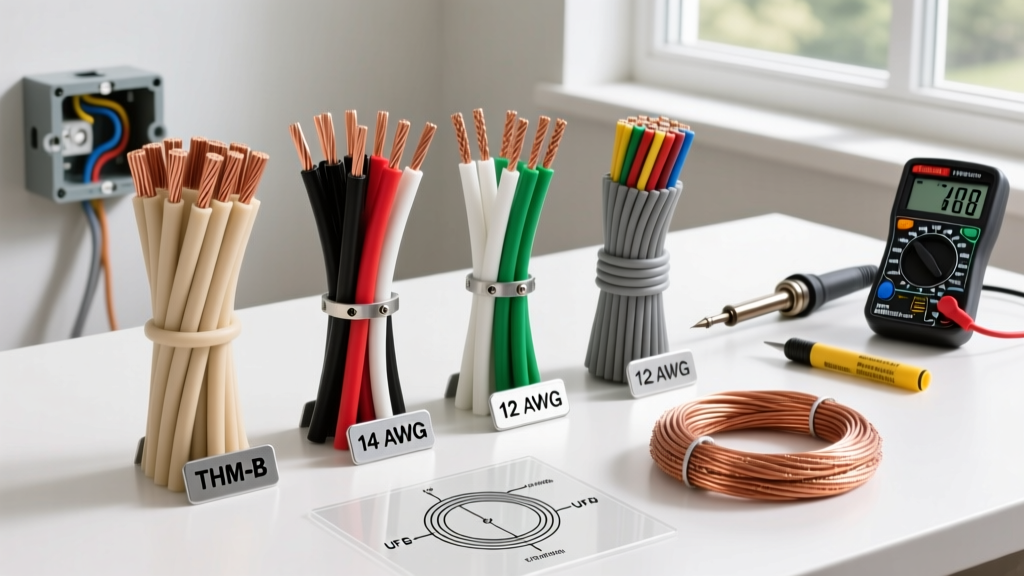
- CM: Circular mils of the conductor (6,530 for 12 AWG copper).
Example: (2 x 12.9 x 15 x 120) / 6530 = 7.11 Volts. This represents a 5.9% drop on a 120V circuit, which violates the 3% recommendation and will cause noticeable dimming and motor overheating. The fix is to upgrade the home wiring to 10 AWG copper or install a dedicated 20A circuit closer to the panel.
2026 Cost Analysis: DIY vs. Professional Diagnostic
Understanding when to stop troubleshooting and call a licensed electrician is crucial for both safety and financial efficiency. As of 2026, the national average for an electrical diagnostic service call ranges from $125 to $175, with hourly labor rates between $95 and $150 depending on regional markets.
The Decision Framework
- DIY Safe Zone: Replacing standard receptacles, swapping out light fixtures, resetting GFCIs, and tightening terminal screws (using a calibrated torque screwdriver like the Klein Tools 32500, set to manufacturer specs, typically 14-16 in-lbs).
- Call a Professional: Any troubleshooting involving the main service panel bus bars, signs of melted insulation, burning odors, or homes with legacy Federal Pacific Electric (FPE) or Zinsco panels, which have documented failure rates exceeding 25% according to the Consumer Product Safety Commission (CPSC).
Final Thoughts on Methodical Troubleshooting
Successful electrical home wiring troubleshooting relies on data, not assumptions. By leveraging True-RMS meters, understanding the diagnostic feedback of modern protective devices, and respecting the physics of voltage drop, you can safely isolate and resolve the vast majority of residential circuit faults. Always prioritize lockout/tagout procedures at the panel, verify zero energy state before making contact, and document your circuit mapping for future maintenance.