
Why Your 3-Way Switch Fails (And How the Diagram Helps)
Three-way switches are notorious for causing electrical headaches. Unlike a standard single-pole switch that simply breaks or completes a single hot wire, a 3-way circuit relies on two separate switches and a pair of 'traveler' wires to route power to a light fixture from two different locations. When a hallway or stairwell light fails to turn on from one location but works from another, or stops working entirely, homeowners and DIYers inevitably turn to a diagram for wiring a 3-way switch. However, reading the diagram is only half the battle; applying it to troubleshoot an existing, miswired, or failing circuit requires systematic testing and a solid understanding of circuit logic.
According to the National Fire Protection Association (NFPA), faulty wiring and improper switch installations are leading causes of residential electrical fires. Before pulling any switches out of the wall, you must understand how to map the physical wires in your wall to the theoretical lines on your wiring diagram. This guide will walk you through advanced troubleshooting techniques, multimeter testing, and code-compliant repairs.
Anatomy of the Switch: Matching the Diagram to Reality
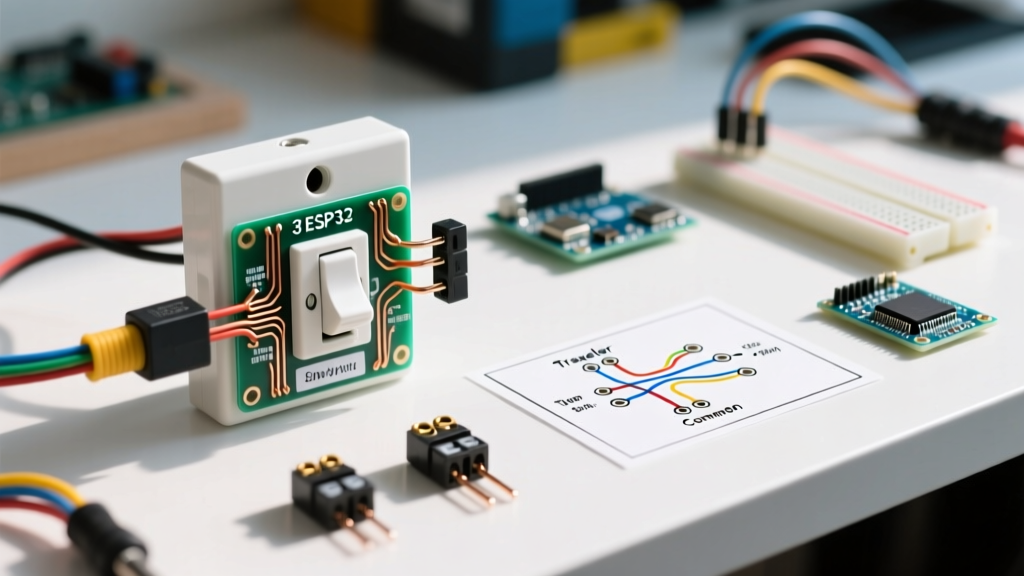
To troubleshoot effectively, you must first identify the terminals on the physical switch. Standard 3-way switches (such as the Leviton Decora 5603 or Eaton 3WAD) feature three main terminal screws, plus a green grounding screw. The most common mistake DIYers make when consulting a diagram for wiring a 3-way switch is failing to identify the 'Common' terminal.
| Terminal Type | Screw Color | Function | Typical Wire Color (14/3 or 12/3 Romex) |
|---|---|---|---|
| Common | Black or Dark Brass | Connects to the power source (line) OR the light fixture (load). | Black (Line) or Red/Black (Load/Switched Hot) |
| Traveler 1 | Light Brass | Carries current between the two switches in one toggle position. | Red or Black (Traveler pair) |
| Traveler 2 | Light Brass | Carries current between the two switches in the alternate toggle position. | Red or Black (Traveler pair) |
| Ground | Green | Safety path to earth ground; connects to bare copper wire. | Bare Copper or Green |
Pro Tip: Never rely solely on wire colors to identify the Common wire in an existing installation. Previous electricians or homeowners may have used white wires as travelers or switched hots without re-identifying them with black electrical tape, which is a violation of NEC color-coding standards.
Decoding the 4 Standard Configurations
When you look up a diagram for wiring a 3-way switch, you will typically find four distinct circuit layouts. Identifying which layout matches your home is the critical first step in troubleshooting.
1. Power to Switch 1, Light Between Switches
Power enters the first switch box. The common terminal on Switch 1 connects to the incoming hot (black) wire. The travelers run to Switch 2. From Switch 2, a 2-wire cable runs to the light fixture. This is the most common and easiest to troubleshoot because the line and load are clearly separated.
2. Power to Switch 1, Light at the End (Switch 2)
Power enters Switch 1. The 3-wire cable runs directly to Switch 2, carrying the travelers and the neutral. From Switch 2, a 2-wire cable drops up to the light. Here, the common on Switch 1 is the line hot, and the common on Switch 2 is the switched hot returning to the light.
3. Power to Light, Switches at the End
Power enters the light fixture box first. A 3-wire cable drops down to Switch 1, and another 3-wire cable runs from Switch 1 to Switch 2. In this scenario, the white wire in the switch loop is often used as a traveler or a constant hot, and the common wire on the final switch returns the switched hot back up to the light.
4. Power to Light, Switches Between (Dead Ends)
This is the most complex and frustrating configuration to troubleshoot. Power enters the light, goes to Switch 1, and then Switch 2 is a 'dead end' with only a 3-wire cable connecting it to Switch 1. Troubleshooting this requires careful continuity testing, as multiple wires in the light box serve as both pass-throughs and switch loops.
Step-by-Step Multimeter Troubleshooting
To properly troubleshoot, you need a reliable digital multimeter (DMM) like the Fluke 117 or the Klein Tools MM400. Do not rely on cheap voltage pens for definitive diagnostics, as they can be triggered by phantom voltage in 3-way traveler wires.
Step 1: Verify Power and Isolate the Circuit
Turn off the breaker and verify the circuit is dead using a non-contact voltage tester (NCVT). Remove both switches from the wall, keeping the wires connected for now. Turn the breaker back on. Warning: Live voltage is now exposed. Follow OSHA electrical safety guidelines regarding live circuit testing and use insulated tools.
Step 2: Find the 'Always Hot' Common
Set your DMM to AC Voltage (V~). Place the black probe on the bare ground wire or metal box. Touch the red probe to the three terminals on Switch 1, then Switch 2. The single terminal that reads ~120V regardless of the switch toggle position is your Line Hot Common. Mark this wire with black electrical tape.
Step 3: Test the Travelers
With the Line Hot identified, toggle the switches. The two brass traveler terminals on the Line switch should alternate showing 120V depending on the toggle position. If one traveler never shows voltage, you have a broken wire or a failed internal switch mechanism.
Step 4: Continuity Testing (Power OFF)
Turn the breaker back off. Set your DMM to Continuity (the diode/sound wave symbol). Disconnect the wires from the suspect switch. Place one probe on the Common screw and the other on Traveler 1. Flip the switch. It should beep in one position but not the other. Move to Traveler 2; it should beep in the exact opposite position. If the switch fails this test, the internal contacts are burned out, and the switch must be replaced.
Troubleshooting Matrix: Symptoms and Solutions
Use this diagnostic matrix to quickly identify the root cause of your 3-way switch failure based on the physical symptoms.
| Symptom | Probable Cause | Diagnostic Fix |
|---|---|---|
| Light only works from Switch A, never from Switch B. | The Common wire on Switch B is incorrectly wired to a Traveler terminal, or a traveler wire is broken. | Identify the Load wire on Switch B using the voltage test and move it to the dark Common screw. |
| Light works, but switches operate in reverse (Up is Off, Down is On). | The two traveler wires are crossed on one of the switches. | Not a safety hazard. Simply swap the two wires on the brass traveler screws on either switch. |
| Breaker trips immediately upon flipping the switch. | Neutral wire is incorrectly tied to a traveler, or a hot wire is shorting to the metal switch box. | Check for bare copper touching brass screws. Verify neutrals are bundled together in the back of the box, not on the switch. |
| Light flickers or dims when toggled. | Loose terminal connection, backstabbed wire failure, or failing LED driver incompatible with the switch. | Move wires from push-in 'backstab' holes to the side screw terminals. Torque to manufacturer specs. |
Smart Switch Upgrades and 2026 Code Compliance
Many homeowners troubleshooting a failing 3-way switch decide to upgrade to smart lighting. If you are replacing a standard 3-way setup with a smart system like the Lutron Caseta (PD-5S-DV) or Kasa Smart 3-Way Kit, the wiring diagram changes significantly.
Most modern smart switches require a neutral wire (the white bundle in the back of the box) to power the internal Wi-Fi or Zigbee radio. Under the latest 2023 and 2026 National Electrical Code (NEC) updates, neutral wires are strictly required in all new construction switch boxes. However, in older homes, the neutral often bypasses the switch box entirely and goes straight to the light.
If your diagram for wiring a 3-way switch shows no neutral in the switch box, you cannot use a standard smart switch. Instead, you must use a neutral-free system like the Lutron Caseta PD-5WS-DV paired with a wireless Pico remote, which eliminates the need for traveler wires entirely and simplifies the circuit to a single-pole smart switch with a wireless secondary.
Frequently Asked Questions (FAQ)
Can I use a 3-way switch as a single-pole switch?
Yes. To do this, connect the incoming hot wire to the Common (dark) screw, and the load wire to one of the Traveler (brass) screws. Leave the second traveler empty. The switch will only operate correctly in one toggle direction, but it is perfectly safe and code-compliant.
Why does my multimeter show 40V on a traveler wire when the switch is off?
This is known as 'phantom voltage' or 'ghost voltage.' It occurs due to capacitive coupling between the parallel wires inside the Romex sheathing. A high-impedance digital multimeter will read this induced voltage. To confirm it is phantom, use a low-impedance tester (LoZ setting on a Fluke 117) or a solenoid voltage tester (Wiggy), which will read 0V.
Is it safe to use the ground wire as a neutral for a smart switch?
Absolutely not. Using the equipment grounding conductor as a current-carrying neutral is a severe fire and shock hazard, and a direct violation of NEC Article 250.148. If you lack a neutral, you must either pull new cable with a neutral wire or use a smart switch designed to operate without one.
For more information on energy-efficient lighting and proper electrical loads, refer to the U.S. Department of Energy's lighting guidelines. Always consult a licensed electrician if you are unsure about your home's specific wiring configuration.