
The Limitations of Basic Toners vs. True Tracers
When a receptacle, switched loop, or hardwired appliance suddenly loses power, the immediate assumption is often a tripped breaker or a failed GFCI. However, when the panel checks out and voltage is confirmed at the source, the fault lies within the walls. A hidden physical break, a severed neutral, or a nail through the Romex sheathing requires precise isolation. Many DIYers and junior technicians reach for a cheap analog tone generator and probe. This is a critical mistake for modern wiring.
Standard tone generators operate by injecting an audio-frequency signal onto a conductor. While adequate for exposed telecommunications or low-voltage thermostat wires, they fail catastrophically on standard 120V/240V AC branch circuits for two reasons. First, they cannot be safely connected to energized circuits. Second, the 60Hz electromagnetic field and the capacitive coupling of parallel wires inside a standard NM-B (Romex) cable completely drown out the audio tone. To accurately trace and isolate faults in branch circuit wiring, you must use a dedicated electrical wire tracer tool that utilizes magnetic field sensing, signal modulation, and high-frequency injection.
2026 Wire Tracer Comparison Matrix
Not all tracers are built for the same environment. The rise of AFCI/GFCI combination breakers and smart panels in 2026 means that injecting a signal can sometimes cause nuisance tripping if the tool lacks proper impedance matching. Below is a comparison of three industry-standard tiers of electrical wire tracer tools.
| Tool Model | Target User | Max Voltage | Key Features | Avg. Price (2026) |
|---|---|---|---|---|
| Sperry Instruments ET-300 | DIY / Light Remodel | 120V AC | Basic breaker finding, dead-wire tracing, audio feedback. | $45 - $55 |
| Klein Tools ET910 | Residential Electrician | 120V AC | GFCI testing, 90dB audio, auto-sensitivity, deep-wall penetration. | $130 - $150 |
| Fluke 2042 Advanced | Commercial / Industrial | 400V AC/DC | Peak/Null modes, LED screen, 8kHz/32kHz selectable frequencies. | $280 - $320 |
For troubleshooting dead circuits behind drywall, the Klein Tools ET910 offers the best balance of price and performance for residential work. However, if you are tracing wires in a commercial setting with heavy Variable Frequency Drive (VFD) interference, the selectable frequencies on the Fluke 2042 are mandatory to filter out background electrical noise.
Step-by-Step: Isolating a Hidden Romex Break
Finding the exact location of a severed conductor inside a wall cavity requires a methodical approach. Follow this workflow to isolate the break without causing unnecessary drywall damage.
1. Verify the De-Energized State
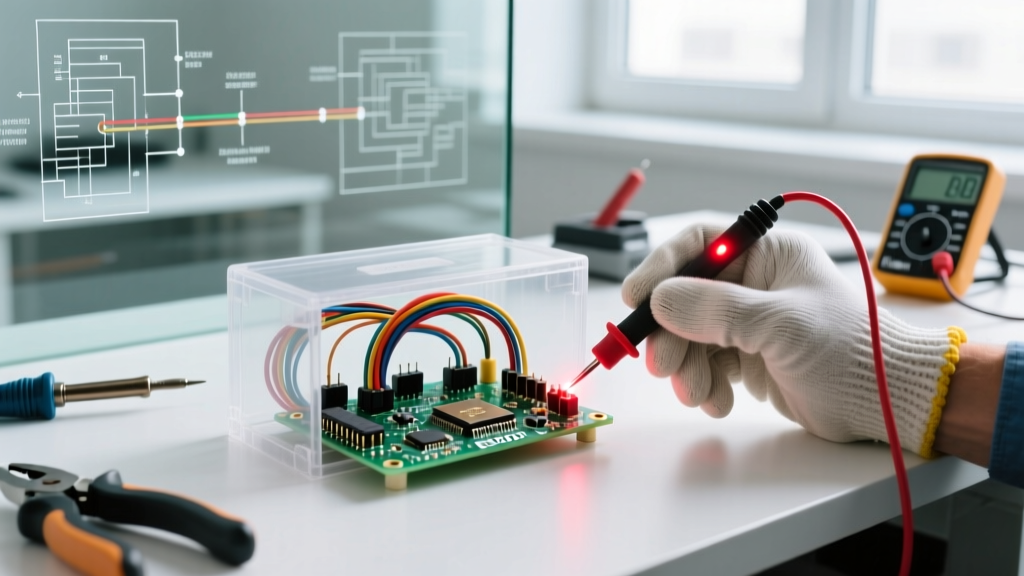
Never assume a circuit is dead based on a breaker label. Use a CAT III rated digital multimeter to test the receptacle or junction box. Verify voltage between Hot-to-Neutral, Hot-to-Ground, and Neutral-to-Ground. Only proceed once the circuit is confirmed de-energized and locked out at the panel.
2. Inject the Transmitter Signal
Connect the tracer’s transmitter directly to the faulted circuit. For a broken hot wire, clip the transmitter’s red lead to the hot conductor and the black lead to a known good ground (such as the bare copper ground wire in the same cable or the metal panel chassis). Turn the transmitter on. It will send a modulated RF signal down the intact portion of the wire.
3. Trace the Path to the Null Point
Take the receiver wand to the wall surface where the cable exits the panel. Hold the wand perpendicular to the wall and slowly sweep it across the surface. The receiver will detect the magnetic field generated by the injected signal. Follow the signal path toward the dead receptacle.
As you approach the physical break in the copper, the signal will abruptly stop. Mark this exact location on the drywall with a pencil. The break is almost always within a 2-inch radius of where the receiver’s audio tone and visual indicator drop to zero (the "null" point).
Advanced Troubleshooting: Edge Cases and Signal Ghosting
In real-world scenarios, wires rarely run in isolation. Capacitive coupling between adjacent wires in a crowded wall cavity can cause "ghost signals," leading you to trace the wrong cable. Here is how to troubleshoot the most common edge cases.
Edge Case 1: Signal Bleed and Ghosting
The Problem: The receiver picks up the tracer signal on a neighboring, unconnected Romex cable due to capacitive coupling between the parallel wires inside the wall.
The Fix: Switch your receiver from "Null" mode to "Peak" mode (available on pro-grade tools like the Fluke 2042). In Peak mode, the receiver detects the absolute center of the magnetic field rather than the edges. Alternatively, go back to the panel and physically bond the ground and neutral wires of the adjacent cables to the grounding bus. This creates a shunt path that drains the capacitively coupled signal, eliminating the ghost trace.
Edge Case 2: Armored Cable (MC/BX) Shielding
The Problem: The tracer signal completely disappears as soon as the cable enters a section of Metal-Clad (MC) or older BX armored cable. The metal sheath acts as a Faraday cage, blocking the magnetic field from reaching the receiver wand.
The Fix: Standard magnetic tracers cannot penetrate continuous metal armor. You must either use a high-frequency RF tracer designed for shielded cables, or physically access the cable at a junction box to clamp the transmitter directly onto the internal conductors past the shielding. If tracing MC cable is a frequent requirement, upgrading to a tool with a 32kHz or higher frequency output is necessary to penetrate thin-gauge aluminum armor.
Edge Case 3: Nuisance AFCI/GFCI Tripping
The Problem: When attempting to trace an energized circuit (using a tool rated for live tracing), the injected signal frequency is misinterpreted by the AFCI breaker as an arc fault, causing it to trip immediately.
The Fix: De-energize the circuit before tracing. If live tracing is absolutely necessary for diagnostic purposes, use a transmitter with a high-impedance output and a frequency specifically designed to avoid the 1kHz to 10kHz band where most AFCI algorithms monitor for arc signatures.
Pro Tip: When repairing a severed wire inside a wall cavity, always install a steel nail plate over the stud where the cable passes through, as mandated by NEC Article 300.4(A)(1). If a drywall screw caused the original break, a nail plate prevents a repeat failure.
Code Compliance and Repair Safety
Once the electrical wire tracer tool has successfully isolated the break, the repair must adhere to strict safety standards. You cannot simply splice the broken wires and push them back into the wall cavity. The National Electrical Code (NEC) requires that all wire splices be made inside an accessible junction box.
For a break hidden behind drywall, you have two code-compliant repair options:
- Cut and Reroute: Cut out the damaged section of drywall, install a remodeling (old-work) junction box at the break location, splice the wires using UL-listed wire connectors (such as Wago 221 lever nuts or Ideal In-Sure push-ins), and install a blank cover plate that remains permanently accessible.
- Pull a New Line: If the break is near the end of the run, use fish tape to pull a completely new length of NM-B cable from the nearest accessible junction point to the destination, abandoning the damaged wire in the wall (capping both ends with wire nuts and pushing them into the respective boxes).
Always adhere to OSHA electrical safety standards regarding Lockout/Tagout (LOTO) procedures when working at the panel. Verifying the absence of voltage with a properly rated meter before touching any conductor is non-negotiable. By combining a high-quality electrical wire tracer tool with strict adherence to code-compliant repair methods, you can efficiently restore power while maintaining the long-term safety and integrity of the electrical system.