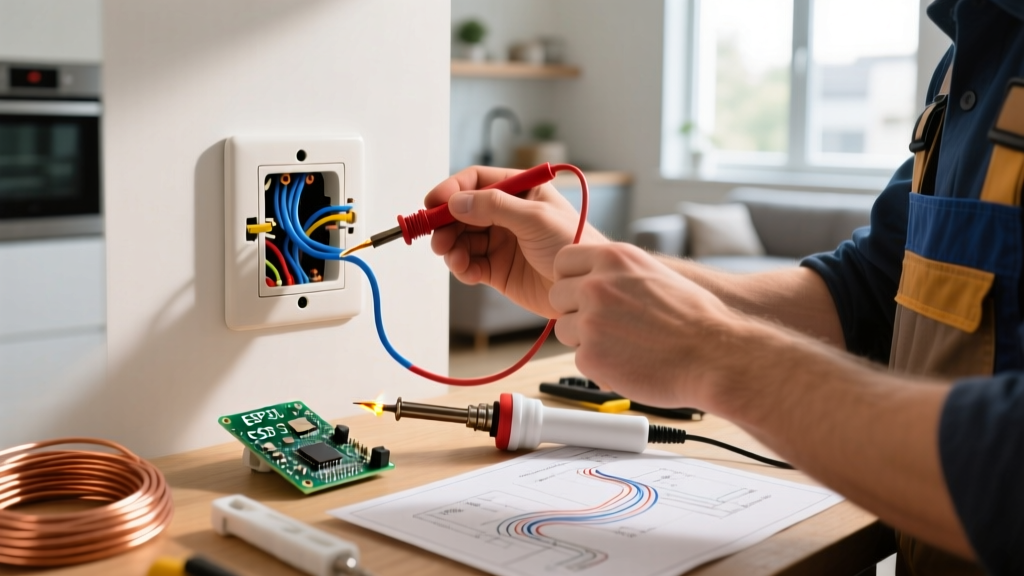

The Diagnostic Arsenal: Tools for Modern Wiring Troubleshooting
When home electrical wiring items fail, the symptoms range from a simple dead receptacle to the distinct smell of ozone or melting PVC insulation. According to the National Fire Protection Association (NFPA), electrical distribution and lighting equipment accounts for nearly 40,000 home fires annually. Troubleshooting these components requires more than a basic $5 neon voltage tester; it demands precision instruments capable of reading modern, non-linear loads.
Before opening a single junction box, assemble the following diagnostic toolkit:
- True-RMS Digital Multimeter: The Fluke 117 (approx. $220) or Klein Tools MM600 ($75). Standard averaging meters will give false low readings on circuits burdened by LED drivers or smart home hubs.
- Non-Contact Voltage Tester (NCVT): Klein Tools NCVT-3 ($35). Features dual-range sensitivity to distinguish between 120V line voltage and 12-24V low-voltage control wires.
- Torque Screwdriver: Klein Tools 650 ($130). The NEC strictly mandates torqued terminations to prevent thermal failure.
- Receptacle Analyzer: Amprobe INSP-3 ($45) to instantly verify ground continuity and GFCI trip times.
Safety Override: Never assume a circuit is dead based on wall switch position or a tripped breaker label. Always verify zero energy state at the point of work using a Category III (CAT III) rated multimeter before touching bare conductors. The Electrical Safety Foundation International (ESFI) emphasizes that mislabeled panels are a leading cause of DIY electrocution.
Receptacles and Outlets: Diagnosing Termination Failures
The standard 15-amp duplex receptacle (such as the Leviton 5362-W, approx. $3) is the most abused wiring item in residential construction. When a receptacle fails intermittently or shows signs of thermal discoloration, the root cause is almost always a poor termination.
The 'Backstab' Push-In Failure Mode
Many tract homes utilize the push-in (backstab) terminals on the rear of cheap receptacles to save installation time. These rely on a small brass spring clip to grip 14 AWG solid copper wire. Over years of thermal cycling—heating up under load and cooling down when idle—the copper wire experiences 'creep.' The spring clip loses tension, resulting in a high-resistance connection that generates excessive heat (I²R losses), eventually melting the polycarbonate housing.
Troubleshooting Steps:
- De-energize the circuit and verify zero voltage.
- Extract the receptacle from the gang box and inspect the rear.
- If wires are pushed into the backstab holes, use a small flathead screwdriver to press the release tang and pull the wires out.
- Inspect the stripped copper. If it is pitted, blackened, or brittle, snip it back to clean metal and re-strip to 5/8 inch.
- Terminate using the side-screw terminals or the internal back-wire clamp plates. Torque the terminal screws to exactly 14 in-lbs to meet current code requirements and ensure optimal surface contact.
Switchgear: Toggle, Dimmer, and Smart Switch Diagnostics
Switch failures usually manifest as flickering lights, buzzing, or complete unresponsiveness. With the proliferation of smart switches (like the Lutron Caseta PD-6ANS), troubleshooting has shifted from simple continuity checks to understanding line, load, and neutral requirements.
The Missing Neutral Dilemma
Smart switches require a constant 120V source to power their internal Wi-Fi or Zigbee radios, even when the light is 'off.' If a newly installed smart switch fails to boot or randomly resets, the issue is often an improperly identified or high-resistance neutral connection.
- The Diagnostic Check: With the multimeter set to AC Voltage, measure between the Line (hot) wire and the Neutral bundle in the back of the box. You must read a steady 120V (±5%).
- The Edge Case: If you read 120V between Line and *Ground* but only 90-105V between Line and *Neutral*, you have a loose neutral connection upstream or an overloaded neutral bus bar. Do not use the equipment grounding conductor as a substitute neutral; this is a severe NEC violation that can energize plumbing and appliance chassis.
Overcurrent Protection: Breaker and AFCI Nuisance Tripping
Circuit breakers (e.g., Square D QO120 or Eaton BR120) are designed to protect the wire, not the appliance. When a breaker trips, the first diagnostic question is: Is this a thermal overload, a short circuit, or an arc fault?
Decoding AFCI Nuisance Tripping
Arc Fault Circuit Interrupters (AFCIs) are highly sensitive to parallel and series arcing. However, homeowners frequently report 'nuisance tripping' when using specific appliances. Universal motors (found in vacuums, power drills, and older blenders) use carbon brushes that naturally spark during operation. The AFCI's microprocessor can misinterpret this normal brushed arcing as a dangerous parallel arc fault.
Diagnostic Matrix for AFCI/GFCI Breakers:
| Symptom / LED Pattern | Probable Failure Mode | Actionable Resolution |
|---|---|---|
| Trips instantly upon reset (0 seconds) | Dead short circuit (Line to Ground or Line to Neutral) | Inspect all downstream junction boxes for pinched wires or melted wire nuts. |
| Trips after 5-15 minutes of load | Thermal Overload (Drawing >15A on a 15A circuit) | Use a clamp meter at the panel to verify amperage. Redistribute loads. |
| Trips randomly; AFCI LED blinks 5 times | Arc Fault (Loose termination or damaged cable) | Check all receptacle terminations. Look for nail/screw punctures in drywall. |
| Trips only when specific motor appliance is used | Nuisance Trip (Brushed motor arcing) | Replace appliance with a brushless motor model or consult an electrician. |
Splices and Terminations: The Hidden Fire Hazards
The wire nut (twist-on connector) and the lever connector (e.g., Wago 221-413) are the unsung heroes of home wiring. However, they are also the most common points of catastrophic failure when installed incorrectly.
Twist-On vs. Lever Connectors: Thermal Failure Analysis
A melted Ideal 74B Yellow wire nut is a classic sign of an under-twisted splice. If the wires are not pre-twisted (a debated practice, but often necessary for solid-to-stranded splices) or if the wire nut is too large for the gauge combination, the spring inside fails to bite into the copper. This creates a micro-gap. When a 12A load (like a space heater) is applied, the air gap ionizes, creating localized heat that melts the thermoplastic shell.
Why Pros are Switching to Wago Lever Nuts:
The Wago 221 series (approx. $0.60 per connector) utilizes a clamping lever mechanism that guarantees a gas-tight connection regardless of the installer's wrist strength. To troubleshoot an existing Wago splice:
- Flip the orange lever up to release the wire.
- Inspect the strip length. The Wago 221 requires exactly 11mm (7/16 inch) of stripped insulation. Too short, and the clamp bites the insulation (open circuit). Too long, and bare copper is exposed outside the housing (shock hazard).
- Check the wire gauge. The 221 series accepts 24-12 AWG. Attempting to force 10 AWG wire into a standard 221-413 will permanently damage the internal spring clamp.
Systematic Troubleshooting Flow for a 'Dead' Circuit
When an entire room or branch circuit loses power, avoid randomly replacing items. Follow this top-down diagnostic flow to isolate the fault:
- Panel Verification: Measure voltage at the breaker's terminal screw and the neutral/ground bus bar. If you read 120V here, the breaker is good; the fault is downstream.
- The First Point of Failure: Identify the first receptacle or junction box on the branch. In many homes, the circuit daisy-chains from the panel to a ceiling light box, then down to the switches and receptacles. Open the first physical box in the chain.
- Check the Splices: Look for a failed backstab connection or a melted wire nut that has separated the downstream feed.
- Continuity Testing: If voltage is present at the first box but not the second, de-energize the circuit and use your multimeter's continuity (ohms) setting to test the hot and neutral conductors between Box 1 and Box 2. An 'OL' (Open Loop) reading indicates a severed wire inside the wall, often caused by a rogue drywall screw or a rodent.
When to Escalate to a Licensed Professional
While replacing a receptacle or diagnosing a smart switch is well within the scope of an advanced DIYer, certain conditions demand a licensed electrical contractor. If you discover aluminum branch wiring (common in homes built between 1965 and 1973) that has not been pigtailed with COPALUM or AlumiConn connectors, do not attempt to troubleshoot or replace devices yourself. Aluminum wiring requires specialized torque values, anti-oxidant paste (Noalox), and CO/ALR rated devices to prevent catastrophic thermal expansion failures. Furthermore, if your main service panel exhibits signs of rust, water intrusion, or features a recalled Federal Pacific Stab-Lok or Zinsco breaker panel, cease all DIY troubleshooting immediately and contact a professional for a full panel upgrade.