
The Critical Importance of Flawless Electrical Wiring Connections
When undertaking home electrical upgrades, the focus often lands on selecting the right breaker size or routing cables efficiently. However, the vast majority of residential electrical failures originate at the termination points. According to the National Fire Protection Association (NFPA), electrical distribution and lighting equipment are consistently among the top causes of home fire property damage, with loose or degraded electrical wiring connections acting as a primary catalyst for arc faults and thermal runaway.
As we navigate the 2026 home improvement landscape, the proliferation of sensitive smart home electronics, AFCI/GFCI combination breakers, and high-draw EV charging circuits means that marginal connections are no longer just a fire hazard—they are a guaranteed source of nuisance tripping and voltage drop. This guide provides a deep-dive, professional-grade framework for executing perfect electrical wiring connections in your home DIY projects, moving beyond basic advice into the exact tools, measurements, and code mandates you need to know.
The Anatomy of a Perfect Connection: Stripping and Prep
The foundation of any reliable connection is the wire preparation phase. Using a dull utility knife or improper pliers to strip insulation often nicks the copper conductor, creating a micro-fracture that will eventually snap under thermal expansion and contraction.
Tool Selection and Strip Lengths
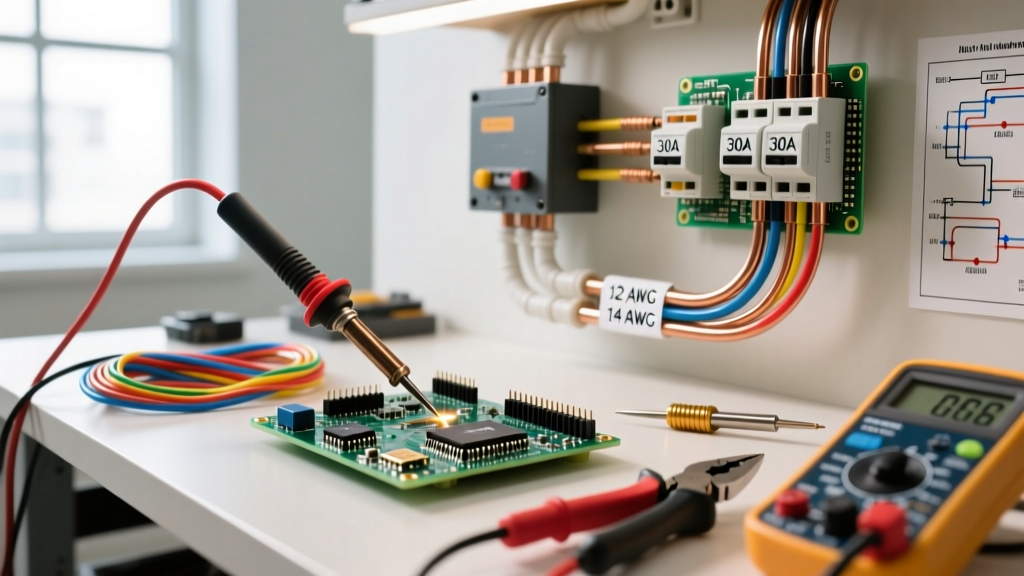
For standard 14 AWG and 12 AWG solid THHN/THWN-2 copper wire, the industry standard is the Klein Tools 11055 wire stripper. This tool guarantees a clean cut without scoring the copper. The strip length is entirely dependent on the connector you choose:
- Standard Wire Nuts (e.g., Ideal 72B): Strip exactly 5/8 inch (16mm). If you strip too little, the insulation will bind against the nut's internal threads, preventing the spring from biting the copper. If you strip too much, bare copper will be exposed below the skirt of the nut.
- Lever-Nuts (e.g., Wago 221 Series): Strip precisely 11mm (roughly 7/16 inch). The Wago 221 housing features a built-in strip gauge on the back of the transparent case. Use it.
- Push-In Receptacle Terminals: Strip 14mm (9/16 inch) to ensure the wire bottoms out completely in the back-stab cavity.
Comparative Analysis: Choosing the Right Connector
Not all electrical wiring connections are created equal. The market has evolved significantly, and relying solely on traditional twist-on connectors is no longer the only—or even the best—option for every scenario. Below is a comparative matrix of the most common residential connectors.
| Connector Type | Specific Model Example | Avg. Cost (2026) | Wire Capacity | Best Use Case | Primary Failure Mode |
|---|---|---|---|---|---|
| Traditional Wire Nut | Ideal Yellow Wing (72B) | $0.08 / ea | 14-10 AWG (Min 2 #14) | High-volume rough-in, junction boxes | Operator error (insufficient twisting torque) |
| Lever-Nut | WAGO 221-413 (3-Port) | $0.45 / ea | 24-12 AWG (Solid/Stranded) | Limited box space, mixed gauge, retrofits | Lever left partially open; vibration loosening (rare) |
| Push-In (In-Sure) | Ideal 33 Orange | $0.15 / ea | 14-12 AWG (Solid Only) | Fast neutral/ground pigtailing | Stranded wire insertion; wire pull-out |
| Lug Connector | AlumiConn 3-Port | $2.85 / ea | 12-10 AWG (Al to Cu) | Repairing legacy aluminum branch wiring | Improper torque on set screws |
Deep Dive: WAGO 221 Lever-Nuts vs. Traditional Wire Nuts
While the WAGO 221 Lever-Nut series has revolutionized residential wiring, it is vital to understand its mechanical differences compared to the traditional Ideal 72B wire nut. The Ideal 72B relies on a steel coil spring that deforms the copper wires together, creating a gas-tight connection through sheer mechanical pressure and friction. The Wago 221 utilizes a clamping spring mechanism that bites into the wire when the lever is closed.
When to use Wago 221: Use these in deep junction boxes where you need to connect stranded fixture wire to solid branch wire, or in shallow old-work boxes where the compact profile of the 221-413 saves crucial cubic inches. They also allow for easy voltage testing via the integrated test ports without dismantling the connection.
When to use Wire Nuts: For bundling four or five 12 AWG wires in a standard 4x4 junction box, a large winged wire nut (like the Ideal Blue or Gray) remains faster and more cost-effective. However, you must possess the wrist strength to twist them until the wires outside the nut begin to twist together—a sign of proper tension.
Step-by-Step: Executing a Flawless Receptacle Pigtail
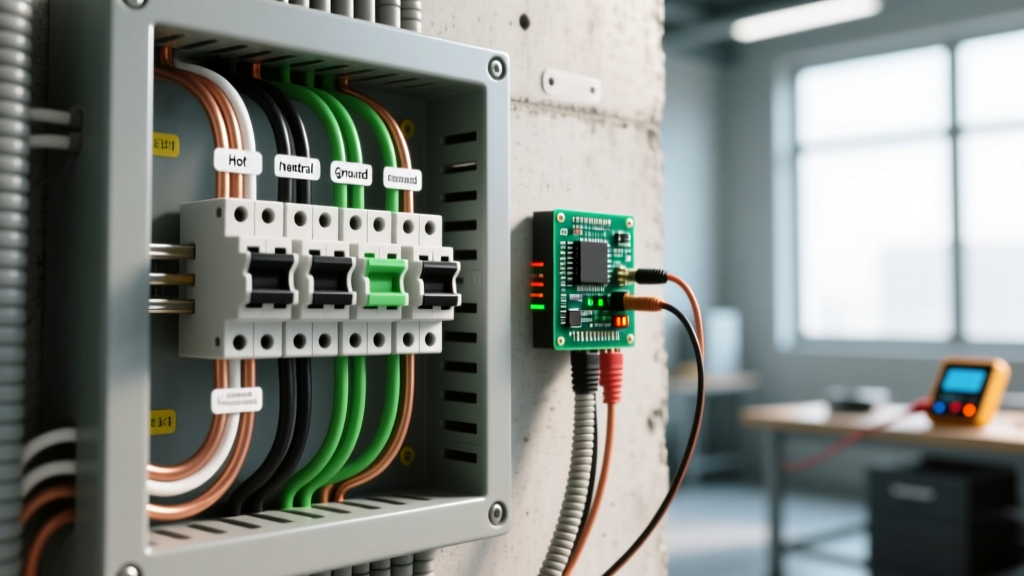
One of the most common code violations in home DIY projects is daisy-chaining the neutral wire through the receptacle terminals. According to the National Electrical Code (NEC), the continuity of the neutral conductor cannot depend on the device itself (NEC 300.13(B)). You must use a pigtail connection. Here is the professional workflow:
- Cut the Pigtail: Cut a 6-inch length of 12 AWG (or 14 AWG, matching the circuit) white THHN wire.
- Strip the Ends: Strip 5/8 inch off both ends of the pigtail, and 5/8 inch off the incoming and outgoing neutral wires.
- Align the Wires: Hold the three wires (incoming, outgoing, pigtail) perfectly parallel. Do not pre-twist them if you are using a high-quality wire nut with a deep internal spring; the spring will align them. If using Wago 221-415 (5-port), simply insert each wire into its own lever port.
- Secure the Connection: If using a wire nut, push the nut down firmly over the wires and twist clockwise. Keep twisting until you feel significant resistance and the wires outside the nut twist slightly together.
- The Tug Test: Grip the wire nut in one hand and pull firmly on each individual wire with the other. If a wire slides out, strip it and start over. A failed tug test means the spring did not engage the copper.
- Terminate: Connect the other end of the pigtail to the silver terminal screw on the receptacle.
The 2026 Mandate: Torque Specifications and Verification
Expert Callout: NEC 110.14(D) Compliance
As of the widespread adoption of NEC 110.14(D), any termination that is marked with a torque specification must be tightened using a calibrated torque tool. Guessing the tightness of a breaker lug or receptacle screw by 'feel' is no longer acceptable and is a leading cause of thermal failure in high-load circuits.
For standard 15A and 20A residential receptacles (like the Leviton T5262 or Hubbell 5262), the manufacturer typically specifies a torque range of 12 to 14 inch-pounds. To achieve this, DIYers and pros alike are adopting tools like the Wiha 60601 or Klein Tools 69000 torque screwdrivers. Setting the tool to 14 in-lbs ensures the screw bites firmly into the copper wire loop without crushing the conductor or stripping the brass screw threads. This single investment (roughly $45-$60) will drastically reduce the risk of outlet meltdowns on your 20A kitchen appliance circuits.
Common Failure Modes and Advanced Troubleshooting
Even with meticulous installation, environmental factors and load profiles can stress electrical wiring connections over time. Understanding how to identify failing connections before they cause a fire is a critical skill for the home electrician.
1. Backstabbed Push-In Terminals
Many budget-friendly receptacles ($1.25 to $1.80 each) feature push-in back-wiring holes. These rely on a tiny internal brass spring-clip to grip the wire. Under continuous loads (like a 1500W space heater drawing 12.5A for hours), these clips suffer from thermal fatigue and lose their grip, leading to arcing. Solution: Always cut off backstabbed connections during renovations and remake them using the side-binding terminal screws or a pigtail.
2. Aluminum Oxidation and Cold Flow
If your home was built between 1965 and 1973, it may have aluminum branch wiring. Aluminum oxidizes rapidly when exposed to air, creating a highly resistive layer that generates immense heat. Furthermore, aluminum suffers from 'cold flow,' meaning it compresses over time under screw pressure, loosening the connection. Solution: Never connect aluminum directly to copper using standard wire nuts. You must use CO/ALR rated devices or, preferably, AlumiConn lug connectors filled with antioxidant compound.
3. Thermal Imaging Diagnostics
For a non-invasive way to audit your panel and junction boxes, utilize a compact thermal imaging camera like the FLIR C5 or Seek Thermal Compact. After running heavy appliances (dryer, oven, AC) for 30 minutes, scan your breaker panel and accessible junction boxes. Any connection that appears more than 15°F (8°C) hotter than adjacent identical connections indicates high resistance and impending failure. This proactive diagnostic step is a hallmark of advanced home electrical maintenance.
Final Thoughts on Box Fill and Accessibility
Perfect electrical wiring connections are useless if they are crammed into an undersized junction box, causing physical stress on the terminations. Always calculate your box fill according to NEC Article 314.16. Remember that each Wago 221 connector counts as a single conductor fill based on the largest wire entering it, while a bundle of wire nuts counts as one conductor fill based on the largest wire in the bundle. Keep your connections organized, accessible, and meticulously torqued, and your home's electrical infrastructure will remain safe and reliable for decades to come.