
Mastering Electric Light Wiring Inspections: A 2026 Compliance Guide
Failing an electrical inspection doesn't just delay your project; it exposes critical flaws in thermal management and fault protection. When it comes to electric light wiring, inspectors aren't just checking if the fixture turns on. They are verifying that the circuit can handle continuous loads without thermal degradation, that arc faults are mitigated, and that junction boxes aren't overcrowded. As jurisdictions adopt the latest National Electrical Code (NEC) standards through 2026, the tolerance for marginal wiring practices has dropped to zero.
This guide bypasses generic DIY advice and dives straight into the exact metrics, code articles, and physical measurements master electricians use to pass rough-in and final inspections on the first attempt.
Core NEC Requirements for Lighting Circuits
The foundation of compliant electric light wiring lies in proper circuit sizing and fault protection. While lighting loads are generally low compared to appliance circuits, the NEC mandates strict protections due to the widespread nature of lighting branch circuits throughout a structure.
AFCI Protection Mandates (NEC 210.12)
As of the 2026 enforcement cycle, Arc-Fault Circuit-Interrupter (AFCI) protection is non-negotiable for nearly all 120V, 15A, and 20A lighting circuits in dwelling units. This includes bedrooms, living rooms, hallways, and closets.
- Breaker Selection: Use Combination-Type AFCI breakers (e.g., Square D Homeline HOM115AFIC or Eaton BR115AF). These typically cost between $45 and $65 per breaker and protect against both parallel and series arcing.
- Exemptions: Bathrooms and garages generally require GFCI protection instead of AFCI for lighting, though local amendments can vary. Always verify with your local Authority Having Jurisdiction (AHJ).
- Shared Neutrals: If you are wiring multi-wire branch circuits (MWBC) for lighting, you must use a 2-pole AFCI breaker or handle-tied individual AFCI breakers to prevent neutral overloading and ensure proper arc detection.
Junction Box Fill Calculations: The #1 Failure Point
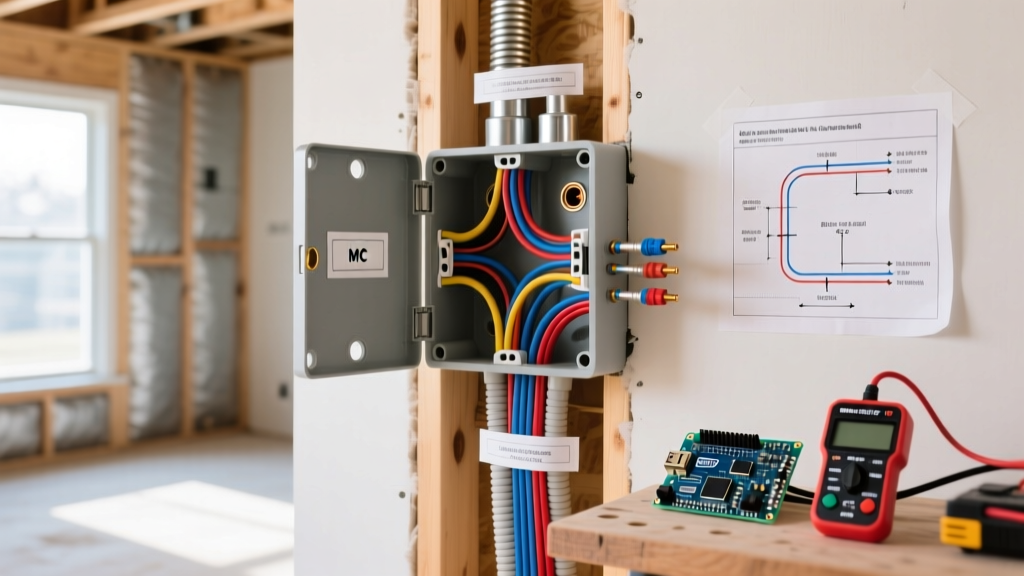
Overcrowded junction boxes trap heat, degrading the PVC insulation on NM-B (Romex) cables and creating a severe fire hazard. Inspectors routinely fail electric light wiring rough-ins when box fill calculations violate NEC Article 314.16.
| Wire Size (AWG) | Volume Allowance per Wire | Maximum Wires in 18 cu in Box |
|---|---|---|
| 14 AWG | 2.0 cubic inches | 9 allowances |
| 12 AWG | 2.25 cubic inches | 8 allowances |
| 10 AWG | 2.5 cubic inches | 7 allowances |
Real-World Calculation Example:
Imagine a single-gang plastic nail-on box (standard 20.5 cu in capacity) housing a single-pole dimmer switch, with two 12/2 NM-B cables entering the box. The box has no internal clamps.
- 2 Hot conductors (12 AWG): 2 x 1 allowance = 2
- 2 Neutral conductors (12 AWG): 2 x 1 allowance = 2
- 2 Ground conductors (12 AWG): 1 allowance total = 1
- 1 Dimmer Switch: 2 allowances total = 2
- Total Allowances: 7
- Total Volume Required: 7 x 2.25 cu in = 15.75 cubic inches.
Since 15.75 cu in is less than the box's 20.5 cu in capacity, this passes inspection. If you were to add a third 12/2 cable to feed another light, the required volume would jump to 22.5 cu in, resulting in an automatic inspection failure.
Wire Sizing, Stapling, and Physical Protection
Inspectors physically trace your electric light wiring during the rough-in phase, checking for mechanical protection and proper support.
Stapling and Support (NEC 334.30)
Nonmetallic-sheathed cable (NM-B) must be secured and supported. Inspectors will fail your rough-in if they find sagging wires or improper fastening.
- Proximity to Box: Cables must be stapled within 8 inches of every single-gang junction box without cable clamps.
- Intervals: Cables must be secured at intervals not exceeding 4.5 feet.
- Fastener Type: Use insulated cable staples sized for the specific cable (e.g., 1/2-inch staples for 12/2 and 14/2 NM-B). Never use standard steel framing nails or drywall screws, which can pierce the outer sheathing and short the circuit.
Bored Holes and Nail Plates (NEC 300.4)
When running lighting circuits through wooden studs, the edge of the bored hole must be at least 1.25 inches from the nearest edge of the stud. If you are forced to drill closer to the edge to navigate plumbing or HVAC obstacles, you must install a 1/16-inch thick steel nail plate (e.g., Arlington Industries NP1) over the stud face to prevent drywall screws from piercing the wire later.
Rough-In vs. Final Inspection: What the Inspector Checks
Understanding the distinct phases of an electrical inspection prevents costly rework. According to the National Fire Protection Association (NFPA), inspections are segmented to verify infrastructure before it is hidden behind drywall.
The Rough-In Inspection
This occurs after all wires are pulled, boxes are nailed, and holes are drilled, but before drywall is hung and before devices are installed.
- Checklist: Box fill, stapling intervals, nail plates, proper wire gauge (14 AWG for 15A, 12 AWG for 20A), and circuit mapping.
- Common Failure: Leaving wire ends unstripped and untaped. Inspectors want to see the outer sheathing extend at least 1/4 inch inside the box, with the ground wire left long and pigtailed to the box if it is metal.
The Final Inspection
This occurs when the house is fully finished, all light fixtures are mounted, and switches are installed.
- Checklist: Polarity (hot to brass, neutral to silver), grounding continuity, proper cover plates, and AFCI/GFCI functionality.
- Common Failure: Recessed light fixtures (can lights) installed in insulated ceilings without an IC (Insulation Contact) rating. If a non-IC rated fixture is buried in blown-in cellulose insulation, the inspector will fail the final, as it poses a severe thermal fire risk.
Master Electrician Insight: 'Never rely on the push-in (backstab) connectors on the back of cheap residential light switches for your primary lighting circuits. Under continuous loads, the internal spring tension relaxes over time, leading to high-resistance connections and arcing. Always use the side-terminal screws wrapped clockwise, or use commercial-grade switches (like the Leviton ProGrade series) that feature back-wiring clamps that physically crush the wire under a screw-driven plate.'
Addressing Voltage Drop in Long Lighting Runs
While the NEC doesn't strictly enforce voltage drop as a mandatory code violation for standard residential branch circuits, it recommends a maximum 3% drop for branch circuits (NEC Informational Note 210.19(A)). In 2026, with the rise of low-wattage LED drivers that are highly sensitive to voltage fluctuations, inspectors in regions with long rural runs are increasingly scrutinizing this.
If you are running a 120V lighting circuit 100 feet from the panel to a detached garage or a long driveway landscape lighting transformer:
- 14 AWG Wire: Will experience a ~4.5% voltage drop at a 10A load. This can cause LED drivers to flicker or fail prematurely.
- 12 AWG Wire: Drops the voltage loss to ~2.8%, keeping it within the recommended 3% threshold.
- 10 AWG Wire: Required for runs exceeding 130 feet to maintain optimal performance.
Final Compliance Takeaways
Passing an electric light wiring inspection requires meticulous attention to physical geometry and thermal limits. By strictly calculating junction box volumes, adhering to the 1.25-inch stud edge rule, and utilizing combination AFCI breakers, you eliminate the most common reasons for inspection failure. For further reading on residential electrical safety standards and arc-fault mitigation, refer to the resources provided by the Electrical Safety Foundation International (ESFI). Always pull the required permits and consult your local AHJ, as municipal amendments can supersede baseline NEC requirements.