
The Shift to Metal Framing in Modern Construction
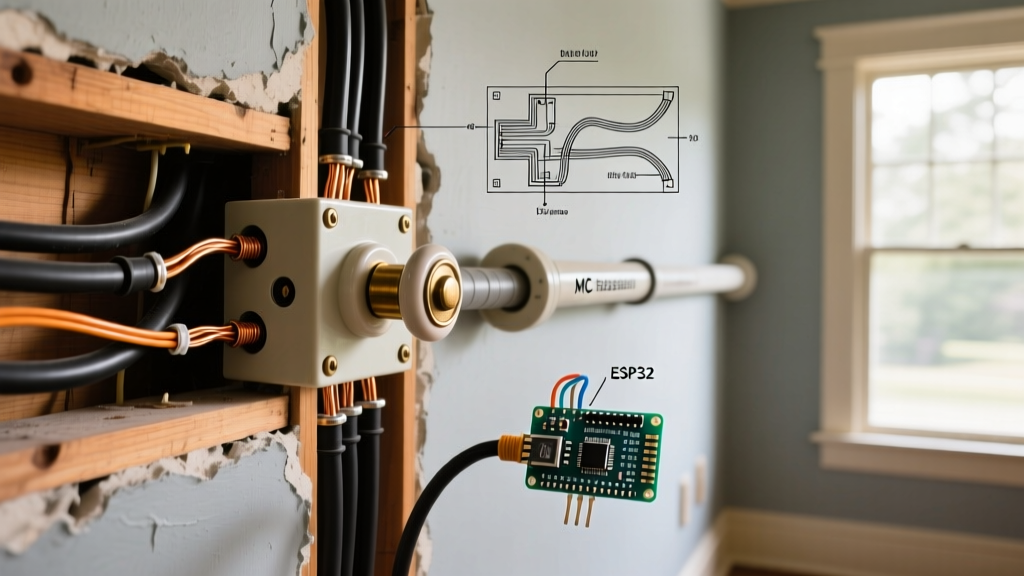
Once reserved almost exclusively for commercial builds, light-gauge steel framing has become a staple in residential construction by 2026. Driven by fluctuating lumber prices, superior fire resistance, and straight, true walls, metal studs are now the go-to choice for basement finishing, soundproofed media rooms, and garage workshops. However, transitioning from wood to steel introduces a unique set of challenges for electrical rough-ins. Metal stud electrical wiring requires a fundamentally different approach to cable protection, box mounting, and grounding than traditional dimensional lumber.
For homeowners and weekend warriors, the question is always: Can I DIY this, or do I need a licensed professional? This analysis breaks down the real-world costs, tooling requirements, and National Electrical Code (NEC) landmines associated with wiring metal studs, helping you make an informed decision for your next project.
The Core Challenges: Why Metal Studs Change the Game
Wood studs are forgiving; you can notch them, drill them off-center, and easily nail boxes to them. Metal studs are not. The primary challenges of metal stud electrical wiring include:
- Sharp Edges: The factory-punched knockouts and field-drilled holes in light-gauge steel (typically 20 to 25 gauge) leave microscopic burrs that can slice through Non-Metallic (NM-B / Romex) sheathing, causing dead shorts or ground faults.
- Box Mounting: You cannot simply nail an electrical box to a steel stud. You must use specialized boxes with metal stud brackets or screw-on clips.
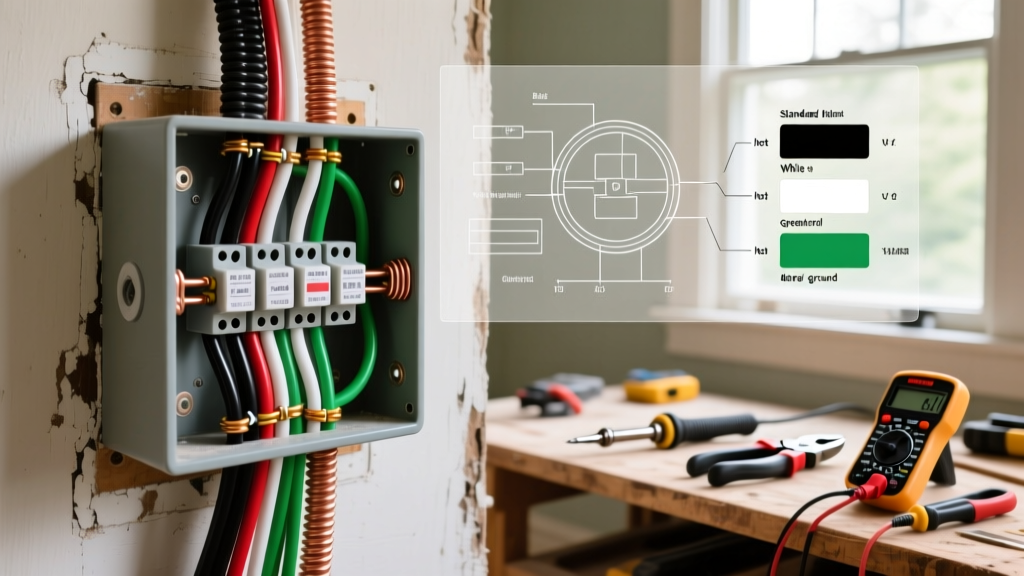
- Grounding Continuity: Unlike rigid metal conduit, light-gauge metal studs are not recognized by the NEC as an Equipment Grounding Conductor (EGC). You must rely entirely on the bare copper wire inside your NM-B cable or THHN runs.
- Physical Fatigue: Pulling wire through metal framing generates more friction and requires more physical effort than pulling through smooth wood bored holes.
DIY vs. Professional: A Head-to-Head Cost & Time Matrix
To provide a realistic comparison, let us analyze a standard 1,000-square-foot basement finishing project requiring 20 circuits, 40 receptacles, and 15 lighting points. The following matrix reflects average 2026 market rates.
| Factor | DIY Approach | Licensed Professional |
|---|---|---|
| Labor Cost | $0 (40-60 hours of your time) | $3,800 - $5,500 (at $95-$140/hr) |
| Material Cost | $1,200 - $1,500 (Retail pricing) | $900 - $1,100 (Wholesale supplier pricing) |
| Specialty Tools | $350 - $500 (One-time purchase) | $0 (Already owned) |
| Permit & Inspection | $150 - $300 (Homeowner permit) | $150 - $300 (Pulled by contractor) |
| Total Estimated Cost | $1,700 - $2,300 | $4,850 - $6,900 |
| Risk of Failed Inspection | High (if NEC bushing rules ignored) | Near Zero |
Note: While the DIY route saves roughly $3,000 to $4,500, it requires a significant upfront investment in specialized metal-framing tools and a strict adherence to code.
Tooling Up: What You Actually Need
If you choose the DIY route, standard woodworking tools will not suffice. Attempting to drill metal studs with standard wood bits will result in jagged, dangerous holes. Professionals utilize specific tooling to ensure clean penetrations and secure mounts.
Essential Tools for Metal Stud Wiring
- Greenlee 7238SB Screw Anchor Punch: (~$85) This tool punches perfectly clean, burr-free holes for anchoring boxes and running small wire bundles. It is vastly superior to using a step bit.
- Carbide-Tipped Hole Saws (e.g., Milwaukee 49-56-7210): (~$45 each) When factory knockouts are not aligned with your wire path, you must drill new holes. Carbide hole saws cut through 20-gauge steel cleanly without catching and spinning the stud.
- Non-Metallic Push-In Bushings: (~$0.15 each) Brands like Arlington Industries manufacture listed plastic bushings that snap into metal stud knockouts. You will need hundreds of these for a single basement.
- Magnetic Nut Drivers & Self-Drilling Screws: Tek screws (self-tapping metal screws) are mandatory for securing boxes and grounding pigtails.
NEC Code Compliance: Where DIYers Fail (and Pros Excel)
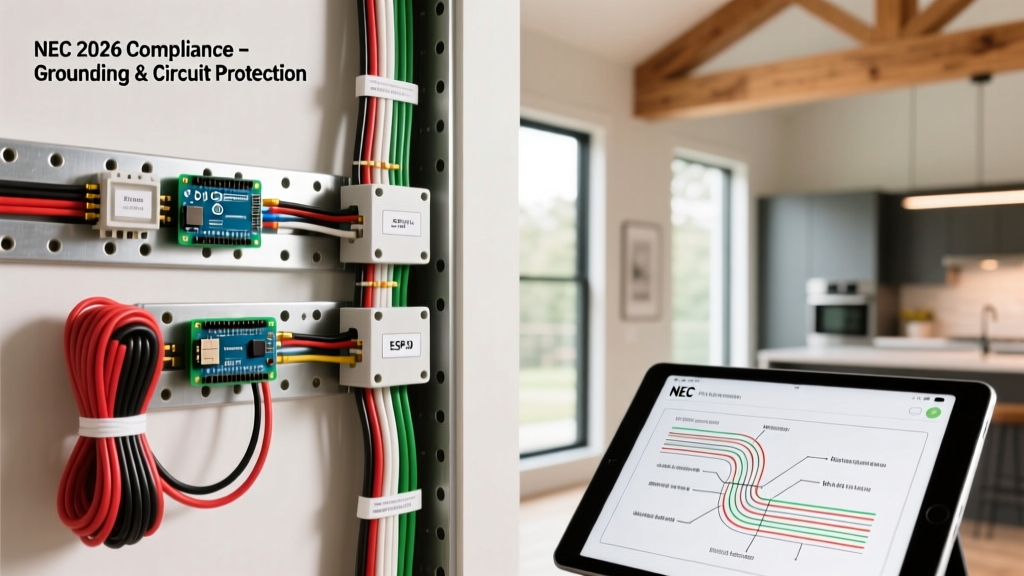
The National Electrical Code has specific articles dedicated to protecting cables in metal framing. According to the National Fire Protection Association (NFPA), inspectors frequently fail DIY metal stud rough-ins due to violations of the following articles:
NEC 300.4(B)(1): The Bushing Requirement
This is the most common failure point. The NEC mandates that where NM-B cable passes through metal framing members, the cable must be protected by listed bushings or grommets. The factory-punched knockouts in metal studs are notoriously sharp. DIY Shortcut: Pulling Romex directly through the bare metal knockout. Pro Standard: Snapping a plastic bushing into every single knockout before pulling wire. At $0.15 a piece, skipping this step is a false economy that guarantees a failed inspection and a potential fire hazard.
NEC 300.4(A)(1): The 1.25-Inch Setback Rule
Wires must be kept at least 1.25 inches from the edge of the framing member to protect against drywall screws. In a standard 3-5/8 inch metal stud, running the wire through the exact center of the knockout satisfies this rule. However, if you are forced to drill a custom hole near the flange, you must install a 1/16-inch thick steel nail plate over the stud face to protect the cable.
NEC 314.27: Box Support
Electrical boxes must be securely fastened. You cannot use the friction-fit methods used in wood studs. Pros use boxes with integrated metal stud brackets (like the Steel City 52C71 series) or attach standard boxes using specialized Madison-style hangers or metal stud clips screwed directly to the web of the stud.
Expert Insight: Never use metal studs as a grounding path. While heavy structural steel is sometimes bonded, light-gauge interior framing relies on drywall screws that do not provide a reliable, low-impedance fault path. Always ensure your NM-B cable includes an intact bare copper equipment grounding conductor, as highlighted by OSHA electrical safety guidelines.
Step-by-Step Professional Workflow vs. Common DIY Shortcuts
Understanding the difference in workflow highlights why professionals charge a premium, but also why their work passes inspection on the first try.
Phase 1: Layout and Box Installation
- Pro Workflow: Laser-level all box heights. Attach metal stud brackets to boxes. Pre-drill pilot holes in the stud web using a center punch to prevent bit walking. Secure boxes with #10 self-drilling Tek screws. Install nail plates on any stud where the box sits within 1.25 inches of the drywall face.
- DYI Shortcut: Using drywall screws to mount boxes (they lack the shear strength and drill point). Failing to use a center punch, resulting in jagged, oversized holes that weaken the stud.
Phase 2: Hole Preparation and Bushing
- Pro Workflow: Inspect every factory knockout. Use a Greenlee punch to clean up any burred edges. Snap Arlington non-metallic bushings into every knockout that will carry NM-B cable. Apply anti-corrosion compound if working in high-humidity environments like unconditioned basements.
- DYI Shortcut: Pulling wire directly through raw knockouts to save 45 minutes of prep time, resulting in sliced sheathing and immediate ground faults when the circuit is energized.
Phase 3: Wire Pulling
- Pro Workflow: Use wire lubricant (like Yellow 77) for long runs to reduce friction against the metal edges and plastic bushings. Leave exactly 8 inches of slack inside the box, stripped and folded neatly.
- DYI Shortcut: Dry-pulling wire, causing excessive tension that stretches the copper or tears the sheathing at the bushing entry point.
Final Verdict: When to DIY and When to Call a Pro
Choose the DIY Route If: You are doing a small-scale project (e.g., framing a single soundproofed media room or a small garage workshop), you are willing to invest $400 in the proper Greenlee and Milwaukee tooling, and you have the patience to install bushings on every single penetration. The material savings are substantial, and working with metal studs is highly rewarding once you master the tooling.
Hire a Professional If: You are wiring a full multi-room basement, require complex multi-way switch loops, or are working with thicker structural gauge steel (16 gauge or lower), which requires heavy-duty hydraulic knockouts and EMT conduit rather than NM-B cable. The labor premium pays for speed, code compliance, and the assurance that your drywall screws will not find a hidden, unprotected wire.
Frequently Asked Questions
Can I use THHN wire in metal studs without conduit?
No. The NEC does not permit loose THHN/THWN wires to be pulled directly through metal stud cavities. THHN must be run inside a continuous raceway, such as EMT (Electrical Metallic Tubing) or flexible metal conduit (FMC). If you are not using conduit, you must use NM-B (Romex) or MC (Metal Clad) cable.
Do I need to bond the metal studs together?
In standard residential interior framing, bonding the metal studs together is not required by the NEC unless they are being used as part of a specific structural grounding electrode system, which is exceptionally rare in light-gauge wood/metal hybrid homes. Rely on your cable's internal ground wire.
What is the best box to use for metal studs?
For new construction where the stud is open, boxes with integrated adjustable metal stud brackets (often called 'F-brackets' or 'wing brackets') are the fastest and most secure. For retrofit work where the drywall is already up, use 'old work' boxes with heavy-duty Madison hangers or specialized metal-stud retrofit clips.