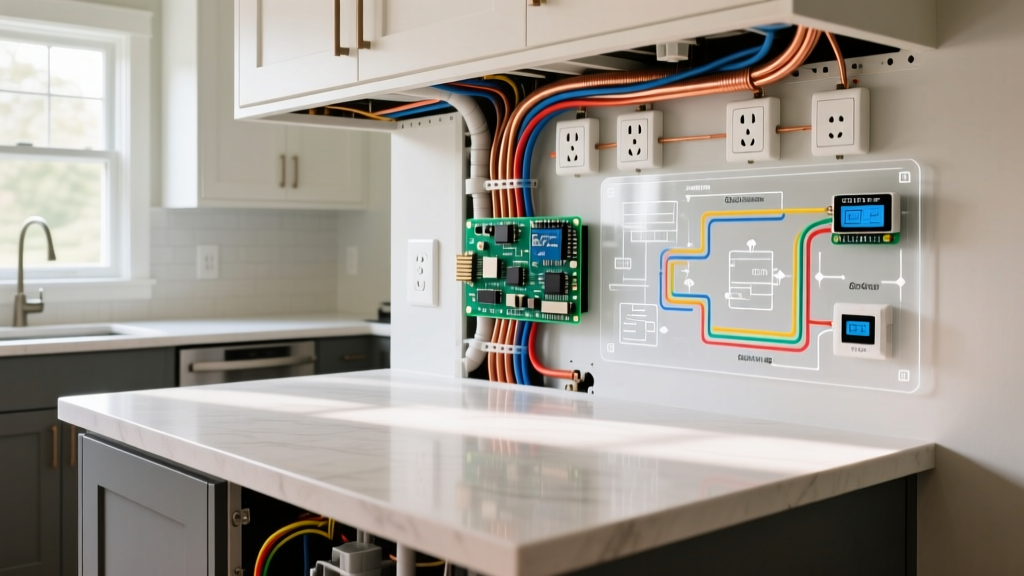

The Paradigm Shift in Kitchen Island Electrical Wiring
If you are planning a remodel or new construction in 2026, understanding the current National Electrical Code (NEC) requirements for kitchen island electrical wiring is critical. For decades, electricians operated under a strict mandate: every kitchen island and peninsula required at least one receptacle. However, recent code cycles have fundamentally rewritten this rule, prioritizing safety over convenience due to severe hazard data. Whether you are a licensed contractor, a DIY enthusiast, or a homeowner managing a project, navigating these updated standards is essential to passing inspection and ensuring a safe cooking environment.
NEC 210.52(C)(5): The End of Mandatory Island Receptacles
The most significant change affecting kitchen island electrical wiring in modern code cycles (carrying through 2026 adoptions) is found in NEC Section 210.52(C)(5). Previously, the code required at least one receptacle outlet for island countertops measuring 24 inches or more in length and 12 inches or more in width.
Today, the NEC states: "Receptacles shall not be required to be installed in island and peninsular countertops or work spaces."
Why the Change?
The U.S. Consumer Product Safety Commission (CPSC) and the National Electrical Code Committee identified a severe safety hazard: receptacles mounted on the side panels of islands forced appliance cords to drape over the edge. This created a trip-and-pull hazard, leading to documented cases of children and adults pulling boiling water, hot oil, or heavy appliances onto themselves. By making island receptacles optional, the code eliminates the pressure to install them in dangerous side-panel locations.
What This Means for Your 2026 Project
- You are not legally required to install a receptacle in the island if you do not want one.
- If you choose to install one, it must comply with strict placement rules. Side-panel mounting where cords will drape is heavily restricted or prohibited by local inspectors enforcing the spirit of the new code.
- Alternative power delivery, such as ceiling-mounted pendant drops or floor boxes (where permitted), are now the preferred methods for island power.
Small Appliance Branch Circuits (SABCs) & Sizing
If you do elect to install kitchen island electrical wiring for receptacles, those outlets must be fed by one of the two required Small Appliance Branch Circuits (SABCs) as defined in NEC 210.11(C)(1). You cannot power island receptacles from a general lighting circuit or a dedicated appliance circuit (like a dishwasher or disposal).
| Circuit Type | Breaker Size | Minimum Wire Gauge (Copper) | Max Continuous Load | Permitted Loads |
|---|---|---|---|---|
| SABC (Receptacles) | 20 Amp | 12 AWG (NM-B or THHN) | 16 Amps (1920W) | Microwaves, blenders, instant pots |
| General Lighting | 15 Amp or 20 Amp | 14 AWG (15A) or 12 AWG (20A) | 12A (15A breaker) / 16A (20A breaker) | Island pendants, under-cabinet LEDs |
| Dedicated Appliance | 15A to 50A | Varies by appliance spec | 80% of breaker rating | Downdraft vents, wine coolers |
Pro Tip: Always pull 12 AWG NM-B (Romex) for all kitchen receptacle circuits, even if local code allows 14 AWG on 15-amp circuits. The 20-amp SABC is the industry standard for modern kitchens to handle high-draw countertop appliances without nuisance tripping.
GFCI Protection & Pop-Up Receptacle Standards
Any receptacle installed to serve a kitchen island countertop requires Ground-Fault Circuit Interrupter (GFCI) protection per NEC 210.8(A)(6). You have two primary methods to achieve this:
- GFCI Circuit Breaker: Install a 20-Amp GFCI breaker in the main panel. This protects the entire island circuit. Cost: $45 to $65 per breaker.
- GFCI Receptacle: Install a standard 20-Amp GFCI outlet at the first point in the circuit, feeding through to the island. Cost: $15 to $25 per device.
The Pop-Up Receptacle Dilemma
Because side-panel mounting is now frowned upon, many homeowners opt for countertop pop-up receptacles. However, you cannot simply cut a hole in the quartz and drop in a standard wall outlet. Pop-up assemblies must be specifically listed for horizontal countertop installation under UL 962A (Standard for Furniture Power Distribution Units) or equivalent spill-rated standards.
Brands like Doug Mockett and Hubbell manufacture spill-resistant, UL-listed pop-ups that feature internal drainage channels to prevent liquid from reaching the electrical contacts. Expect to pay between $90 and $160 for a code-compliant, 2-outlet pop-up assembly. Standard vertical power strips or non-listed Amazon imports will fail inspection and pose a severe shock hazard if a drink is spilled on the counter.
Pendant Lighting & Junction Box Weight Limits
While kitchen island electrical wiring often focuses on outlets, lighting is equally regulated. Pendant lights hung over islands must be supported by a junction box rated for the fixture's weight. Under NEC 314.27, standard ceiling boxes are rated to support up to 50 pounds. If your designer selects heavy brass or glass multi-pendant chandeliers exceeding 50 pounds, the electrical contractor must install a fan-rated box or provide independent structural support (such as a blocking bracket attached directly to the ceiling joists) that is completely independent of the electrical box.
Furthermore, pendant lighting cannot be wired to the SABC. Lighting must be on a separate general illumination circuit. Mixing island pendant lights and countertop receptacles on the same 20-amp breaker is a guaranteed inspection failure.
Step-by-Step Rough-In Sequence for Islands
To ensure a smooth inspection, follow this rough-in sequence before the drywall or flooring is laid:
- Coordinate with the Cabinet Maker: Obtain the exact blueprint of the island. Identify blind corners, drawer depths, and appliance clearances to avoid drilling into cabinetry later.
- Run the SABC Feeder: Pull 12/2 NM-B from the panel to the island base. If the island is on a concrete slab, you must use rigid metal conduit (RMC) or schedule 80 PVC stubbed up through the floor before the concrete is poured.
- Install the Junction Box: Mount a deep 4x4 metal or heavy-duty PVC box inside the island cabinet. Ensure it is accessible (not sealed behind a fixed false panel).
- Separate Lighting Drops: Run 14/2 or 12/2 NM-B from the lighting circuit to the ceiling junction boxes above the island, ensuring they align perfectly with the cabinet maker's center-line marks.
- Label the Panel: Clearly mark the breaker as "Kitchen Island Receptacles - SABC" to aid future troubleshooting.
Common Edge Cases & Inspector Red Flags
Based on field reports and code forums like Mike Holt Enterprises, here are the most common reasons kitchen island wiring fails inspection in 2026:
- The "Daisy-Chain" Error: Running power from the kitchen island receptacles to feed a dining room outlet or a living room TV. SABCs are strictly limited to kitchen and dining room receptacles only.
- Improper Slab Protection: Running NM-B (Romex) directly through a concrete slab without conduit. NM-B cannot be embedded in concrete; it must transition to THHN wires inside a conduit sleeve.
- Accessible Junction Boxes: Hiding the island's main splice box behind a permanently screwed-on decorative wood panel. NEC 314.29 requires all junction boxes to be accessible without removing parts of the building structure or cabinetry.
For the most up-to-date interpretations and local amendments, always consult the National Fire Protection Association (NFPA) and your local Authority Having Jurisdiction (AHJ). By respecting the shift away from mandatory side-panel outlets and strictly adhering to SABC and GFCI rules, your kitchen island will be both a stunning centerpiece and a masterclass in electrical safety.