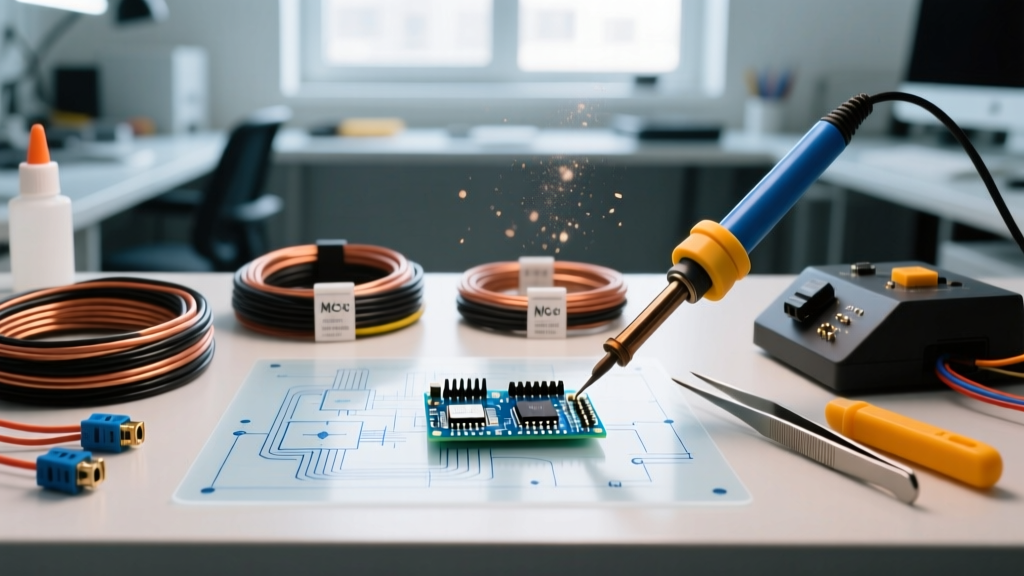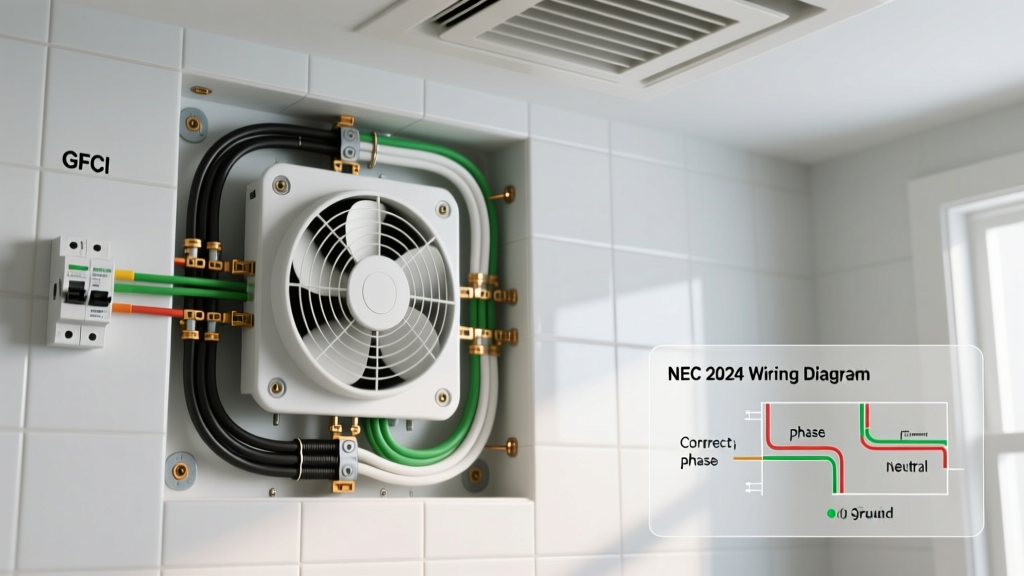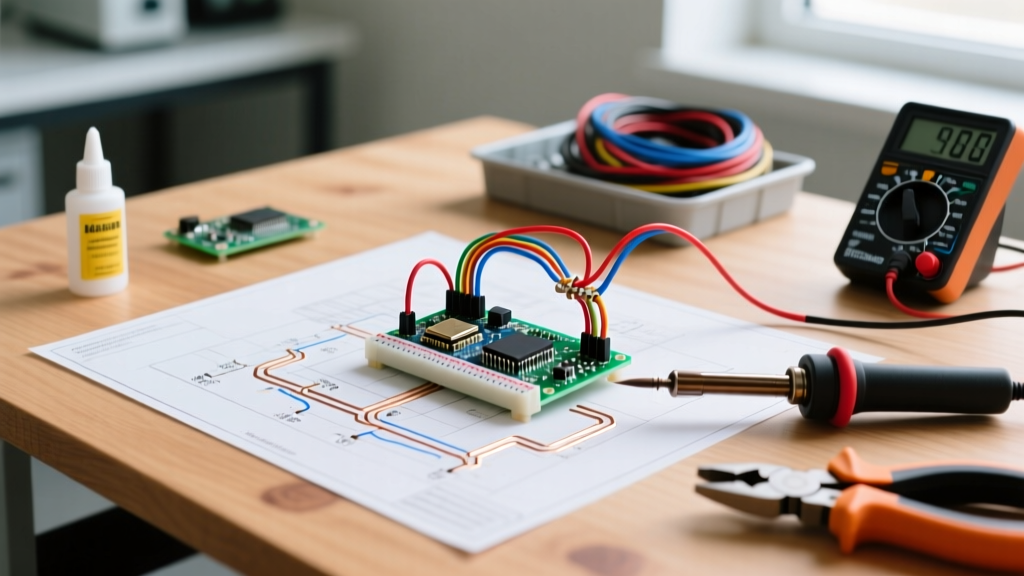

Most experienced electricians can rough-in a residential room or wire a standard commercial lighting circuit from memory. However, when a complex multi-wire branch circuit (MWBC) trips a main breaker, or a commercial HVAC control board fails to energize a contactor, physical wire-tracing is no longer sufficient. You must rely on the electrical wiring drawing. The gap between a 2D schematic and the 3D physical reality inside a junction box is where most diagnostic time is lost. This guide provides a master-level framework for translating blueprints into actionable troubleshooting steps, eliminating guesswork and reducing diagnostic time by up to 50%.
Decoding the Blueprint: Schematic vs. Wiring Diagram vs. Line Diagram
Before pulling out a multimeter, you must understand which type of electrical wiring drawing you are holding. Using the wrong diagram for physical tracing is a primary cause of misdiagnosis.
- Schematic Diagrams: Show the logical flow of current and control logic. Wires are drawn as straight lines regardless of physical routing. Best for: Understanding control sequences (e.g., thermostat to relay to contactor).
- Wiring Diagrams: Show the physical layout of components and how wires are routed between specific terminals. Best for: Rebuilding a panel, replacing a specific component, or verifying terminal landing points.
- Line Diagrams (One-Line): Represent three-phase power systems using a single line to show the path of power distribution from transformers to switchgear and panelboards. Best for: High-level commercial fault isolation and load balancing.
The 5-Step Troubleshooting Protocol Using an Electrical Wiring Drawing
When facing a dead circuit or intermittent fault, follow this strict sequence to leverage your documentation effectively.
Step 1: Verify the 'As-Built' Status
The most dangerous assumption in electrical troubleshooting is that the physical installation matches the original prints. According to the NFPA 70 (National Electrical Code), modifications should be documented, but in older commercial buildings, 'as-built' drawings are rarely updated. Before testing, verify the drawing revision date against the building's last major renovation permit.
Step 2: Isolate the Power Source and Map Nodes
Highlight the exact path from the overcurrent protection device (OCPD) to the load on your drawing. Mark every splice point, terminal block, and junction. These are your physical 'nodes'—the exact locations where you will place your multimeter probes.
Step 3: Apply the 'Half-Split' Diagnostic Method
Do not test sequentially from the breaker to the load. Instead, identify the electrical midpoint of the circuit on your drawing. Test for voltage at this midpoint.
If voltage is present: The fault is downstream (between the midpoint and the load).
If voltage is absent: The fault is upstream (between the OCPD and the midpoint).
This binary search algorithm cuts your physical tracing time in half, which is critical when dealing with 100+ wire bundles in commercial switchgear.
Step 4: Check for Shared Neutral and MWBC Faults
If your electrical wiring drawing indicates a Multi-Wire Branch Circuit (two hot wires sharing one neutral), a common failure mode is an open or high-resistance neutral. If the two hot legs are accidentally landed on the same phase (e.g., both on Phase A instead of Phase A and Phase B), the neutral carries the additive current rather than the difference. This will melt the neutral conductor and trip the breaker. Use the drawing to verify the breaker configuration before opening the panel.
Step 5: Verify Grounding and Bonding Paths
Schematics often omit equipment grounding conductors (EGCs) to reduce visual clutter. However, OSHA Electrical Safety Standards strictly mandate verified grounding for fault clearing. Always mentally (or physically with a highlighter) add the EGC path back to the main bonding jumper when troubleshooting ground-fault interruptions.
Common Drawing Symbols, Physical Equivalents, and Failure Modes
Translating symbols to physical failure modes is a core diagnostic skill. Use this matrix when evaluating control circuits.
| Symbol on Drawing | Physical Component | Common Failure Mode | Testing Strategy |
|---|---|---|---|
| SPST Switch (Normally Open) | Wall switch, limit switch, pressure switch | Carbon buildup on contacts preventing continuity; mechanical linkage failure. | Test for continuity with power OFF. Expect < 1 ohm when closed. > 10 ohms indicates degraded contacts. |
| DPDT Relay Coil & Contacts | Ice-cube relay, HVAC control relay | Coil burnout (open circuit); welded contacts (fails to open). | Measure coil resistance (typically 50-200 ohms for 24V AC coils). Check contacts for 0V drop under load. |
| Thermal Overload (OL) | Motor starter overload block | Tripped due to ambient heat or mechanical binding; heater element mismatch. | Verify heater element rating matches motor FLA. Test NC (Normally Closed) contact for continuity. |
| Capacitor (Run/Start) | Motor run capacitor, HVAC dual capacitor | Dielectric breakdown, bulging, microfarad (µF) degradation below 90%. | Discharge safely. Use a dedicated capacitance meter. Replace if reading is > 10% below drawing spec. |
Essential Tool Loadout for Diagram-to-Physical Tracing
To execute the steps above, you need tools that bridge the gap between the drawing and the physical wire. Budget for the following industry-standard equipment:
- Fluke 117 True RMS Multimeter ($210 - $240): Essential for its Auto-V/LoZ (Low Impedance) mode, which prevents false readings from phantom voltages (detailed below). Also features non-contact voltage detection for quick node verification.
- Klein Tools Tone and Probe Kit, Model #82812 ($45 - $55): When the electrical wiring drawing shows a wire disappearing into a 50-cable bundle in a commercial ceiling, this tone generator allows you to identify the specific cable without stripping insulation.
- Megger MIT485/2 Insulation Tester ($800 - $950): Drawings do not show degraded wire insulation. If you suspect a ground fault that a standard multimeter cannot detect, a megohmmeter applies 250V-1000V to reveal micro-fractures in the insulation jacket.
Advanced Edge Case: Troubleshooting Phantom Voltages
One of the most confusing scenarios for junior electricians is when the electrical wiring drawing shows an open circuit (e.g., a disconnected traveler wire in a 3-way switch setup), but the digital multimeter reads 40V to 60V on the dead wire.
Expert Insight: This is 'phantom' or 'ghost' voltage, caused by capacitive coupling from adjacent energized wires running parallel in the same conduit or NM-B cable over long distances (typically over 50 feet). The U.S. Consumer Product Safety Commission (CPSC) notes that while these induced voltages can trigger high-impedance digital meters, they possess virtually zero current (microamps) and cannot do work or cause a shock hazard.
The Fix: Do not assume the drawing is wrong or that you have a short. Switch your Fluke 117 to LoZ (Low Impedance) mode. This places a low-impedance shunt across the meter's input, bleeding off the capacitive charge and dropping the reading to a true 0V, confirming the physical reality matches the open-circuit drawing.
Frequently Asked Questions
What if the physical wiring completely contradicts the electrical wiring drawing?
Stop troubleshooting immediately. If you find physical wires that do not exist on the drawing, or missing wires that the drawing requires, the circuit has been modified without updating the documentation. You must map the physical circuit manually, update the 'as-built' redline drawings, and verify the physical installation against current NEC Article 110.12 (Mechanical Execution of Work) standards before proceeding. Working on undocumented, potentially back-fed circuits is a severe arc-flash and electrocution hazard.
How do I trace a wire that goes into a finished wall without a drawing?
Without an electrical wiring drawing, you must rely on signal injection. Use a tone generator (like the Klein 82812) attached to the exposed end of the conductor. Use the inductive probe to follow the signal through the drywall. For circuits that cannot be de-energized to attach a tone generator, use a circuit tracer (such as the Amprobe AT-3500) which detects the electromagnetic field of live AC current through walls up to 8 inches thick.