
Why Guessing Wire Gauge is a Dangerous DIY Gamble
When tackling home wiring projects—whether you are extending a kitchen circuit, installing a new 240V dryer outlet, or replacing a burnt-out receptacle—identifying the exact American Wire Gauge (AWG) of your existing conductors is non-negotiable. Misidentifying a 14 AWG wire as 12 AWG and pairing it with a 20-amp breaker is a leading cause of residential electrical fires. The National Fire Protection Association (NFPA) consistently highlights that overloaded circuits and improper wire sizing are primary culprits in home electrical blazes.
Relying on visual estimation or the color of the cable jacket (like assuming all white Romex is 14 AWG and all yellow is 12 AWG) is a rookie mistake. Manufacturers change jacket colors, and older homes often feature non-standard or legacy wiring. To ensure your project meets the National Electrical Code (NEC) and operates safely, you must use a dedicated electrical wire gauge tool. This guide breaks down exactly which tools to buy, how to use them on both solid and stranded wire, and the edge cases that trip up even experienced DIYers.
Types of Electrical Wire Gauge Tools for Home Use
Not all gauge tools are created equal. The right choice depends on whether you are working with solid copper branch wiring or flexible stranded wire for appliances and automotive harnesses.
| Tool Type | Popular Model Example | Avg. Price (2026) | Best Application | Accuracy Level |
|---|---|---|---|---|
| Notched Circular Gauge | Gardner Bender FSG-10 | $4 - $8 | Solid copper wire, quick field checks | High (for solid wire) |
| Precision Slot Gauge | Klein Tools 1012 | $9 - $14 | Panel labeling, tight spaces, solid wire | Very High |
| Digital Caliper (with AWG chart) | Mitutoyo 500-196-30 | $110 - $130 | Stranded wire, metric conversions, R&D | Ultimate Precision |
| Strip-and-Gauge Combo Tool | Wiremold / Generic Multi-tools | $15 - $25 | All-in-one stripping and basic gauging | Moderate (slots wear out) |
Why the Notched Circular Gauge is the DIY Standard
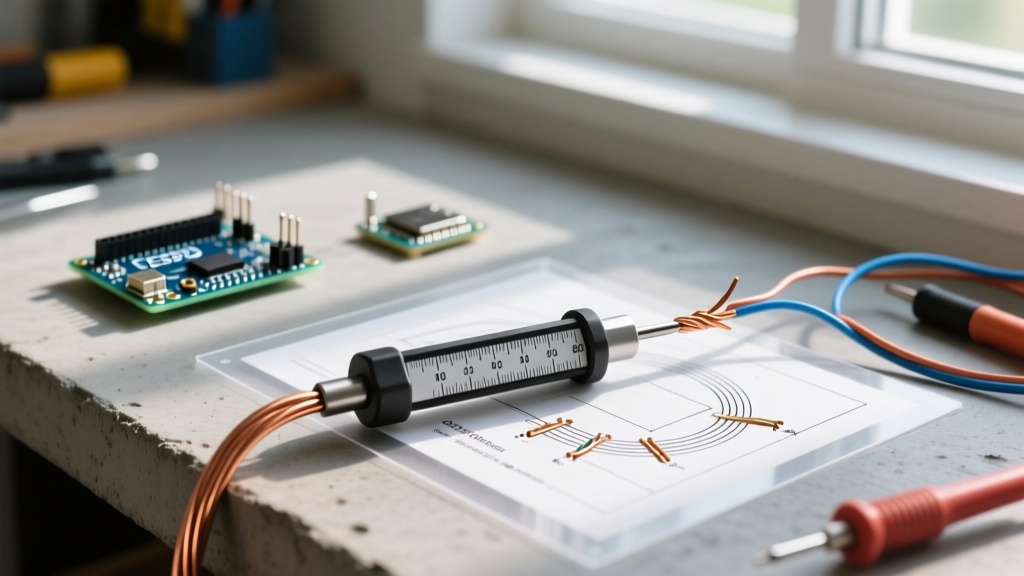
For 90% of home wiring projects involving standard NM-B (Romex) or THHN solid copper wire, a stamped steel notched circular gauge like the Gardner Bender FSG-10 or the Klein Tools 1012 is all you need. These tools feature precisely machined slots corresponding to standard AWG sizes from 0 to 22. You simply strip the insulation, insert the bare conductor into the slots, and find the smallest slot the wire fits into without forcing it.
Step-by-Step: How to Measure Solid vs. Stranded Wire
Using an electrical wire gauge tool incorrectly will yield false readings, leading to improper breaker sizing. Follow these specific procedures based on your conductor type.
Measuring Solid Copper Wire
- Strip the Insulation: Remove at least 1 inch of insulation using a dedicated wire stripper. Never attempt to gauge a wire through its jacket or insulation. The thickness of PVC or THHN insulation varies wildly and has zero bearing on the copper's current-carrying capacity.
- Clean the Conductor: If you are working in an older home (pre-1980s), the copper may have a dark oxidation layer. Lightly scuff it with fine sandpaper or a Scotch-Brite pad. Severe oxidation can add up to 0.002 inches to the diameter, skewing your reading.
- Test the Slots: Start with a slot you estimate to be larger than the wire (e.g., 10 AWG). Work your way down to smaller slots (12 AWG, then 14 AWG).
- The 'Drop-In' Rule: The correct AWG is the smallest slot where the bare wire slides in freely under its own weight or with very gentle pressure. If you have to force or wedge the wire into the 12 AWG slot, it is a 10 AWG wire. If it rattles loosely in the 14 AWG slot but fits snugly in 12 AWG, it is 12 AWG.
The Stranded Wire Challenge
Standard notched gauges are practically useless for stranded wire. When you push stranded wire into a metal slot, the individual copper strands compress and splay, giving you a false reading. To gauge stranded wire accurately, you must use a digital caliper.
- Strip the wire and gently twist the strands together so they form a tight, uniform cylinder without flaring out at the tip.
- Measure the diameter of the bare conductor bundle using the caliper's outside jaws.
- Reference an AWG-to-diameter conversion chart. For example, a 12 AWG stranded wire will have an overall bare diameter of approximately 0.092 inches (compared to 0.0808 inches for solid 12 AWG), due to the microscopic air gaps between the strands.
Common Home Wiring Scenarios & Required AWG
Once you have identified your wire gauge using your tool, you must match it to the correct Overcurrent Protection Device (OCPD), commonly known as a circuit breaker. According to NFPA 70 (National Electrical Code) Article 310.15, ampacity ratings dictate these pairings for standard copper conductors in residential settings:
- 14 AWG (0.0641 inches): Maximum 15 Amps. Used for general lighting circuits and low-draw receptacles.
- 12 AWG (0.0808 inches): Maximum 20 Amps. Required for kitchen small-appliance circuits, bathroom receptacles, and general living room outlets.
- 10 AWG (0.1019 inches): Maximum 30 Amps. Standard for electric water heaters, window AC units, and standard electric dryers (note: dryers often require a 4-wire setup).
- 8 AWG (0.1285 inches): Maximum 40 to 50 Amps (depending on insulation temperature rating). Used for electric ranges, ovens, and sub-panels.
- 6 AWG (0.1620 inches): Maximum 55 to 65 Amps. Used for heavy-duty sub-panels, tankless electric water heaters, and EV Level 2 chargers.
Code Alert: Never upsize a breaker to stop a nuisance trip without first using your electrical wire gauge tool to verify the wire can handle the increased amperage. Swapping a 15A breaker for a 20A breaker on an existing 14 AWG lighting circuit is a severe fire hazard and a direct violation of the NEC.
Pro-Tips and Edge Cases: Avoiding Rookie Mistakes
1. The Metric (mm²) vs. AWG Confusion
If you are installing imported smart home modules, European LED drivers, or solar equipment, you will encounter metric wire sizing (mm²). Standard US notched gauges do not have metric slots. A 2.5mm² wire has a cross-sectional area that roughly translates to 13.5 AWG. Because it falls between 12 AWG and 14 AWG, you must treat 2.5mm² wire as 14 AWG for NEC breaker-sizing purposes (limiting it to 15 Amps) unless the equipment listing specifically dictates otherwise. Always use a digital caliper and a cross-reference chart for imported gear.
2. Aluminum vs. Copper Identification
If you are working on a home built between 1965 and 1973, you may encounter aluminum branch wiring. Aluminum has a lower ampacity than copper. A 12 AWG aluminum wire is only rated for 15 Amps, whereas 12 AWG copper is rated for 20 Amps. Your gauge tool will tell you the physical size, but you must visually verify the metal color (silver/grey vs. copper/orange) or check the cable jacket printing (which will state 'AL' or 'ALUM') before selecting your breaker. The Occupational Safety and Health Administration (OSHA) provides extensive guidelines on the hazards of mixing aluminum and copper without proper CO/ALR rated devices or pigtailing.
3. Voltage Drop Considerations for Long Runs
Your gauge tool tells you the physical size of the wire, but physics dictates that long wire runs suffer from voltage drop. If you are running a 12 AWG wire to a detached shed 150 feet away to power a 15-amp table saw, the voltage drop will exceed the recommended 3% threshold. In this scenario, even though the breaker is 20A and the wire is safely 12 AWG, you must intentionally upsize to 10 AWG or 8 AWG to maintain voltage at the tool. Always calculate voltage drop for runs exceeding 50 feet.
Frequently Asked Questions (FAQ)
Can I just use a standard tape measure or ruler to gauge wire?
No. The difference between 12 AWG (0.0808") and 14 AWG (0.0641") is only 0.0167 inches. A standard tape measure or even a basic ruler cannot resolve this difference accurately. You need a machined gauge tool or a digital caliper capable of measuring to the thousandth of an inch.
What if my wire doesn't fit perfectly into any slot on my circular gauge?
If the wire is slightly too large for the 12 AWG slot but fits loosely in the 10 AWG slot, it is likely a 10 AWG wire that has been slightly deformed, or it could be a metric equivalent (like 4.0mm²). If you are unsure, default to treating the wire as the smaller gauge (the higher AWG number) for safety, or use a digital caliper to measure the exact diameter and consult an AWG reference table.
Do I need to strip the wire to use a gauge tool?
Yes. There are some specialized 'insulation piercing' or outer-diameter gauges used by telecom technicians, but for standard NEC electrical wiring, you must strip the insulation. Insulation thickness varies by manufacturer, voltage rating (300V vs 600V), and wire type (THHN vs XHHW), making outer-diameter measurements completely unreliable for determining copper ampacity.
Final Thoughts
An electrical wire gauge tool is one of the cheapest yet most critical pieces of diagnostic equipment in a DIYer's toolkit. For under $15, a notched steel gauge eliminates the guesswork from home wiring projects, ensuring your circuits are properly matched to their breakers. By combining the right tool with a solid understanding of NEC ampacity tables and the nuances of solid versus stranded conductors, you protect your home from overheating, voltage drop, and catastrophic electrical failures. Always measure twice, verify your gauge, and wire safely.